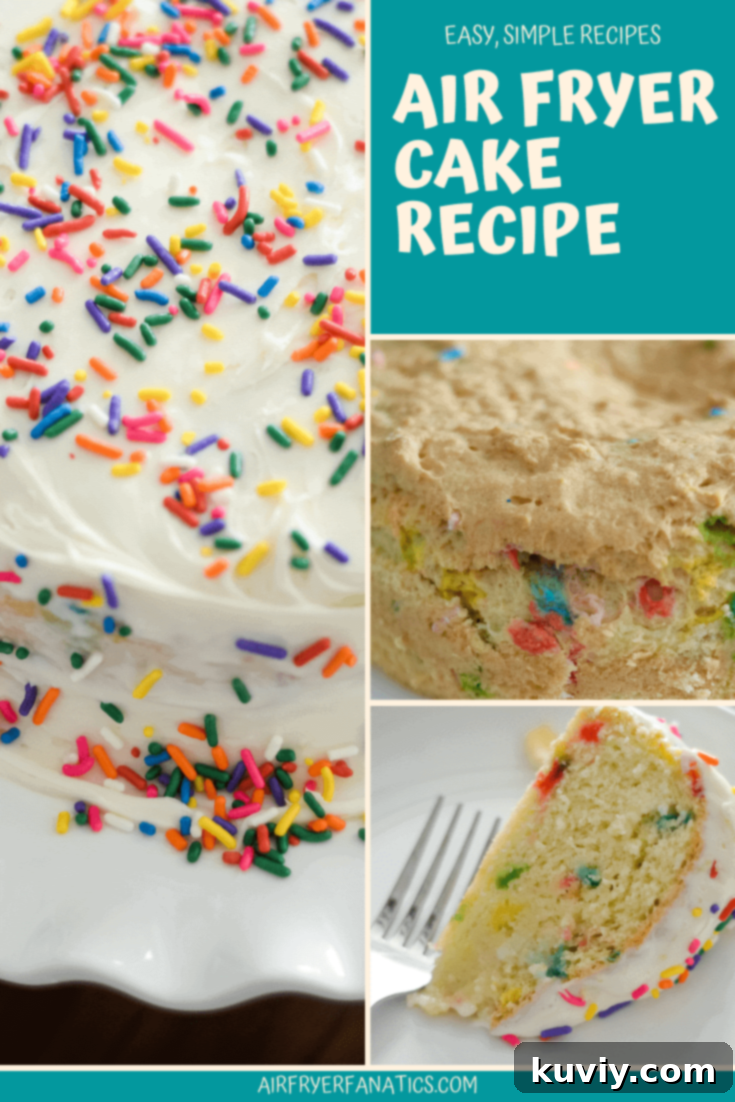
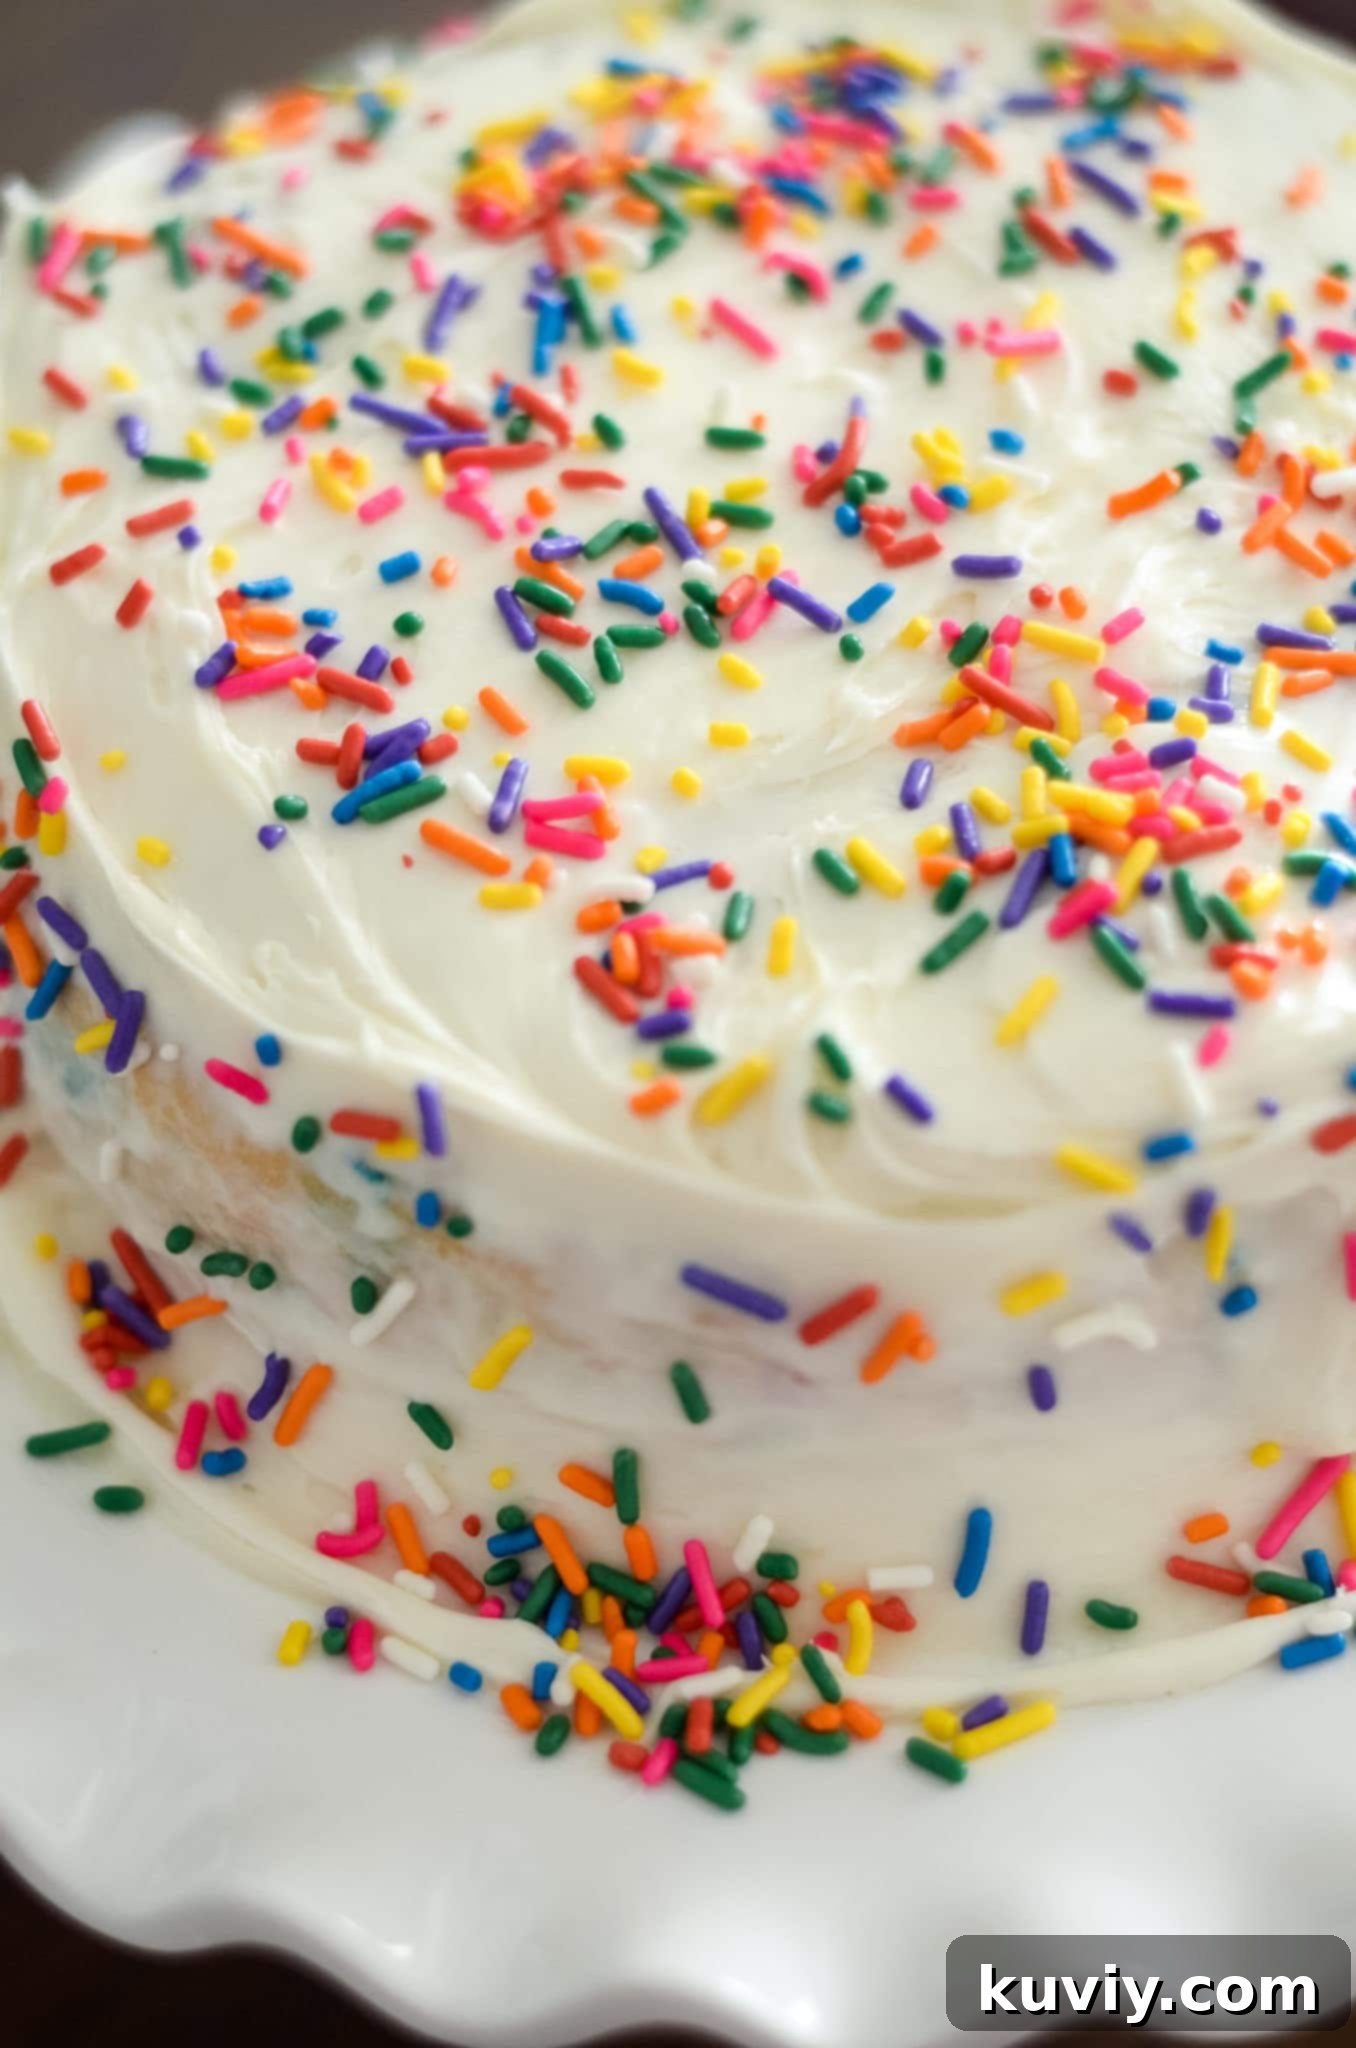
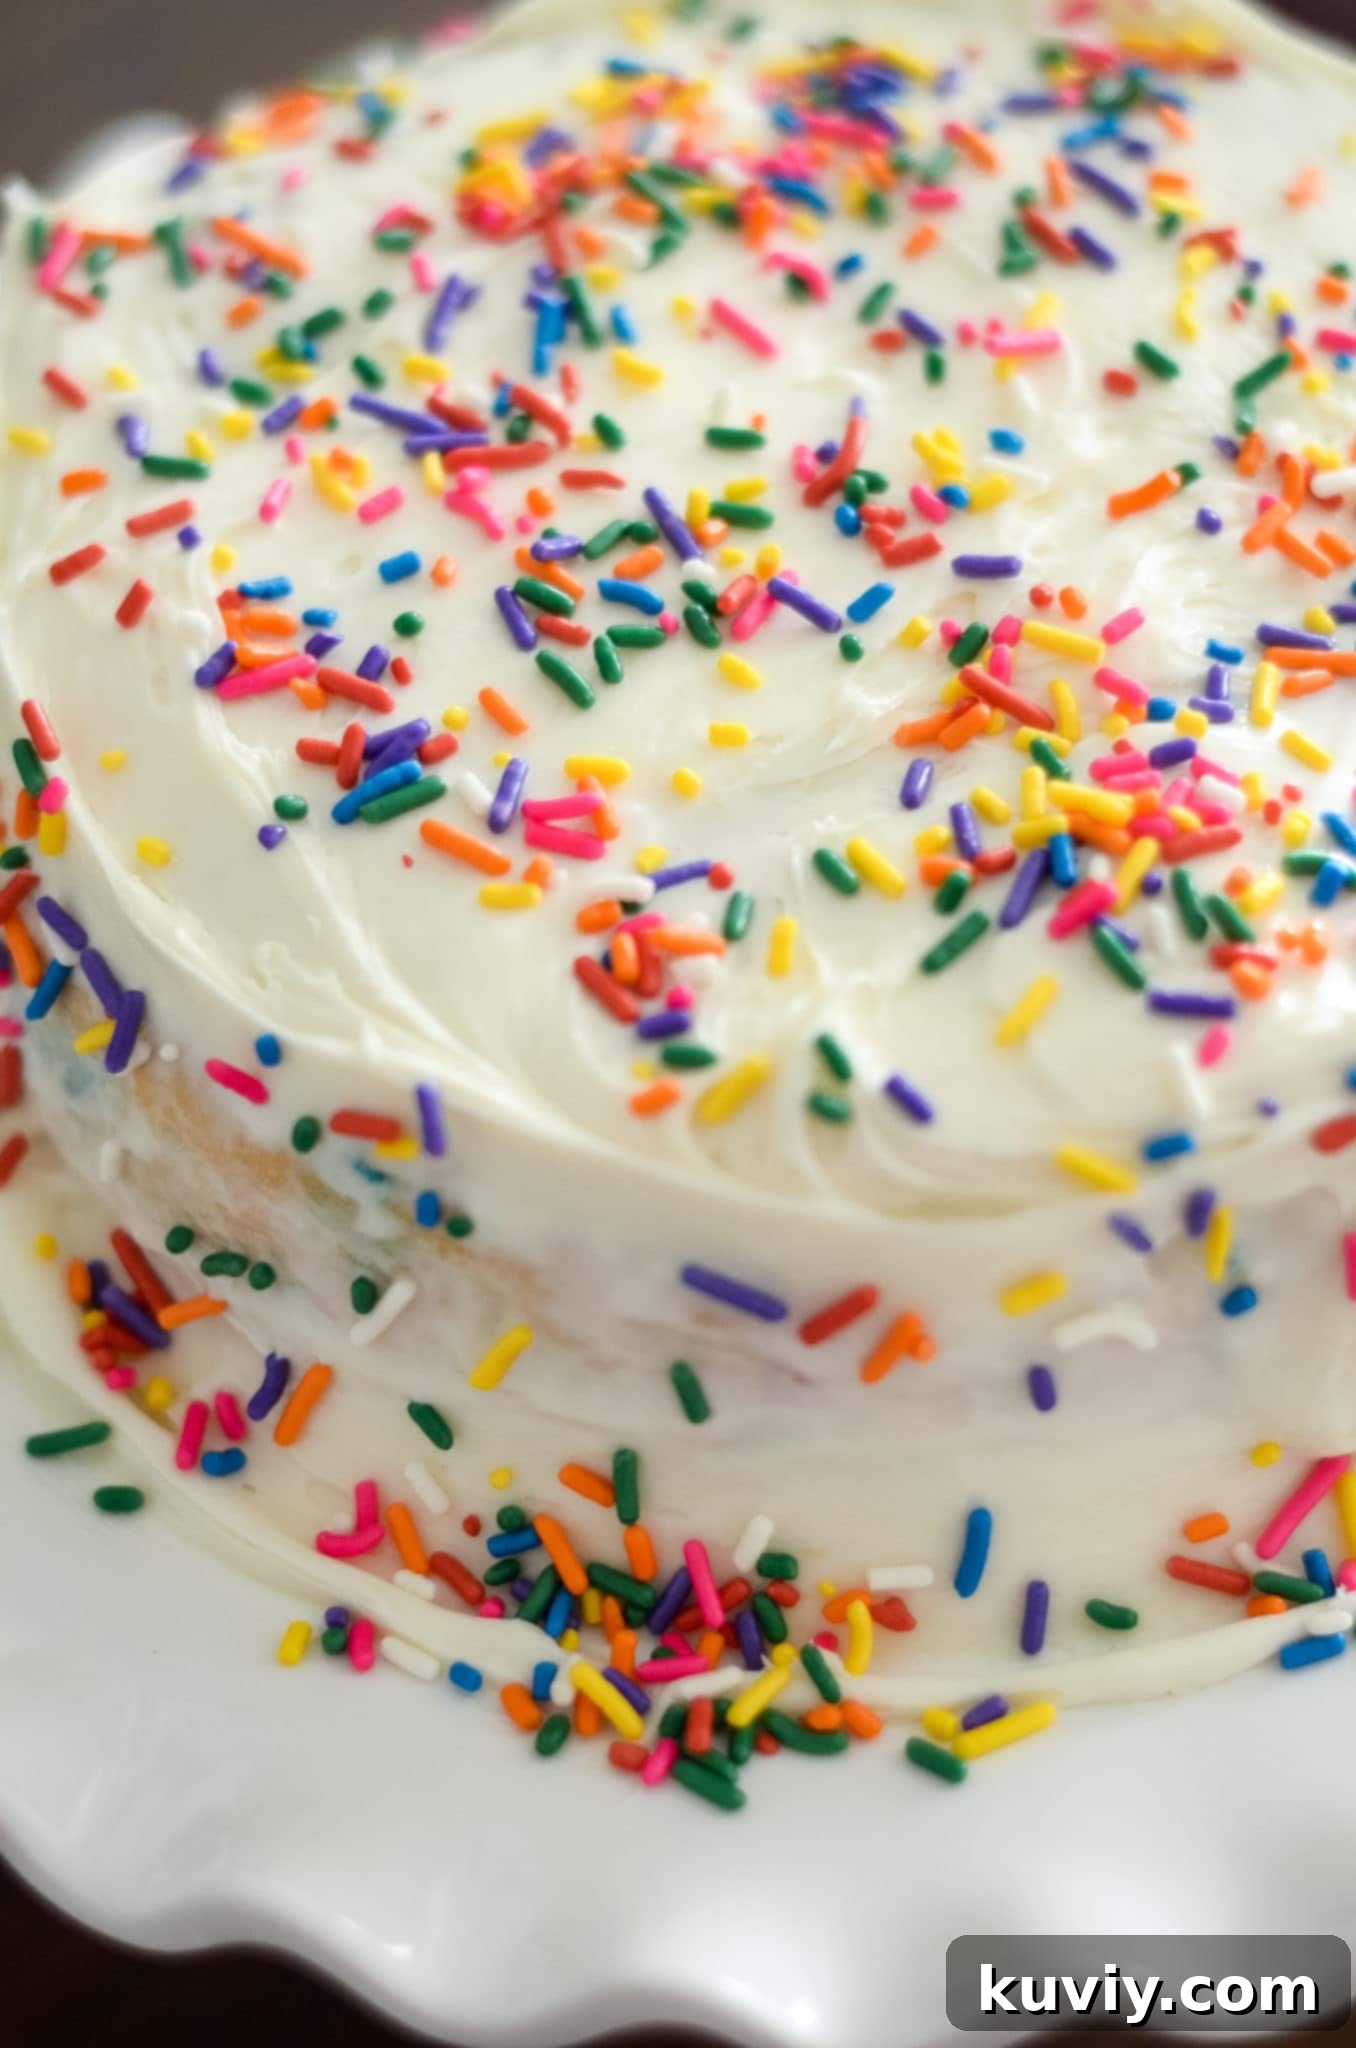
Effortlessly Bake a Delicious & Gluten-Free Air Fryer Cake: Your Go-To Easy Dessert Recipe
Imagine enjoying a perfectly baked cake without the hassle of heating up a large oven, or waiting hours for a treat. With this easy Air Fryer Cake recipe, that dream becomes a delicious reality! Whether you’re craving a quick dessert for your family, celebrating a small occasion, or simply want a single-serving delight, your air fryer is about to become your new best baking companion. This recipe is incredibly simple, leveraging the convenience of a boxed cake mix, and can be easily adapted to be entirely gluten-free.
We’ve found excellent results using a Gluten-Free Pillsbury Funfetti Cake Mix for this recipe, delivering a festive and satisfying dessert every time. However, the beauty of this method is its flexibility – feel free to use any 15.5oz-17oz boxed cake mix that suits your fancy, whether it’s classic vanilla, rich chocolate, or a vibrant red velvet. Prepare to be amazed by how quickly and easily you can whip up a fantastic cake!
What Makes Baking a Cake in an Air Fryer So Easy?
Baking a cake in your air fryer isn’t just a trend; it’s a game-changer for home bakers looking for speed, efficiency, and convenience. Here’s why air frying your cake is such a brilliant idea:
- Speed and Efficiency: Air fryers preheat much faster than conventional ovens and cook smaller items more quickly. This means less waiting time from craving to consumption.
- Perfect for Small Batches: If you’re not baking for a crowd, an air fryer is ideal for creating individual cakes, small family desserts, or just a few cupcakes. No need to heat a huge oven for a modest treat.
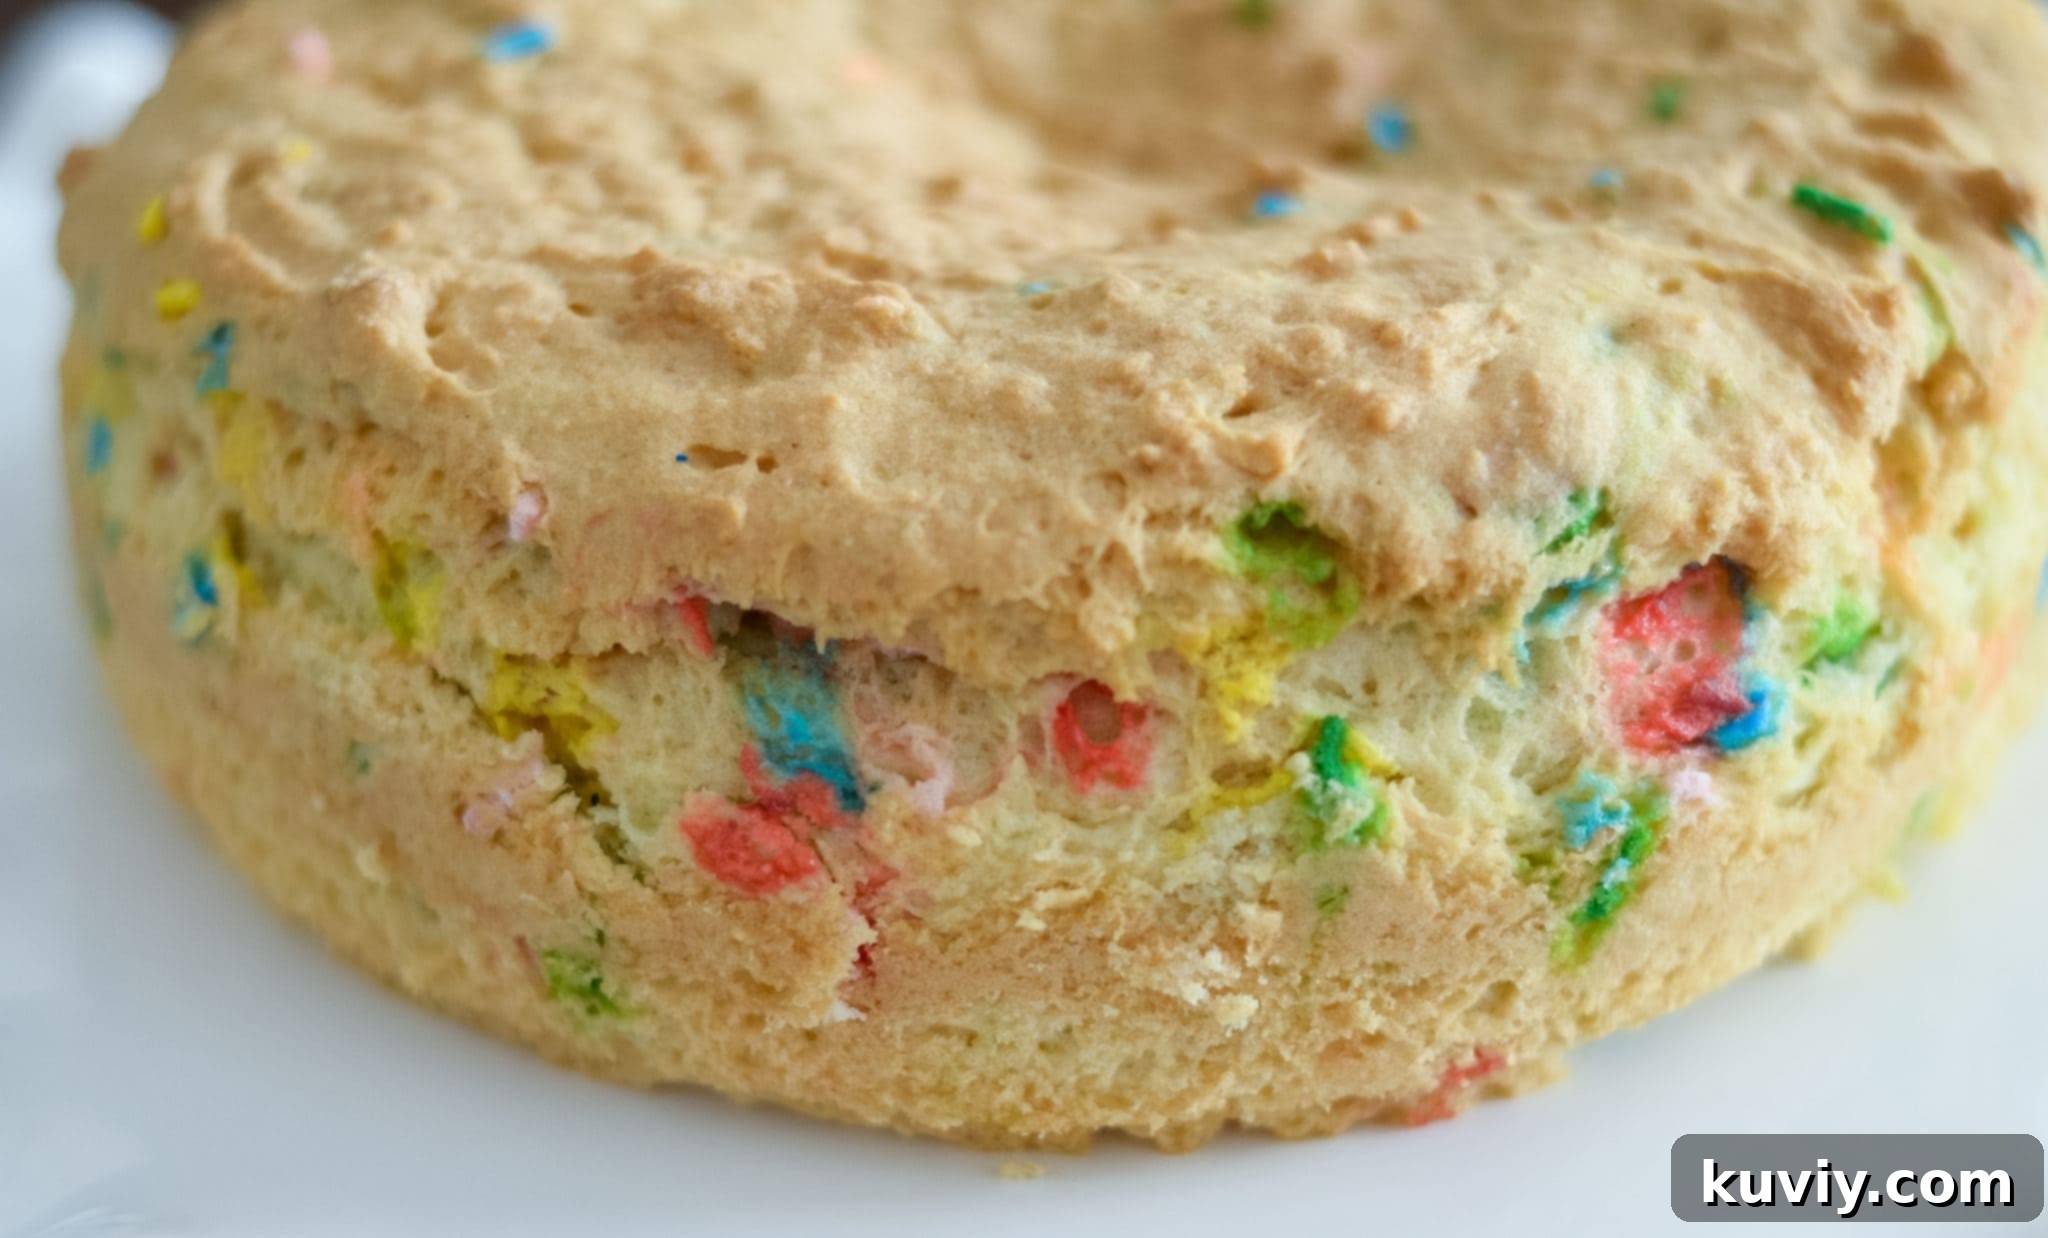
- Even Baking: Air fryers are designed to circulate hot air rapidly around your food. This results in incredibly even baking, leading to a cake with a perfectly golden exterior and a moist, tender crumb on the inside.
- Less Heat in Your Kitchen: During warmer months, using your large oven can heat up your entire kitchen. The compact nature of an air fryer keeps the heat contained, making it a more comfortable option.
- Energy Saving: For smaller baking tasks, an air fryer uses significantly less energy than a full-sized oven, making it an eco-friendlier and more cost-effective choice.
Transforming a simple box cake mix into a delightful dessert has never been easier, especially when your air fryer handles most of the hard work!
Essential Equipment: What You Need to Bake Your Air Fryer Cake
The success of your Air Fryer Cake starts with having the right tools. While you don’t need a lot, a few key items will ensure a smooth baking experience.
The first and most crucial item is a cake pan that comfortably fits inside your specific air fryer model. Air fryers come in various shapes and sizes – basket-style, oven-style, and multi-cookers like the Ninja Foodi. Always measure the interior dimensions of your air fryer basket or rack before selecting a pan.
For this particular recipe, using a Ninja Foodi Air Fryer, we opted for a 7-inch Springform Pan. This size is versatile and works perfectly for cakes, cheesecakes (like the Ninja Foodi Cheesecake), and other desserts. Springform pans are fantastic for cakes because their removable sides make it incredibly easy to release the cake without damaging its delicate structure, ensuring a beautifully presented dessert every time.
Tips for Choosing and Using Your Air Fryer Cake Pan:
- Pan Material: Metal pans (like aluminum or non-stick steel) are excellent for even heat distribution. Silicone pans are also an option, often more flexible, but may require a slightly longer cooking time or produce a less crisp crust.
- Ease of Removal: This is often the trickiest part of air fryer baking. A springform pan is highly recommended for its convenience. Alternatively, you can create a foil or parchment paper “sling” by crossing two strips of foil or parchment underneath your pan before adding batter. This creates handles that allow you to easily lift the hot pan out of the air fryer basket. Some specialized air fryer pans even come with built-in handles, like this pan, which can make removal even simpler.
- Safety First: Always use oven mitts or heat-resistant gloves when handling a hot pan from the air fryer. The appliance itself can get quite hot, and the pan will retain heat.
- Cooling Strategy: I often let the cake cool inside the air fryer with the lid open for about 5 minutes after cooking. This allows the pan to cool slightly, making it safer and easier to handle when removing it from the basket.
- Serving Convenience: With a springform pan, once the cake is cooled and released, you can serve it directly off the bottom plate of the pan, or easily transfer it to a serving plate.
- Greasing the Pan: To prevent sticking, it’s always best to spray your pan generously with a high-heat cooking spray. Coconut oil spray is my go-to choice, but any cooking spray suitable for high temperatures will work. For extra non-stick insurance, you can also lightly flour the greased pan, or line the bottom with a circle of parchment paper.
Remember, a well-chosen and properly prepared pan is key to a perfectly baked and easily removable air fryer cake.
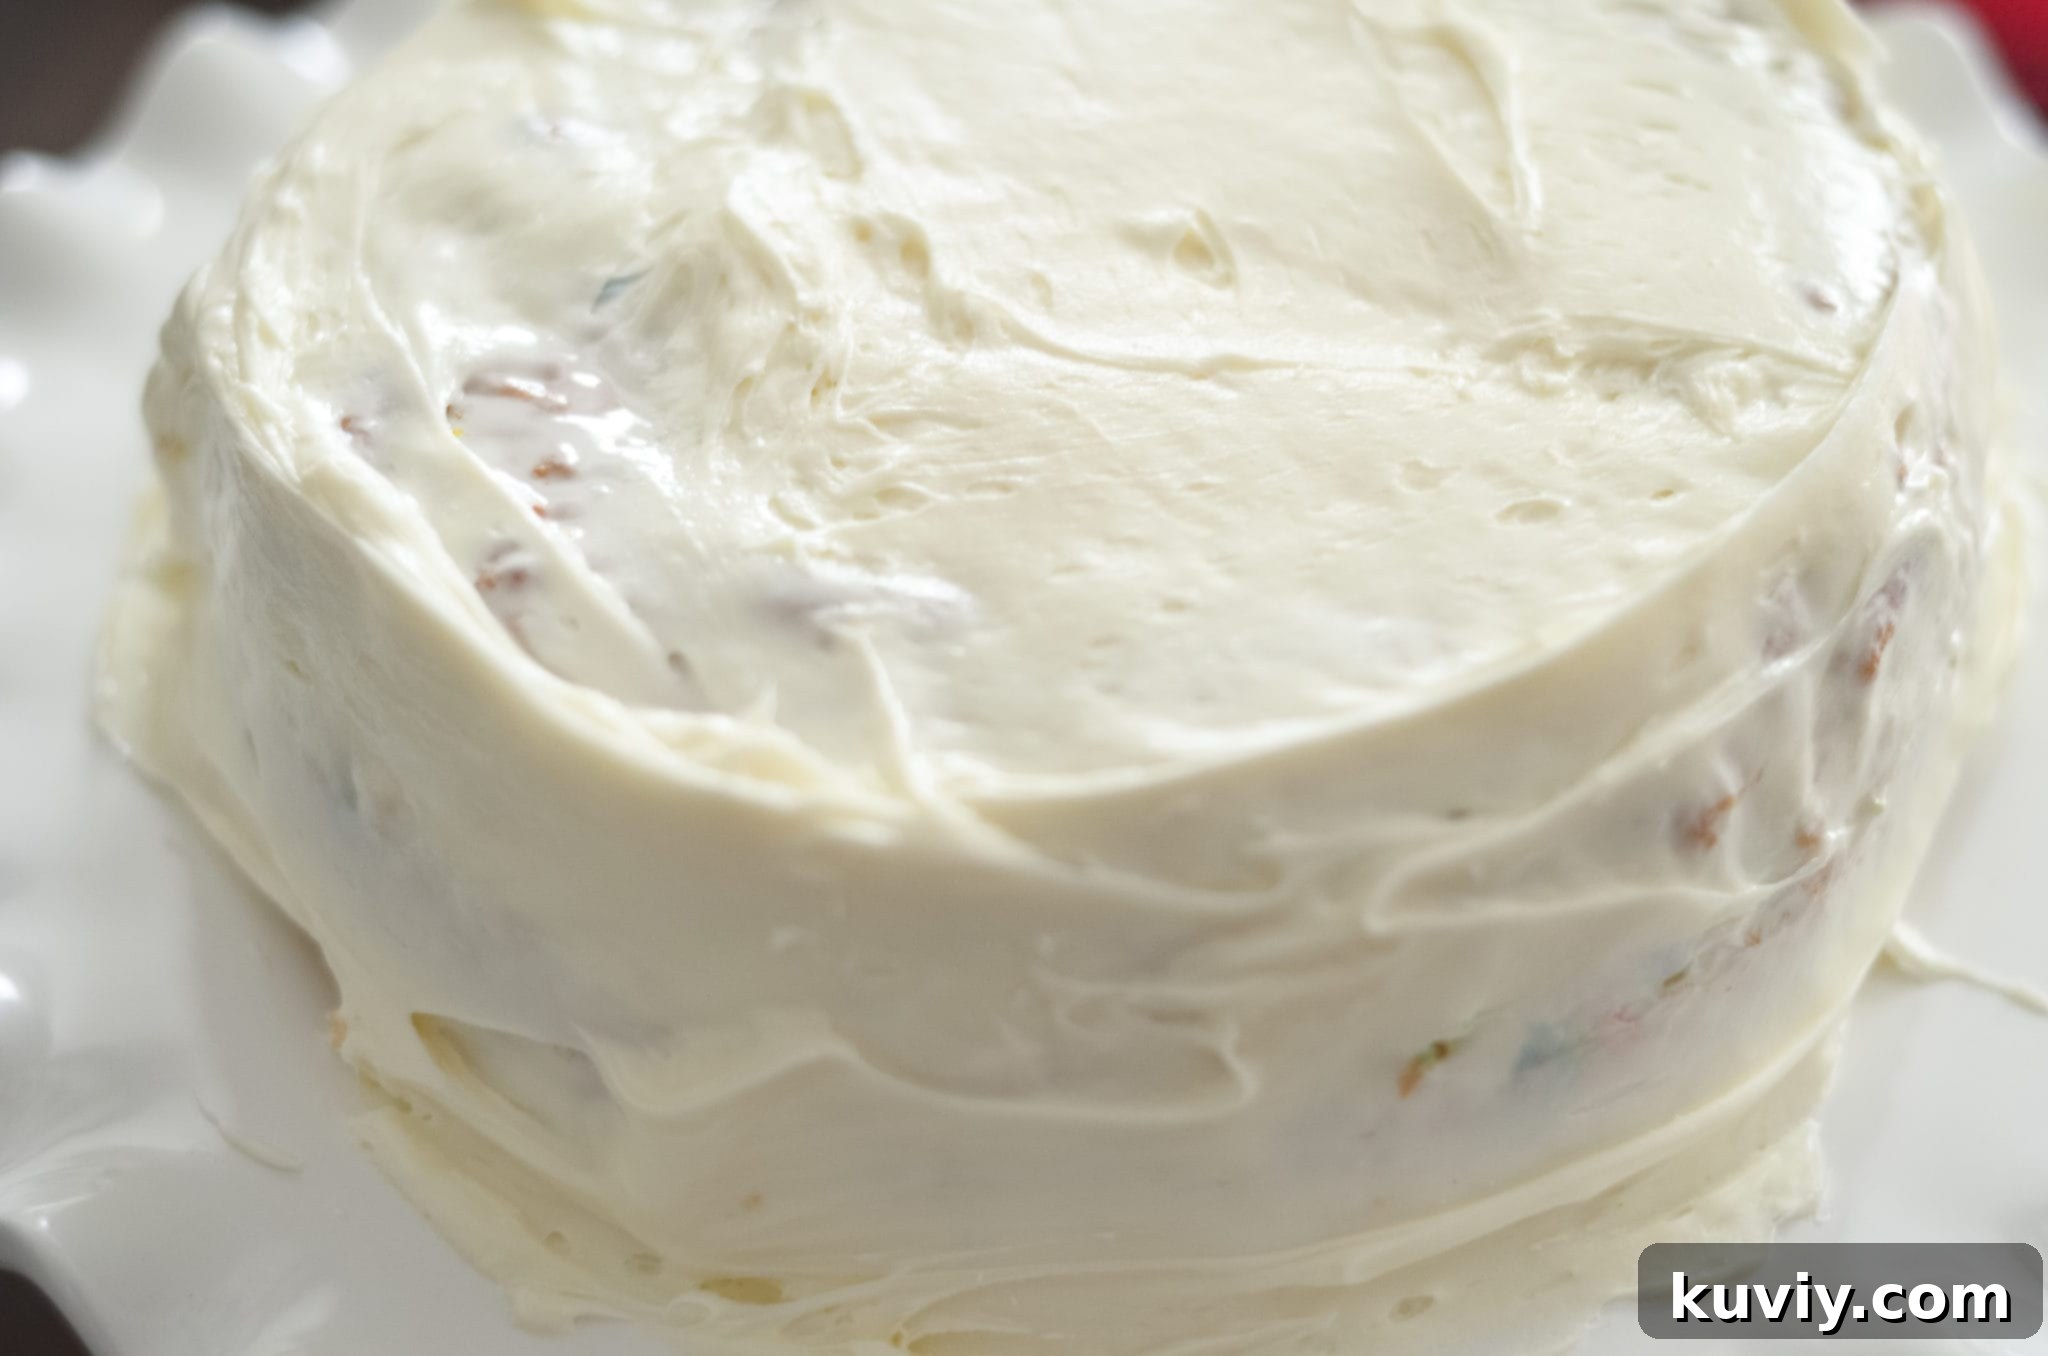
After removing the cake from the air fryer, it will need to cool completely on a wire rack before you can apply any frosting. This step is crucial for preventing the frosting from melting and sliding off, ensuring a neat and beautiful finish to your homemade dessert.
How Long Do You Cook a Cake in the Air Fryer?
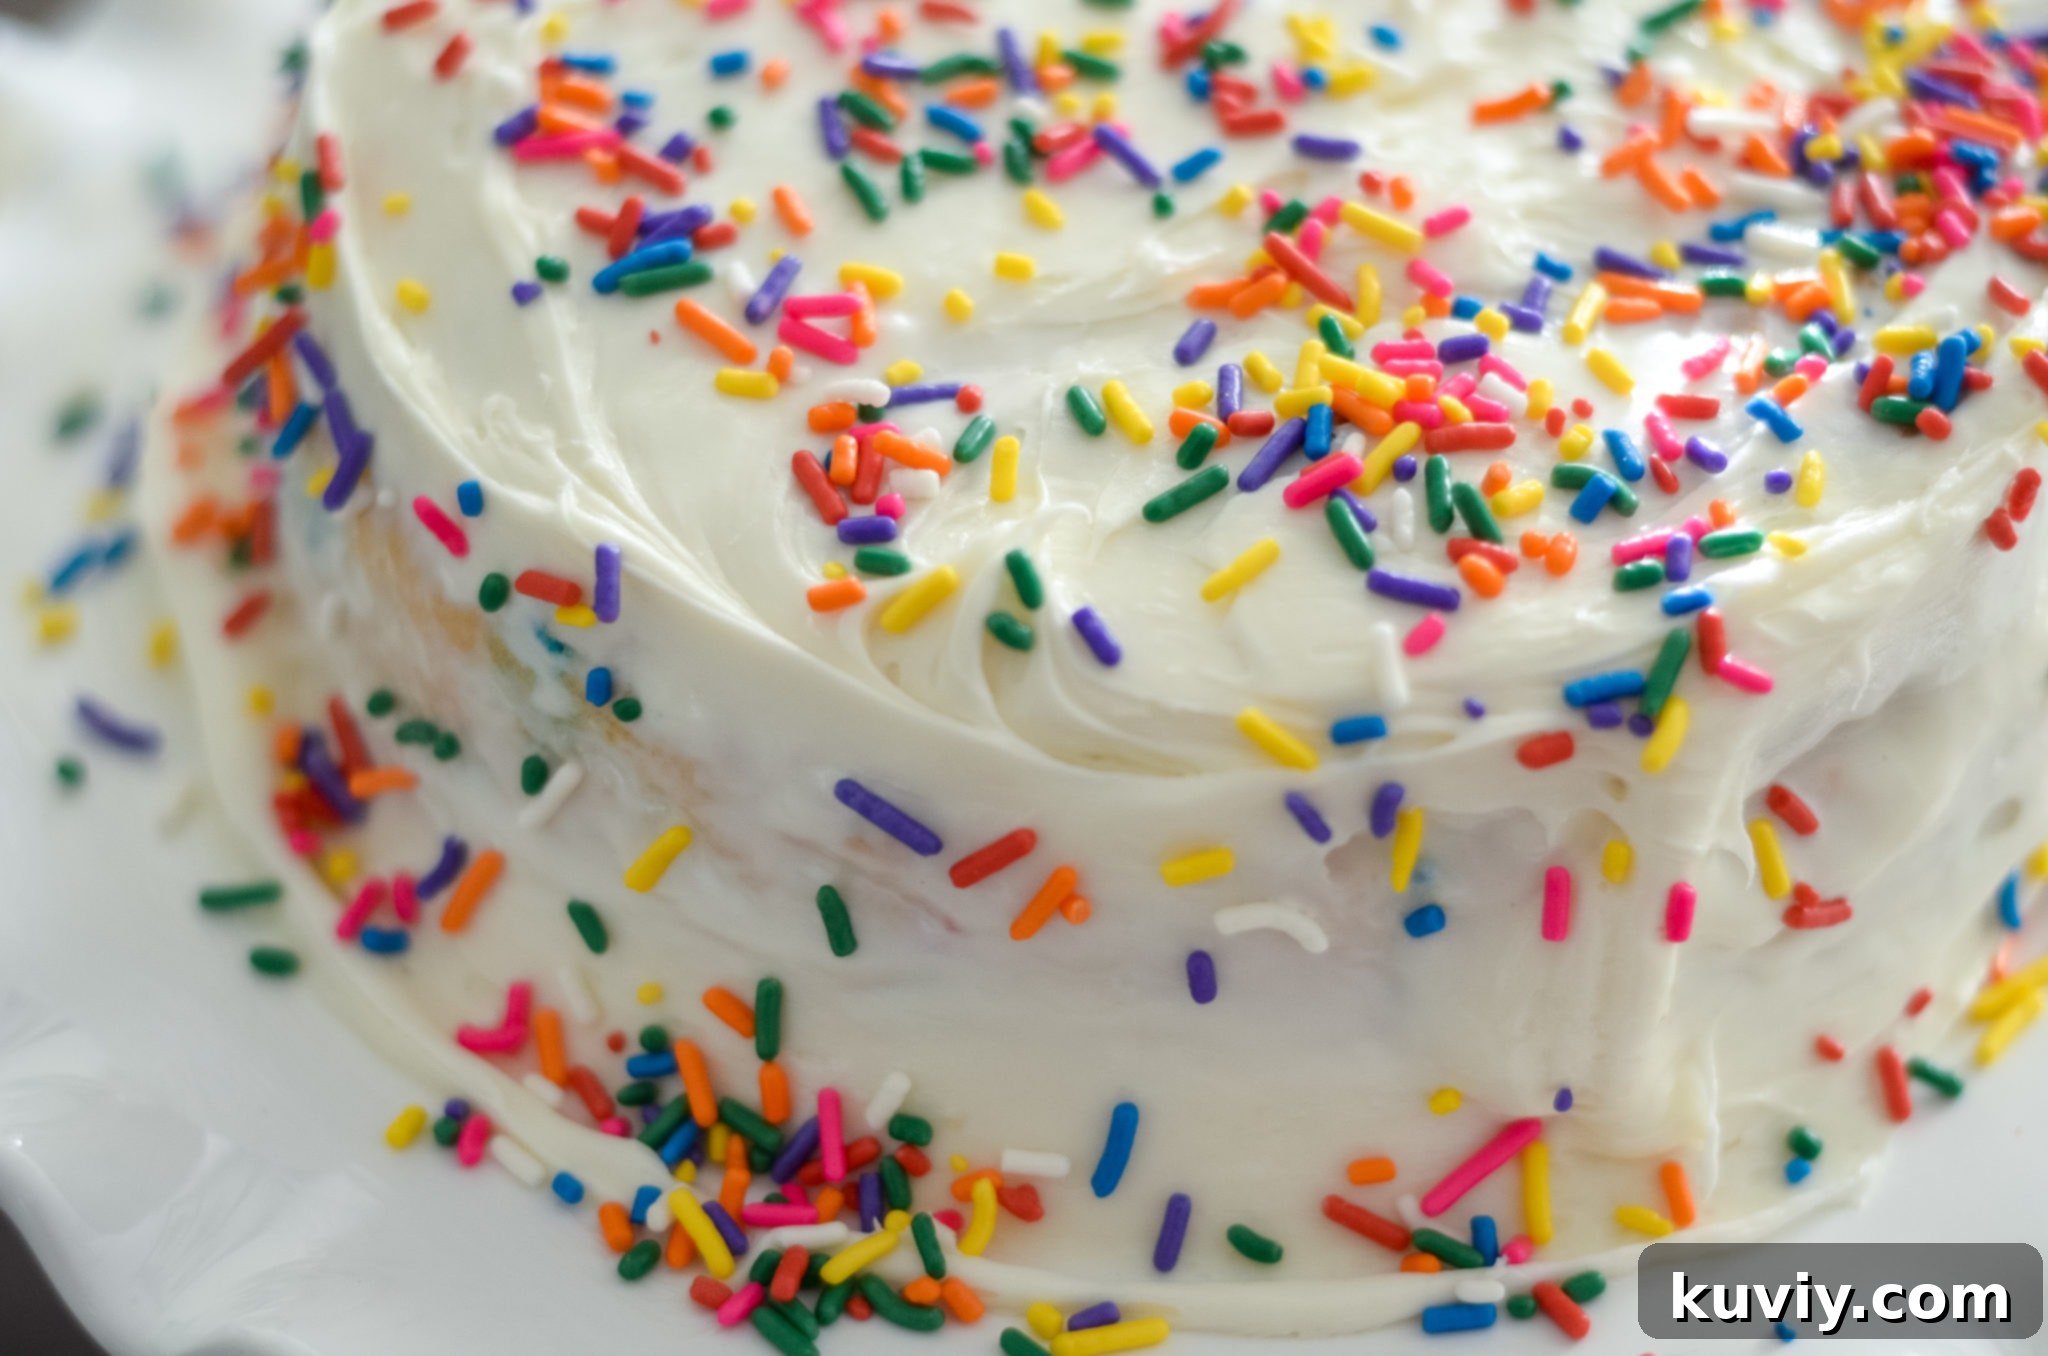
Determining the exact cooking time for an Air Fryer Cake can be a bit of an art, as every air fryer model heats differently. It’s a point I cannot stress enough for any air fryer recipe you encounter: cooking times and temperatures are always approximate and may vary significantly between machines due to differences in wattage, fan power, and overall design.
For this particular recipe, using a Ninja Foodi Air Fryer, I found that the cake achieved optimal results when cooked at **320°F (160°C) for 35 minutes**. This temperature is often slightly lower than what you might use in a conventional oven for a similar cake, to account for the intense, circulating heat of the air fryer which can cook the exterior faster.
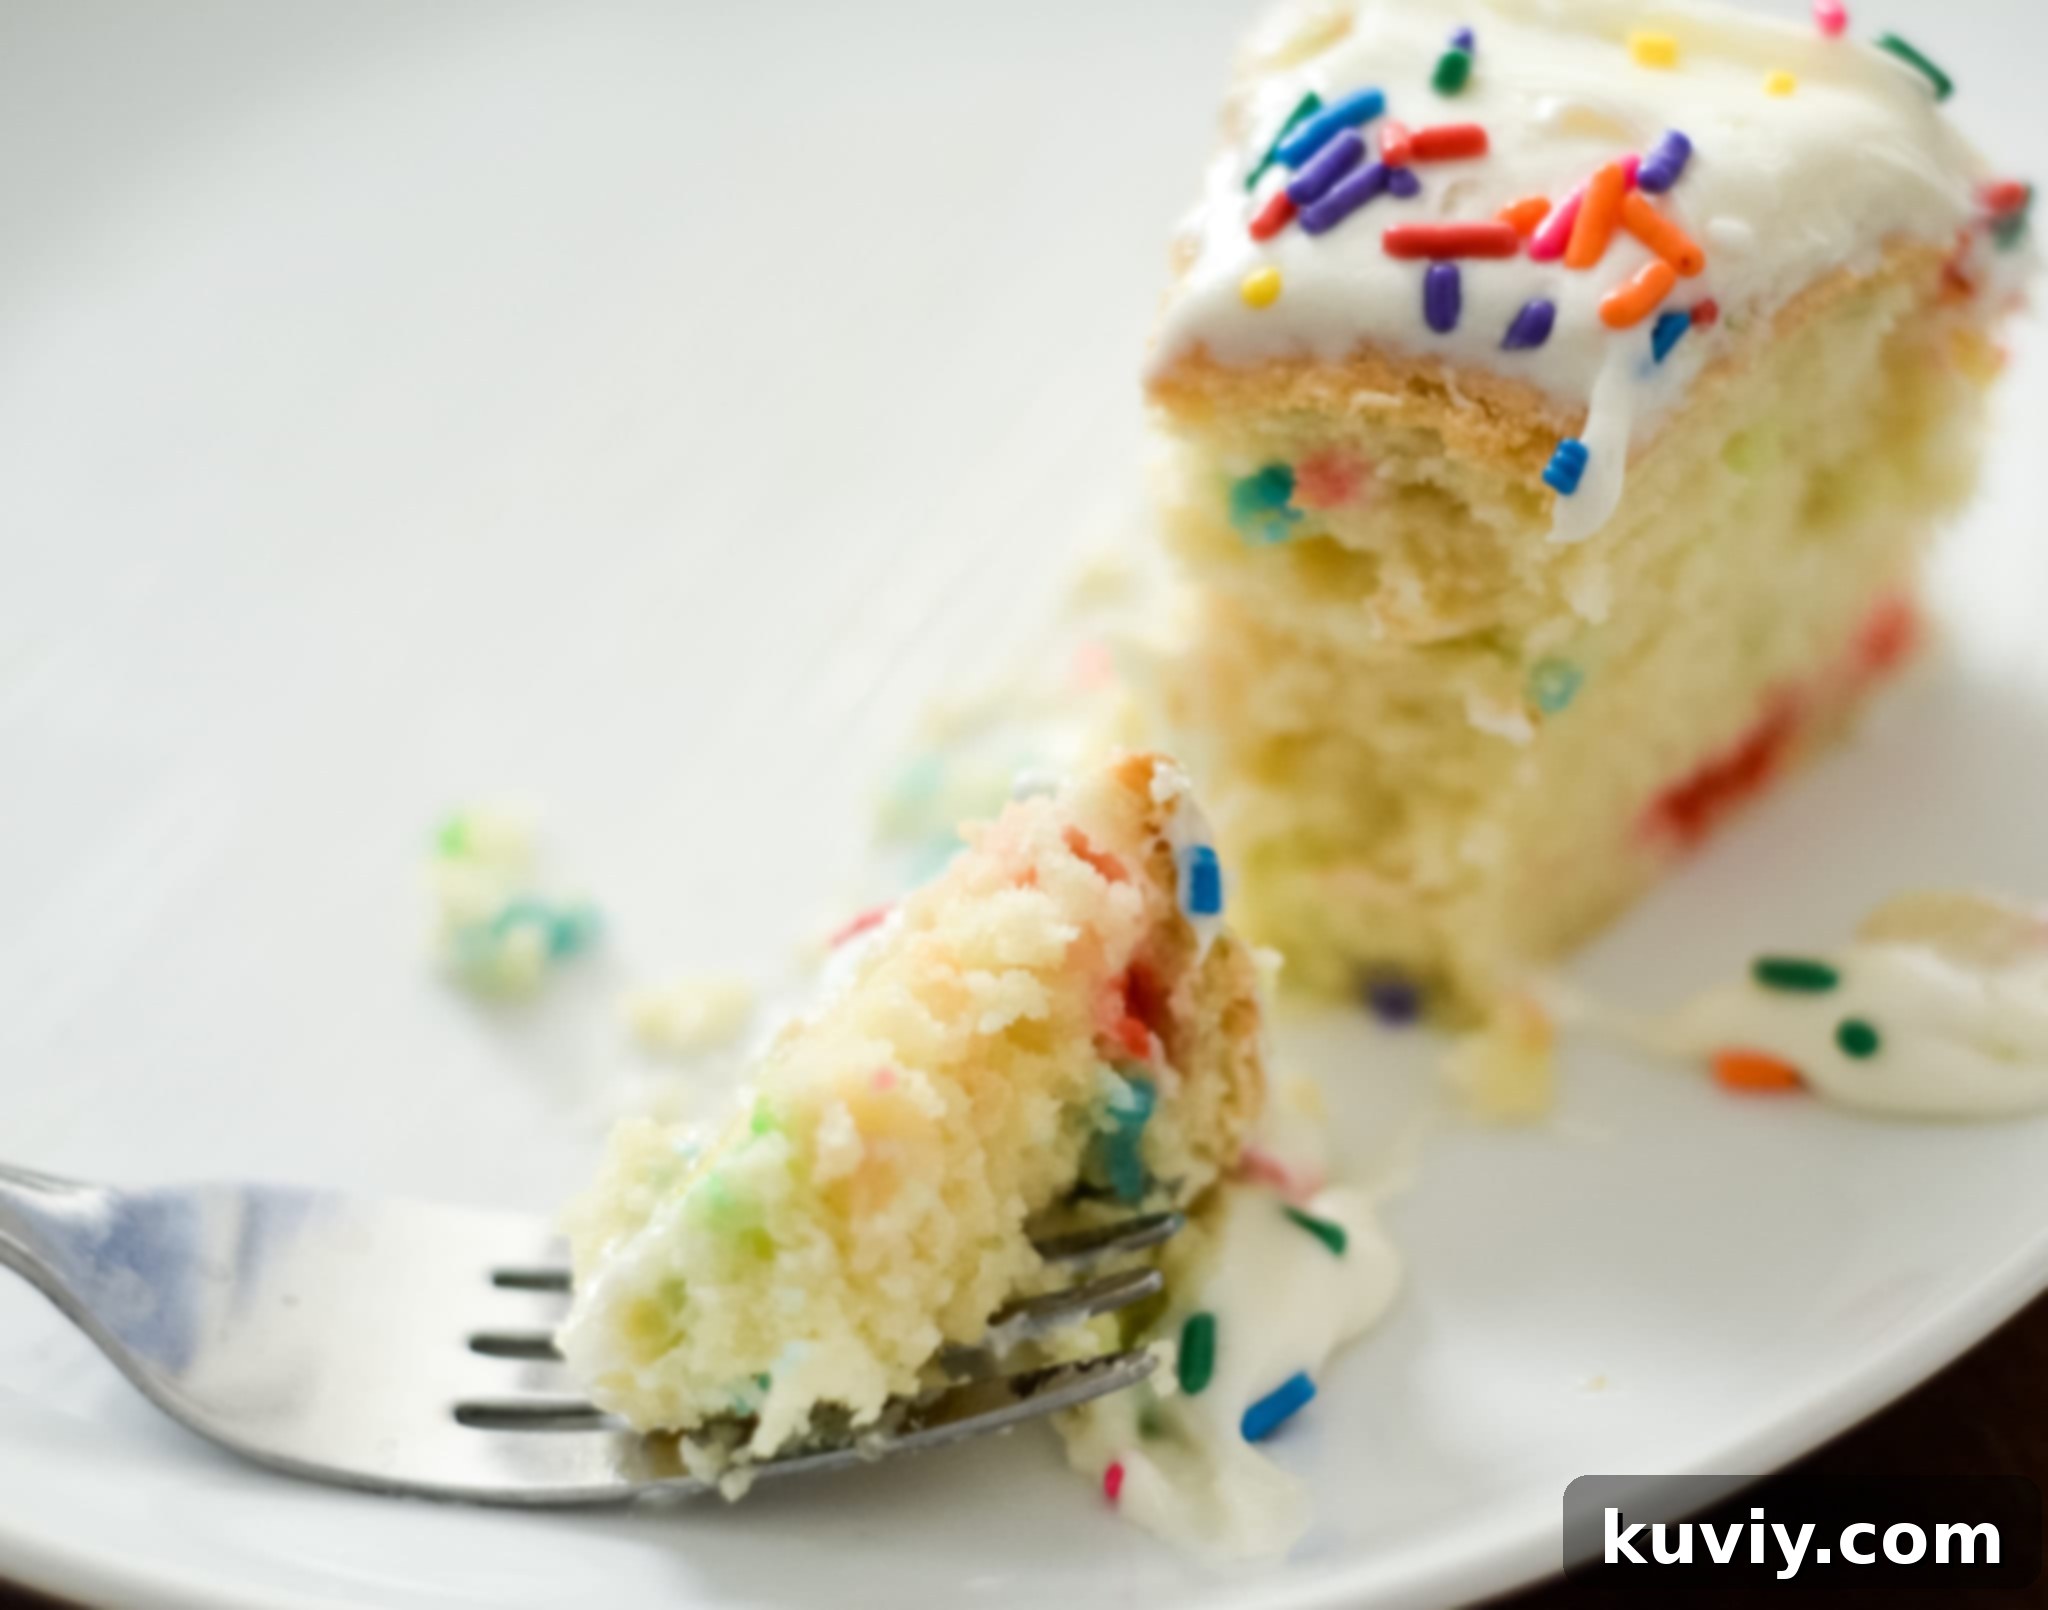
I have thoroughly tested this specific recipe across a variety of air fryer brands and models, and 35 minutes at 320°F consistently yielded the “golden time” for achieving a cake that was thoroughly cooked through in the middle without burning the top or edges. The goal is a beautifully golden-brown crust and a moist, tender interior.
Key Tips for Air Fryer Cake Cooking Times:
- Start Checking Early: Regardless of the suggested time, always begin checking your cake’s doneness at least 10 minutes before the recommended maximum. For this recipe, start checking around the 25-minute mark.
- The Toothpick Test: The most reliable way to check if your cake is done is to insert a clean toothpick or thin skewer into the center of the cake. If it comes out clean or with only a few moist crumbs attached, your cake is ready. If it comes out with wet batter, continue cooking in 3-5 minute increments, checking each time.
- Monitor Browning: Keep an eye on the cake’s top. If it’s browning too quickly before the center is cooked, you can loosely tent it with aluminum foil for the remaining cooking time.
- Note Your Machine: Once you find the perfect time and temperature for your specific air fryer, make a note of it! This will save you guesswork for future baking projects.
Patience and observation are your best friends when baking in an air fryer. Once you dial in the settings for your appliance, you’ll be baking perfect cakes every time!
How Do You Make This Air Fryer Cake Gluten-Free?
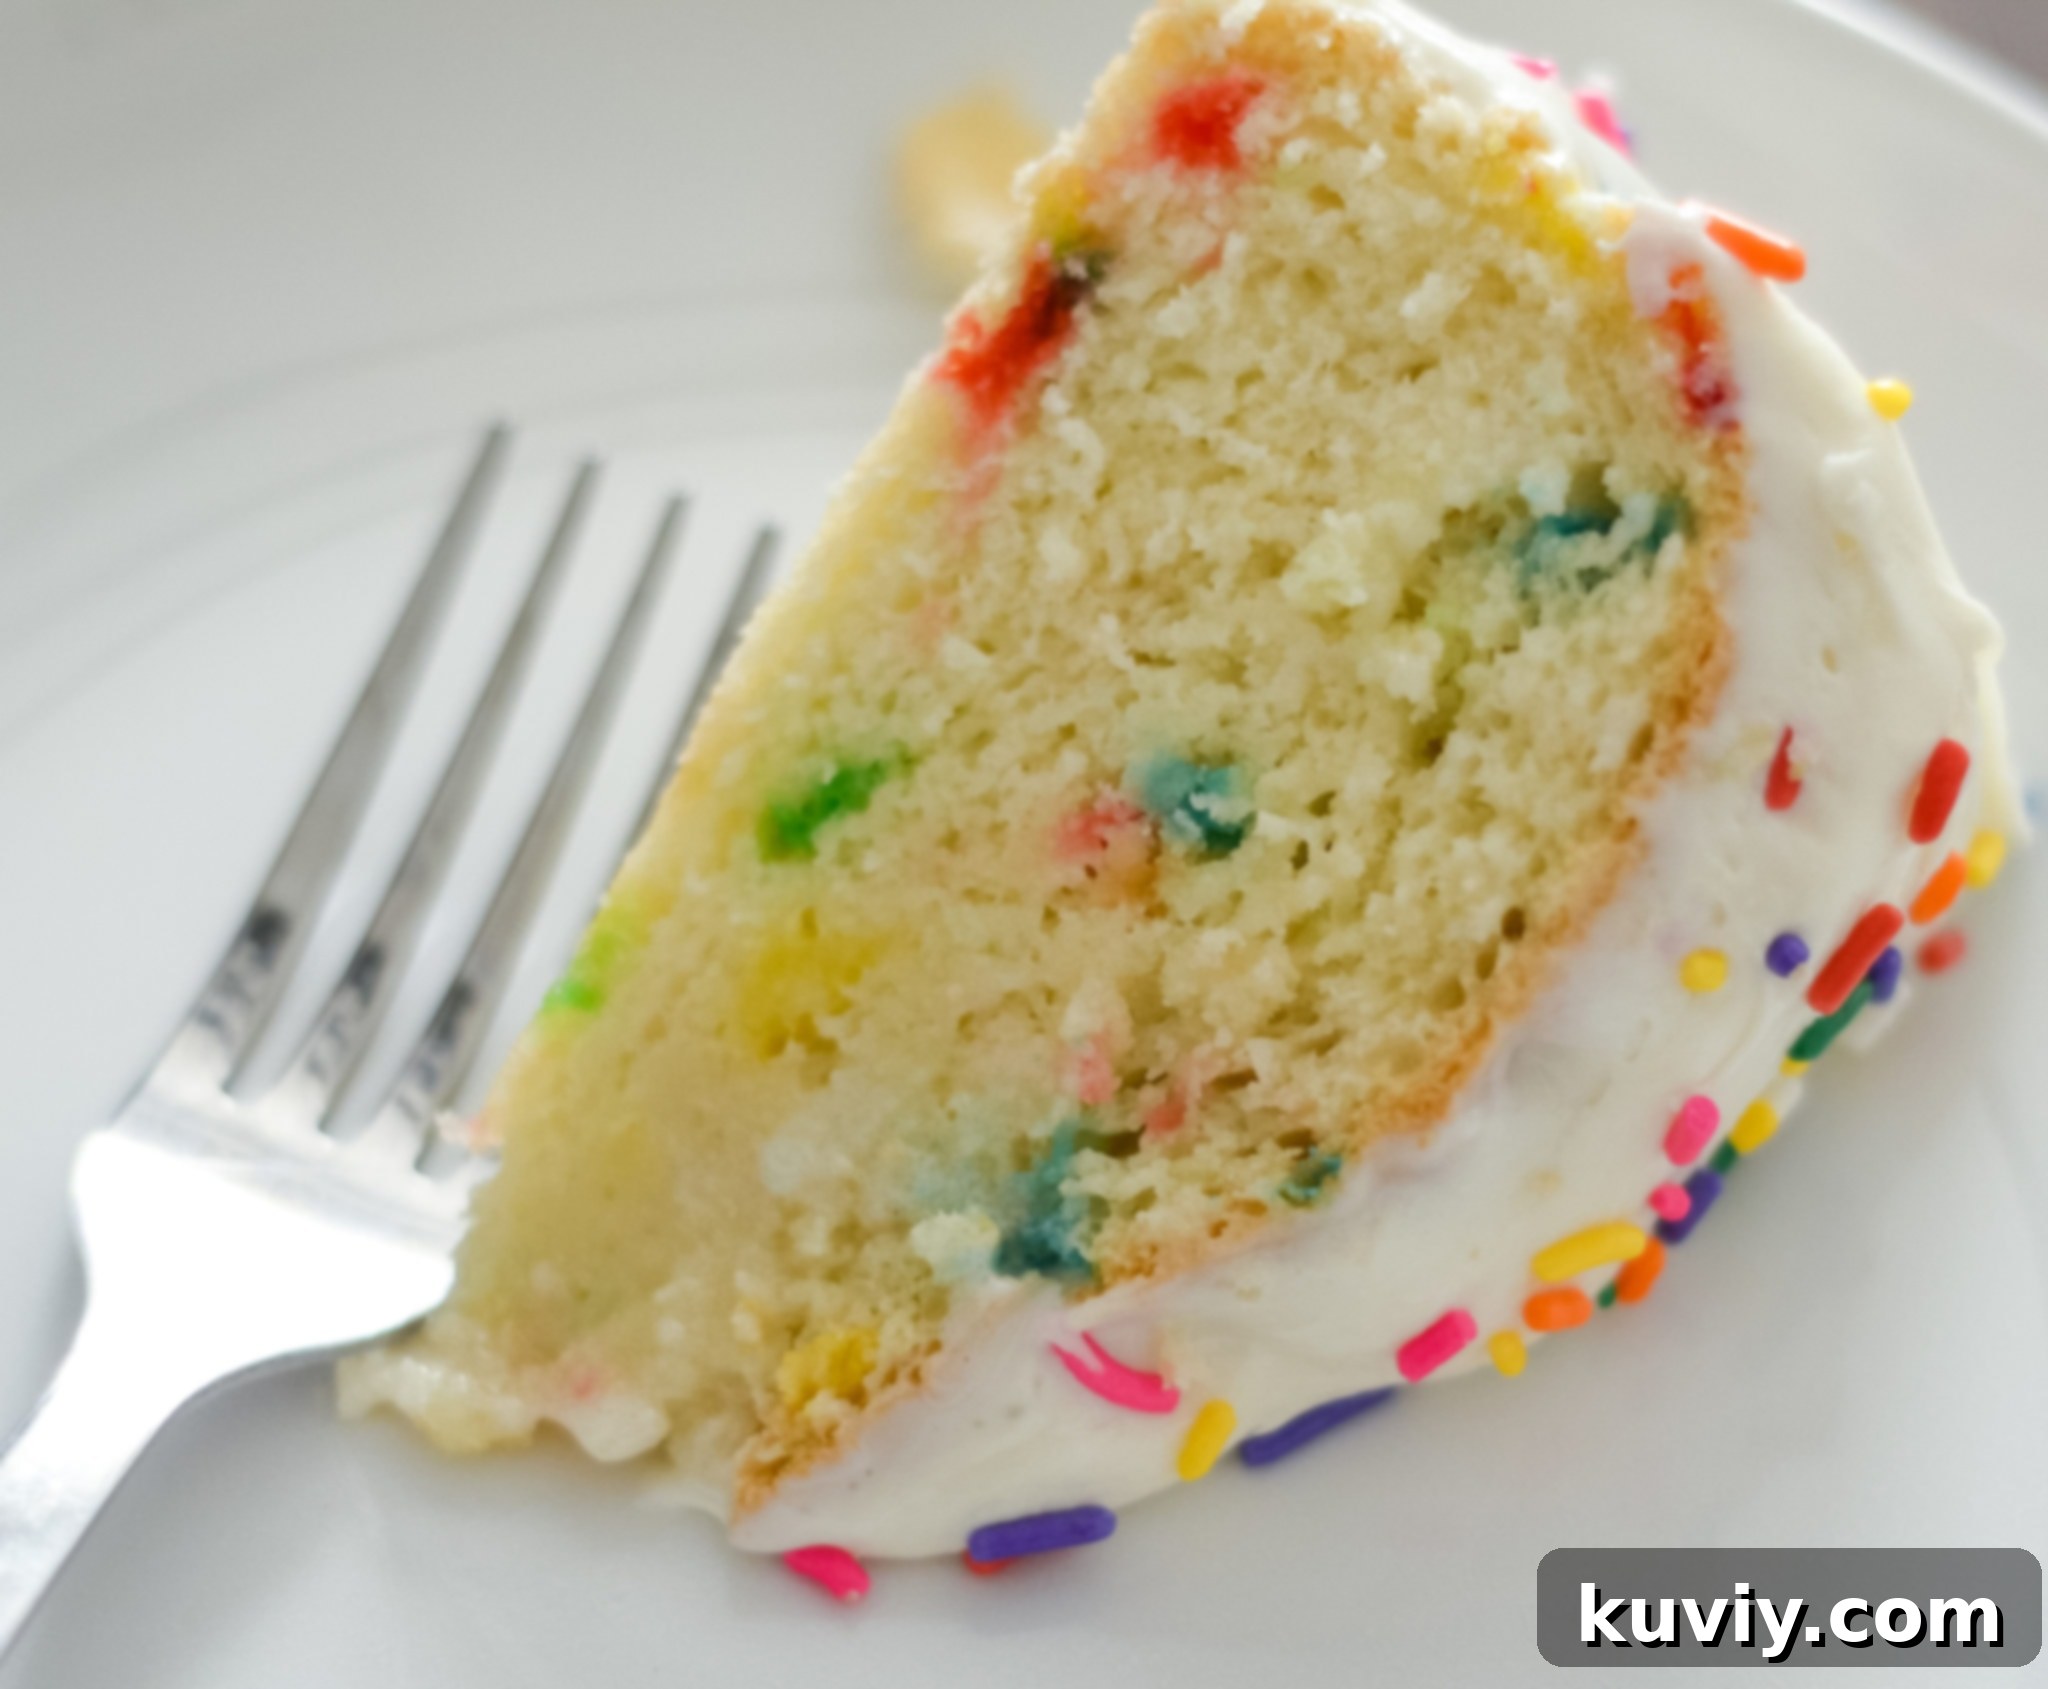
Making this delicious Air Fryer Cake gluten-free is incredibly straightforward, requiring only one simple substitution: your choice of cake mix. Since this recipe relies on the convenience of a boxed cake mix, the only adjustment needed for a gluten-free version is to select a mix that is certified gluten-free.
Gluten-free boxed cake mixes have come a long way, offering fantastic flavor and texture that rivals their traditional counterparts. Many popular brands now offer excellent gluten-free options in various flavors like vanilla, chocolate, and funfetti. For instance, the Gluten-Free Pillsbury Funfetti Cake Mix that we specifically mentioned earlier is a superb choice for a festive and delicious gluten-free cake.
Tips for Baking with Gluten-Free Cake Mixes:
- Follow Package Instructions: Always adhere to the specific instructions on your chosen gluten-free cake mix box for adding ingredients like eggs, oil, and water. These ratios might differ slightly from conventional mixes to achieve the best gluten-free texture.
- Consider Texture: Some gluten-free cakes can be prone to being a bit drier or crumbly than traditional cakes. To combat this, you might consider replacing water with milk (dairy or non-dairy), or even adding an extra egg yolk or a tablespoon of sour cream or yogurt to the batter for added moisture.
- Don’t Overmix: As with any cake, avoid overmixing the batter once the dry and wet ingredients are combined. Mix just until smooth to prevent a tough texture.
- Check for Doneness: The toothpick test is crucial for gluten-free cakes. While our recommended air fryer time of 35 minutes at 320°F works well for many mixes, slight variations might occur. Start checking around 25 minutes and adjust as needed.
- Cross-Contamination: If you are baking for someone with severe gluten allergies or Celiac disease, ensure all your baking tools, pans, and surfaces are free from gluten cross-contamination.
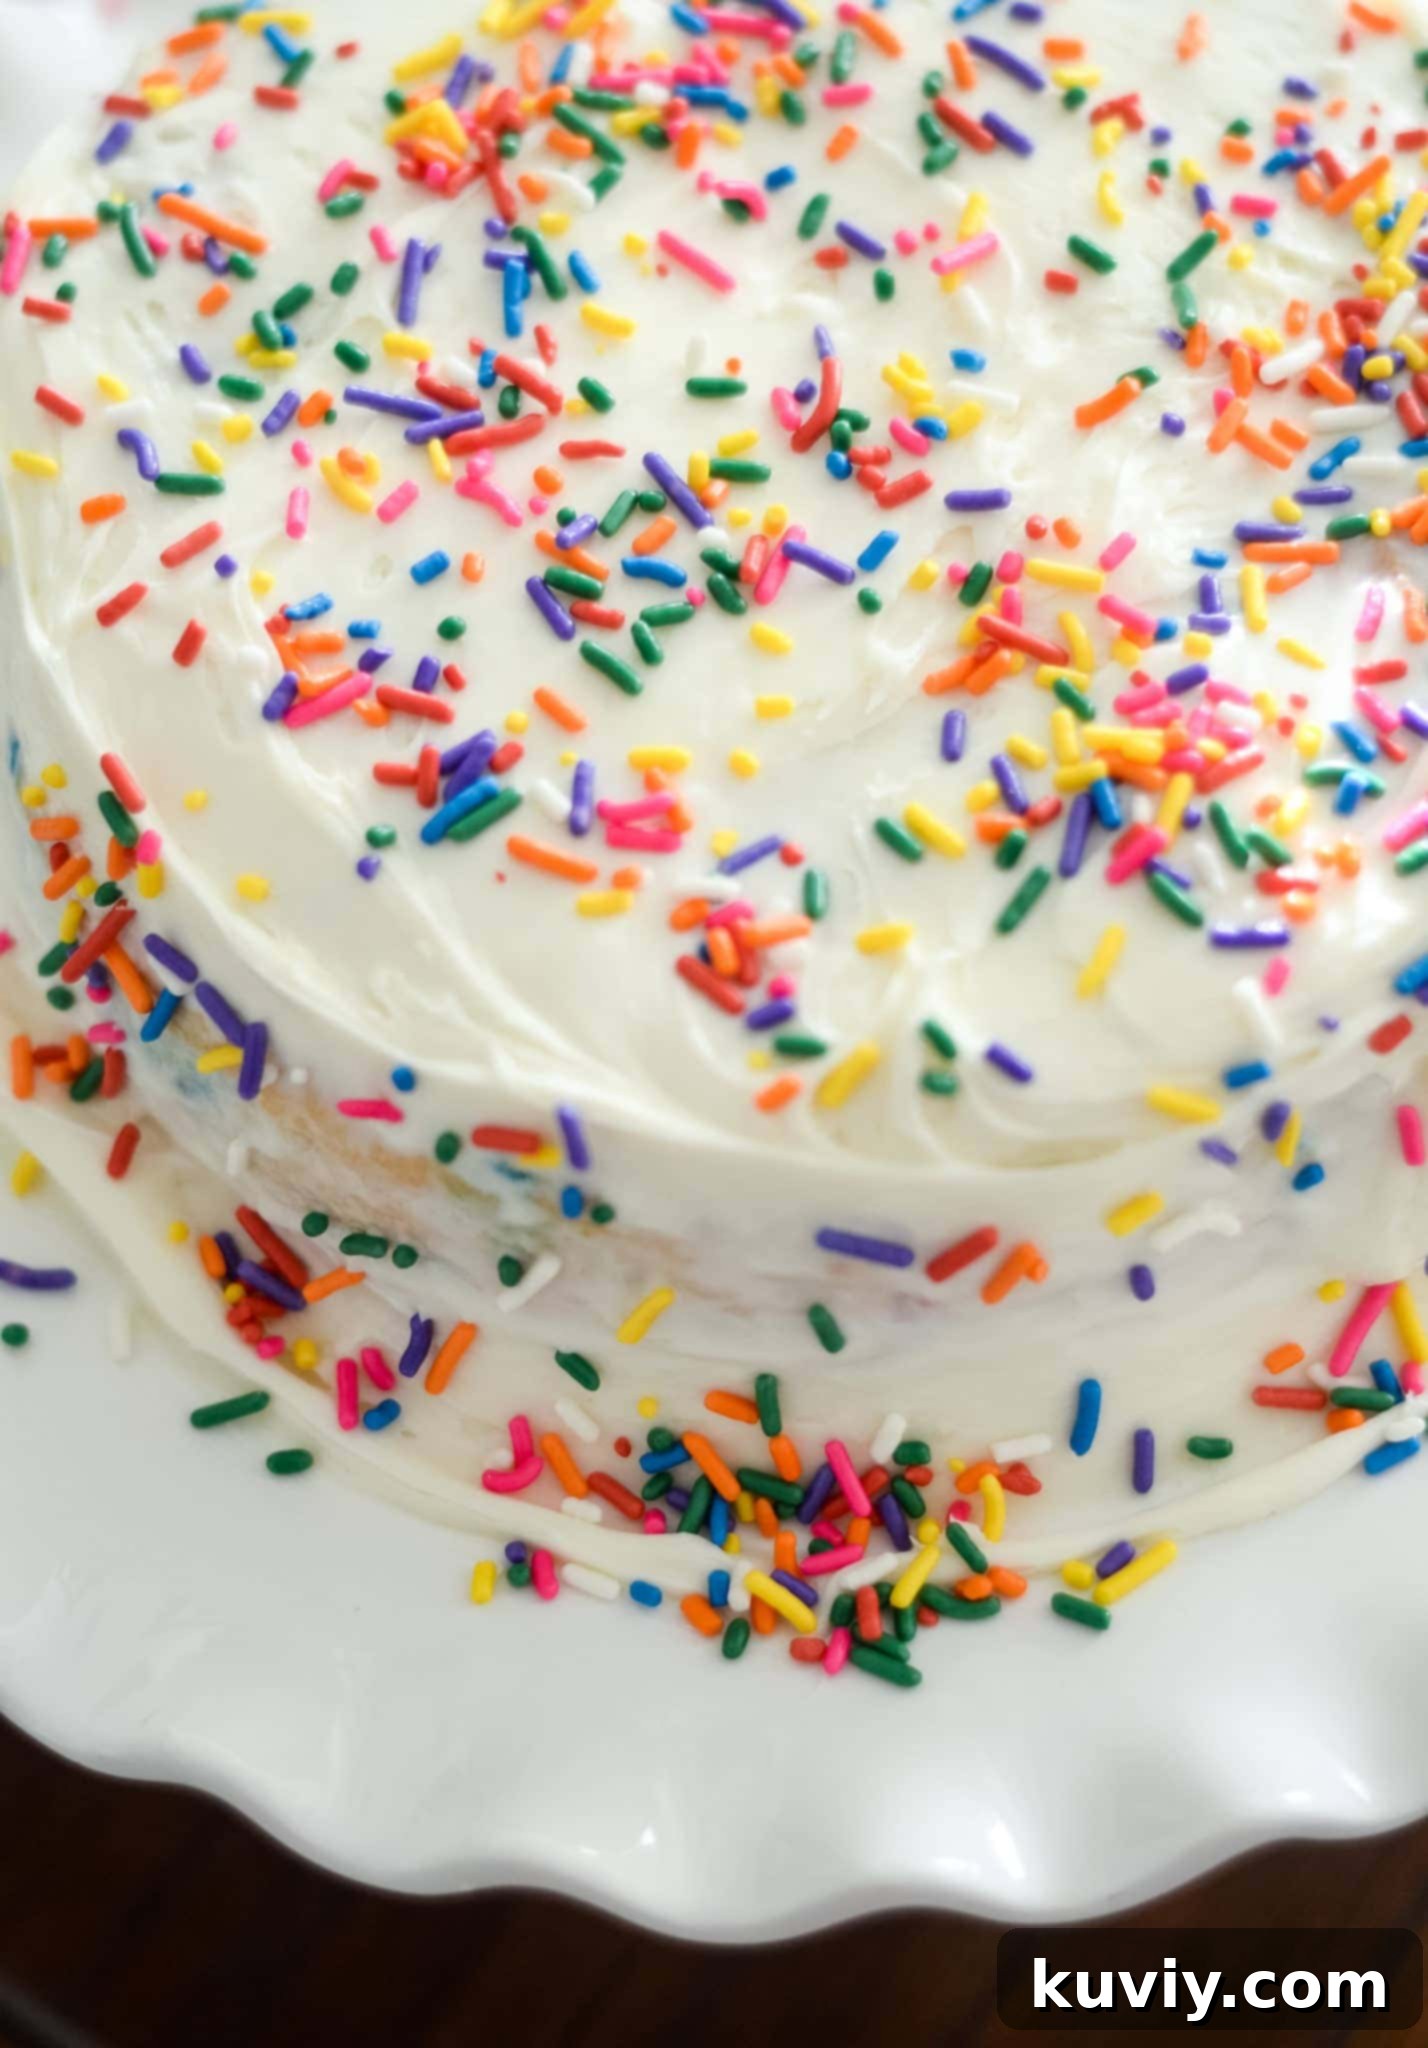
It’s that simple! With the right gluten-free cake mix, you can enjoy a delightful, light, and perfectly baked cake from your air fryer that caters to dietary needs without sacrificing flavor or fun. Enjoy this guilt-free indulgence!
If you’re a visual learner, be sure to watch the full Air Fryer Cake Tutorial on YouTube.
Easy Air Fryer Cake (Gluten-Free)
Air Fryer Fanatics
Pin Recipe
Save RecipeSaved!
Ingredients
- 1 16.5oz Box Cake Mix (See Note) Gluten-Free or Regular
- Ingredients for Box Cake Mix
- Cake Pan for Air Fryer 7inch springform pan recommended
- Frosting and Sprinkles
Instructions
-
Prepare the cake mix according to the package instructions found on your specific box of cake mix. This usually involves combining the mix with eggs, oil, and water or milk.
-
Thoroughly spray the cake pan you plan to use (e.g., a 7-inch springform pan) with a high-heat cooking spray. For extra non-stick assurance, you can also line the bottom with a circle of parchment paper.
-
Carefully pour the prepared cake batter into your greased pan. Avoid overfilling; generally, filling the pan about two-thirds full is ideal to allow for rising.
-
Place the cake pan into your Air Fryer (or use the Air Crisp function for Ninja Foodi appliances). Cook at 320°F (160°C) for 35 minutes.
-
As air fryers vary, always check the cake for doneness after 25 minutes. Insert a toothpick into the center; if it comes out clean, the cake is done. If not, continue cooking in 3-5 minute intervals until fully baked and golden brown.
-
Once cooked, carefully remove the cake pan from the air fryer using oven mitts. Allow the cake to cool in the pan for at least 5-10 minutes before releasing the sides (if using a springform) and transferring it to a wire rack to cool completely before frosting.
Video Tutorial
Notes
Cake Mix Size Compatibility: This recipe has been successfully tested with various boxed cake mix sizes, specifically those ranging from 15.5oz to 17oz. The Gluten-Free Cake Mix used in our tests was 17oz, and the provided times and temperatures worked perfectly across all these sizes. If you choose a cake mix smaller than 15.5oz, you will most likely need to reduce the cooking time to prevent overbaking.
Important Nutritional Information Note: The nutritional information provided below primarily calculates the values based on a standard box cake mix. Please be aware that this does NOT include the additional ingredients required by the cake mix (such as oil, water, or eggs), as these components can vary significantly across different brands and types of cake mixes. To obtain a precise nutritional breakdown, you would need to calculate these added ingredients separately based on your specific choices.
Adapted From: AllRecipes
Nutrition Information
Air Fryer Cake FAQs and Troubleshooting Tips
Baking in an air fryer is generally straightforward, but a few common questions and issues can arise. Here are some tips to help you get the best results every time:
“Why is my cake dry, burnt on top, or undercooked in the middle?”
- Air Fryer Variations: As mentioned, every air fryer heats differently. If your cake is dry or burnt, your air fryer might run hotter. Try lowering the temperature by 10-15°F or reducing the cooking time.
- Undercooked Center: If the center is still wet, it needs more time. However, if the top is already very brown, loosely tent the cake with aluminum foil to prevent further browning while the inside finishes cooking. Ensure your batter isn’t too thick for the pan size, as a very deep cake takes longer.
- Checking Doneness: Rely on the toothpick test! It’s the most accurate way to know when your cake is perfectly baked.
“Can I make cupcakes in the air fryer instead of a full cake?”
Absolutely! Air fryers are fantastic for cupcakes. You’ll need silicone cupcake liners or a small metal muffin pan that fits your air fryer basket. Fill liners about 2/3 full. The cooking time will be significantly shorter, typically 10-15 minutes at 320°F (160°C). Start checking at 8-10 minutes with a toothpick.
“Can I use a cake recipe from scratch instead of a box mix?”
Yes, you can! Any small-batch cake recipe designed for an 8-inch or 6-inch round pan can usually be adapted for an air fryer. Keep in mind that from-scratch recipes might have different densities and moisture levels than box mixes, so the cooking time and temperature might need more careful adjustment. Start with our recommended settings and perform the toothpick test frequently.
“How should I store leftover Air Fryer Cake?”
Once your cake has fully cooled, you can store it in an airtight container at room temperature for up to 2-3 days. If it’s a cream cheese-based frosting or if your kitchen is particularly warm, it’s best to store the cake in the refrigerator. In the fridge, it will last for up to 5 days. For longer storage, slices can be individually wrapped and frozen for up to 3 months, then thawed at room temperature.
“Can I double the recipe for a larger cake?”
Most standard air fryer baskets are not large enough to accommodate a double-layered cake or a significantly larger single cake. If you need more servings, it’s usually best to bake two separate small cakes back-to-back, rather than trying to fit a larger cake that might cook unevenly.
Serving Your Delicious Air Fryer Cake
Once your Air Fryer Cake is perfectly baked and cooled, the fun continues with decorating and serving! This humble cake, despite its easy origins, can be transformed into a showstopping dessert with just a few touches.
- Classic Frosting: The simplest approach is a store-bought frosting. Vanilla, chocolate, or cream cheese frostings are always popular choices. For a homemade touch, whip up a simple buttercream or a quick glaze.
- Festive Sprinkles: If you used a funfetti mix, or just want to add some cheer, a generous shower of sprinkles is a must!
- Fresh Fruit: For a lighter, fresher taste, top your cake with seasonal berries like strawberries, blueberries, or raspberries. A dollop of whipped cream alongside fresh fruit is heavenly.
- Chocolate Shavings or Drizzle: A sprinkle of chocolate shavings or a simple chocolate ganache drizzle can elevate the elegance of any cake.
- Nuts or Coconut Flakes: Toasted nuts like pecans or walnuts, or some lightly toasted coconut flakes, add wonderful texture and flavor.
- A Scoop of Ice Cream: Serve a warm slice of cake with a scoop of your favorite vanilla bean or chocolate ice cream for an extra indulgent treat.
This easy Air Fryer Cake is incredibly versatile and can be tailored to suit any palate or occasion. Whether it’s a casual weeknight dessert, a small birthday celebration, or a delightful treat for unexpected guests, its quick preparation and delicious outcome will make it a regular in your baking repertoire. Enjoy your homemade masterpiece!
