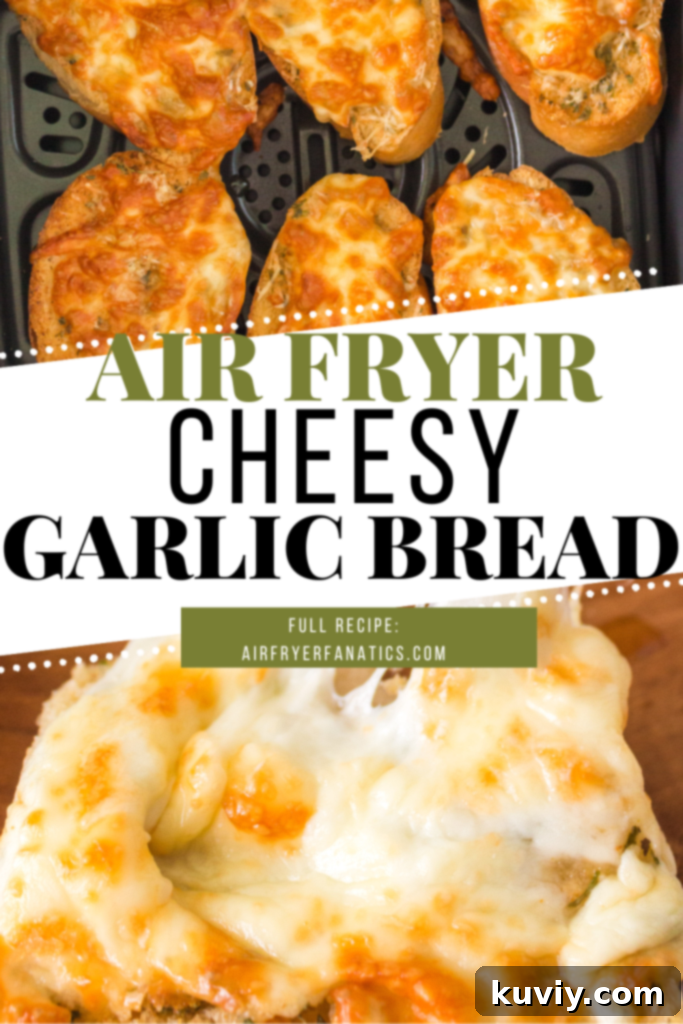
Ultimate Air Fryer Cheesy Garlic Bread: Crispy, Golden, and Ready in Minutes!
Are you ready to elevate your meal with a side that’s undeniably delicious, wonderfully warm, and packed with irresistible cheesy garlic flavor? Look no further than this incredibly easy Air Fryer Cheesy Garlic Bread recipe! Perfect for pairing with your favorite Spaghetti, lasagna, or a hearty soup, this homemade garlic bread takes mere minutes to prepare and cook, delivering a perfectly golden, crispy crust and a gooey, melted cheese topping every single time. Forget the oven and tedious baking; your air fryer is about to become your new best friend for quick and amazing sides!
This recipe focuses on simple, fresh ingredients to bring out the best in classic cheesy garlic bread. We start with a quality loaf of bread, infuse it with a rich garlic butter spread, and then top it with a generous layer of delicious cheeses before crisping it to perfection in the air fryer. The result is a gourmet-tasting side dish that requires minimal effort but delivers maximum flavor and satisfaction, all in under 10 minutes. It’s the ideal quick fix for busy weeknights or when you need a crowd-pleasing appetizer in a flash.
Choosing the Best Bread for Air Fryer Garlic Bread
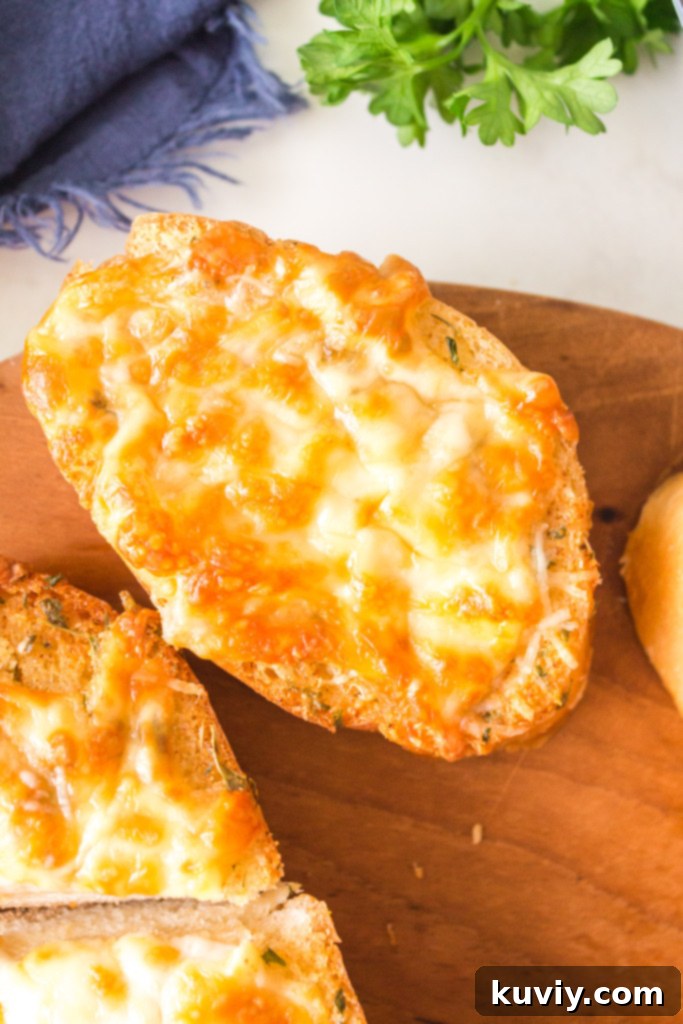
The foundation of any great garlic bread is, of course, the bread itself. For this Air Fryer Cheesy Garlic Bread, we highly recommend a crusty French loaf or baguette. The sturdy texture of a crusty loaf holds up beautifully to the garlic butter and cheese, preventing it from becoming soggy, while also developing a delightful crispness in the air fryer. The thick outer crust contributes significantly to that satisfying bite we all crave in garlic bread.
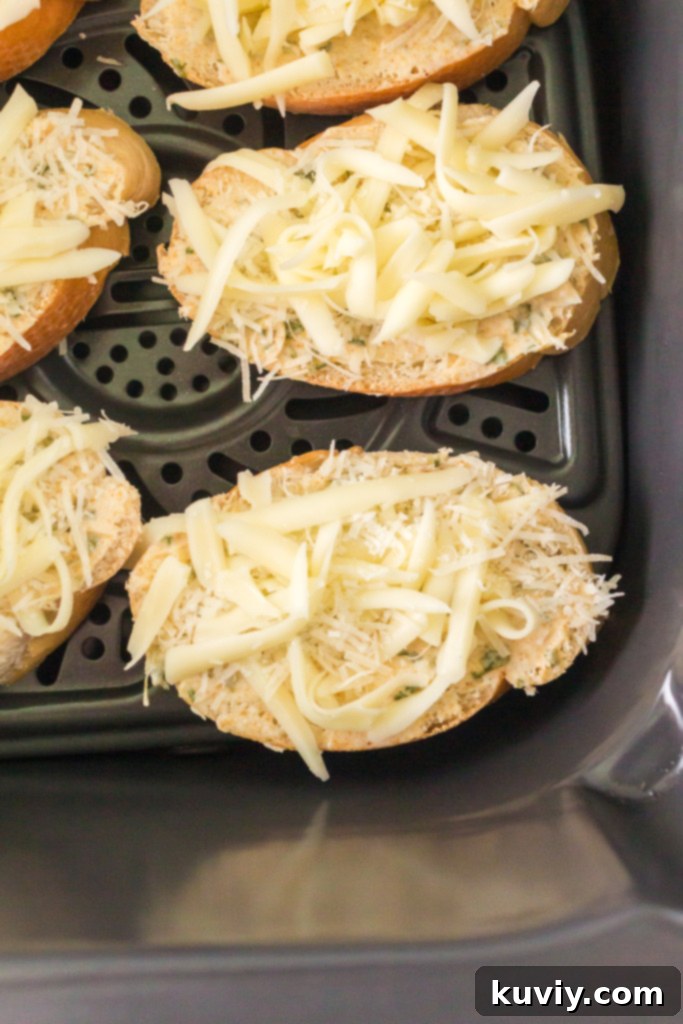
You have flexibility in how you prepare your bread. You can slice the baguette into individual 1/2-inch thick pieces, as shown in the images, which are perfect for single servings and quick cooking. Alternatively, for a more communal feel or a larger serving, you can slice the baguette lengthwise, creating two long halves that can be buttered and topped with cheese. Both methods work wonderfully in the air fryer, so choose the one that best suits your preference and how you plan to serve it. Just ensure your slices aren’t too thin, as they might dry out too quickly, or too thick, which could prevent the cheese from melting adequately in the center.
While fresh bread is preferred for its superior texture and flavor, you can also adapt this recipe for frozen bread. If using a pre-sliced frozen baguette, you might need to adjust the cooking time and temperature slightly, potentially starting with a lower temperature to allow the bread to thaw and warm through before crisping. For another fantastic frozen option, don’t miss our recipe for Air Fryer Texas Toast, which is incredibly quick and easy, ready in just 4 minutes!
Can I Make This in Other Air Fryer Appliances like the Ninja Speedi or Ninja Foodi?
Absolutely! This Air Fryer Cheesy Garlic Bread recipe is versatile and can be made in various air frying appliances, including the popular Ninja Foodi and Ninja Speedi models. The principles remain the same, but a slight adjustment in temperature might be beneficial depending on your specific model.
If you’re using a **Ninja Foodi**, you can follow the main recipe instructions and use the “Air Crisp” function. The Ninja Foodi’s Air Crisp setting generally operates similarly to a traditional air fryer, so the recommended temperature of 330°F should work perfectly for achieving that golden-brown crust and melted cheese.
For those with a **Ninja Speedi**, we’ve observed that these appliances tend to run a bit hotter than traditional air fryers. To prevent your garlic bread from over-browning or burning, especially the delicate cheese, we recommend reducing the temperature slightly. Cook your cheesy garlic bread in the Ninja Speedi at approximately 315°F. This lower temperature allows for a more controlled cook, ensuring the cheese melts beautifully and the bread crisps without becoming too dark. Always keep an eye on your food during the last few minutes, as cooking times can vary based on the appliance and the thickness of your bread slices.
Crafting the Perfect Cheesy Garlic Butter Spread
The heart of any truly great garlic bread lies in its aromatic butter spread. For this recipe, we keep it simple yet incredibly flavorful. The key is to use salted butter that is at room temperature. This ensures it’s soft enough to easily combine with the other ingredients and spread smoothly onto your bread without tearing it.
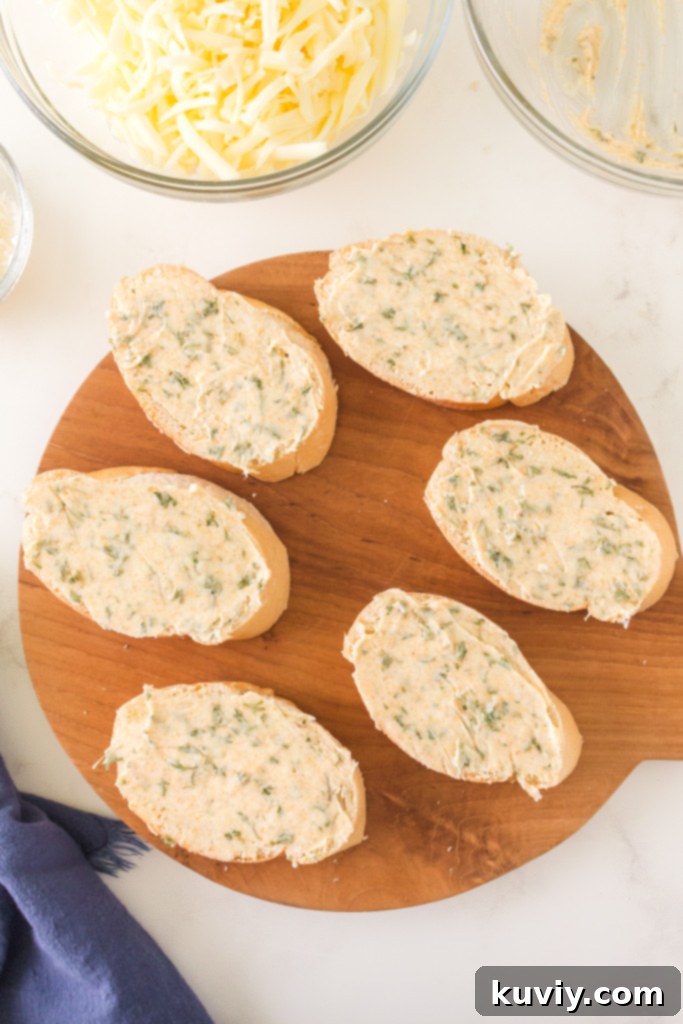
Our garlic butter blend features garlic powder and dried parsley. While fresh garlic is always an option for an even more pungent flavor, garlic powder provides a consistent, robust garlic taste that distributes evenly throughout the butter, and it’s less prone to burning in the air fryer compared to finely minced fresh garlic. The dried parsley not only adds a touch of color but also a subtle herbaceous note that complements the garlic beautifully. Mix these ingredients thoroughly in a small bowl until they are well combined, creating a vibrant, fragrant spread that will transform your bread.
Generously coating both sides of each bread slice with this savory garlic butter mixture is crucial. This step ensures that every bite is bursting with flavor and helps achieve that irresistible crispy exterior when air-fried.
The Ultimate Cheese Blend for Melty Perfection
While garlic butter alone makes fantastic garlic bread, adding cheese takes it to an entirely new level of deliciousness. The cheese is entirely optional, but we find it adds a wonderful boost of flavor and a satisfying texture that makes this dish truly special. For the best results, we recommend using a combination of cheeses to achieve both excellent melt and a rich flavor profile.
Our go-to combination includes freshly grated Parmigiano cheese and either shredded Mozzarella or a blend of Colby Jack and Mozzarella. Here’s why this works:
- Mozzarella: Known for its incredible melting capabilities and mild, milky flavor, Mozzarella provides that desirable gooey, stretchy texture.
- Colby Jack: If you choose Colby Jack, it brings a slightly sharper, more complex flavor than plain Mozzarella, along with good melting properties, adding another layer of taste.
- Parmigiano (Parmesan): Freshly grated Parmigiano adds a salty, nutty, and umami depth that elevates the overall flavor. It crisps up beautifully in the air fryer, contributing to the golden-brown crust.
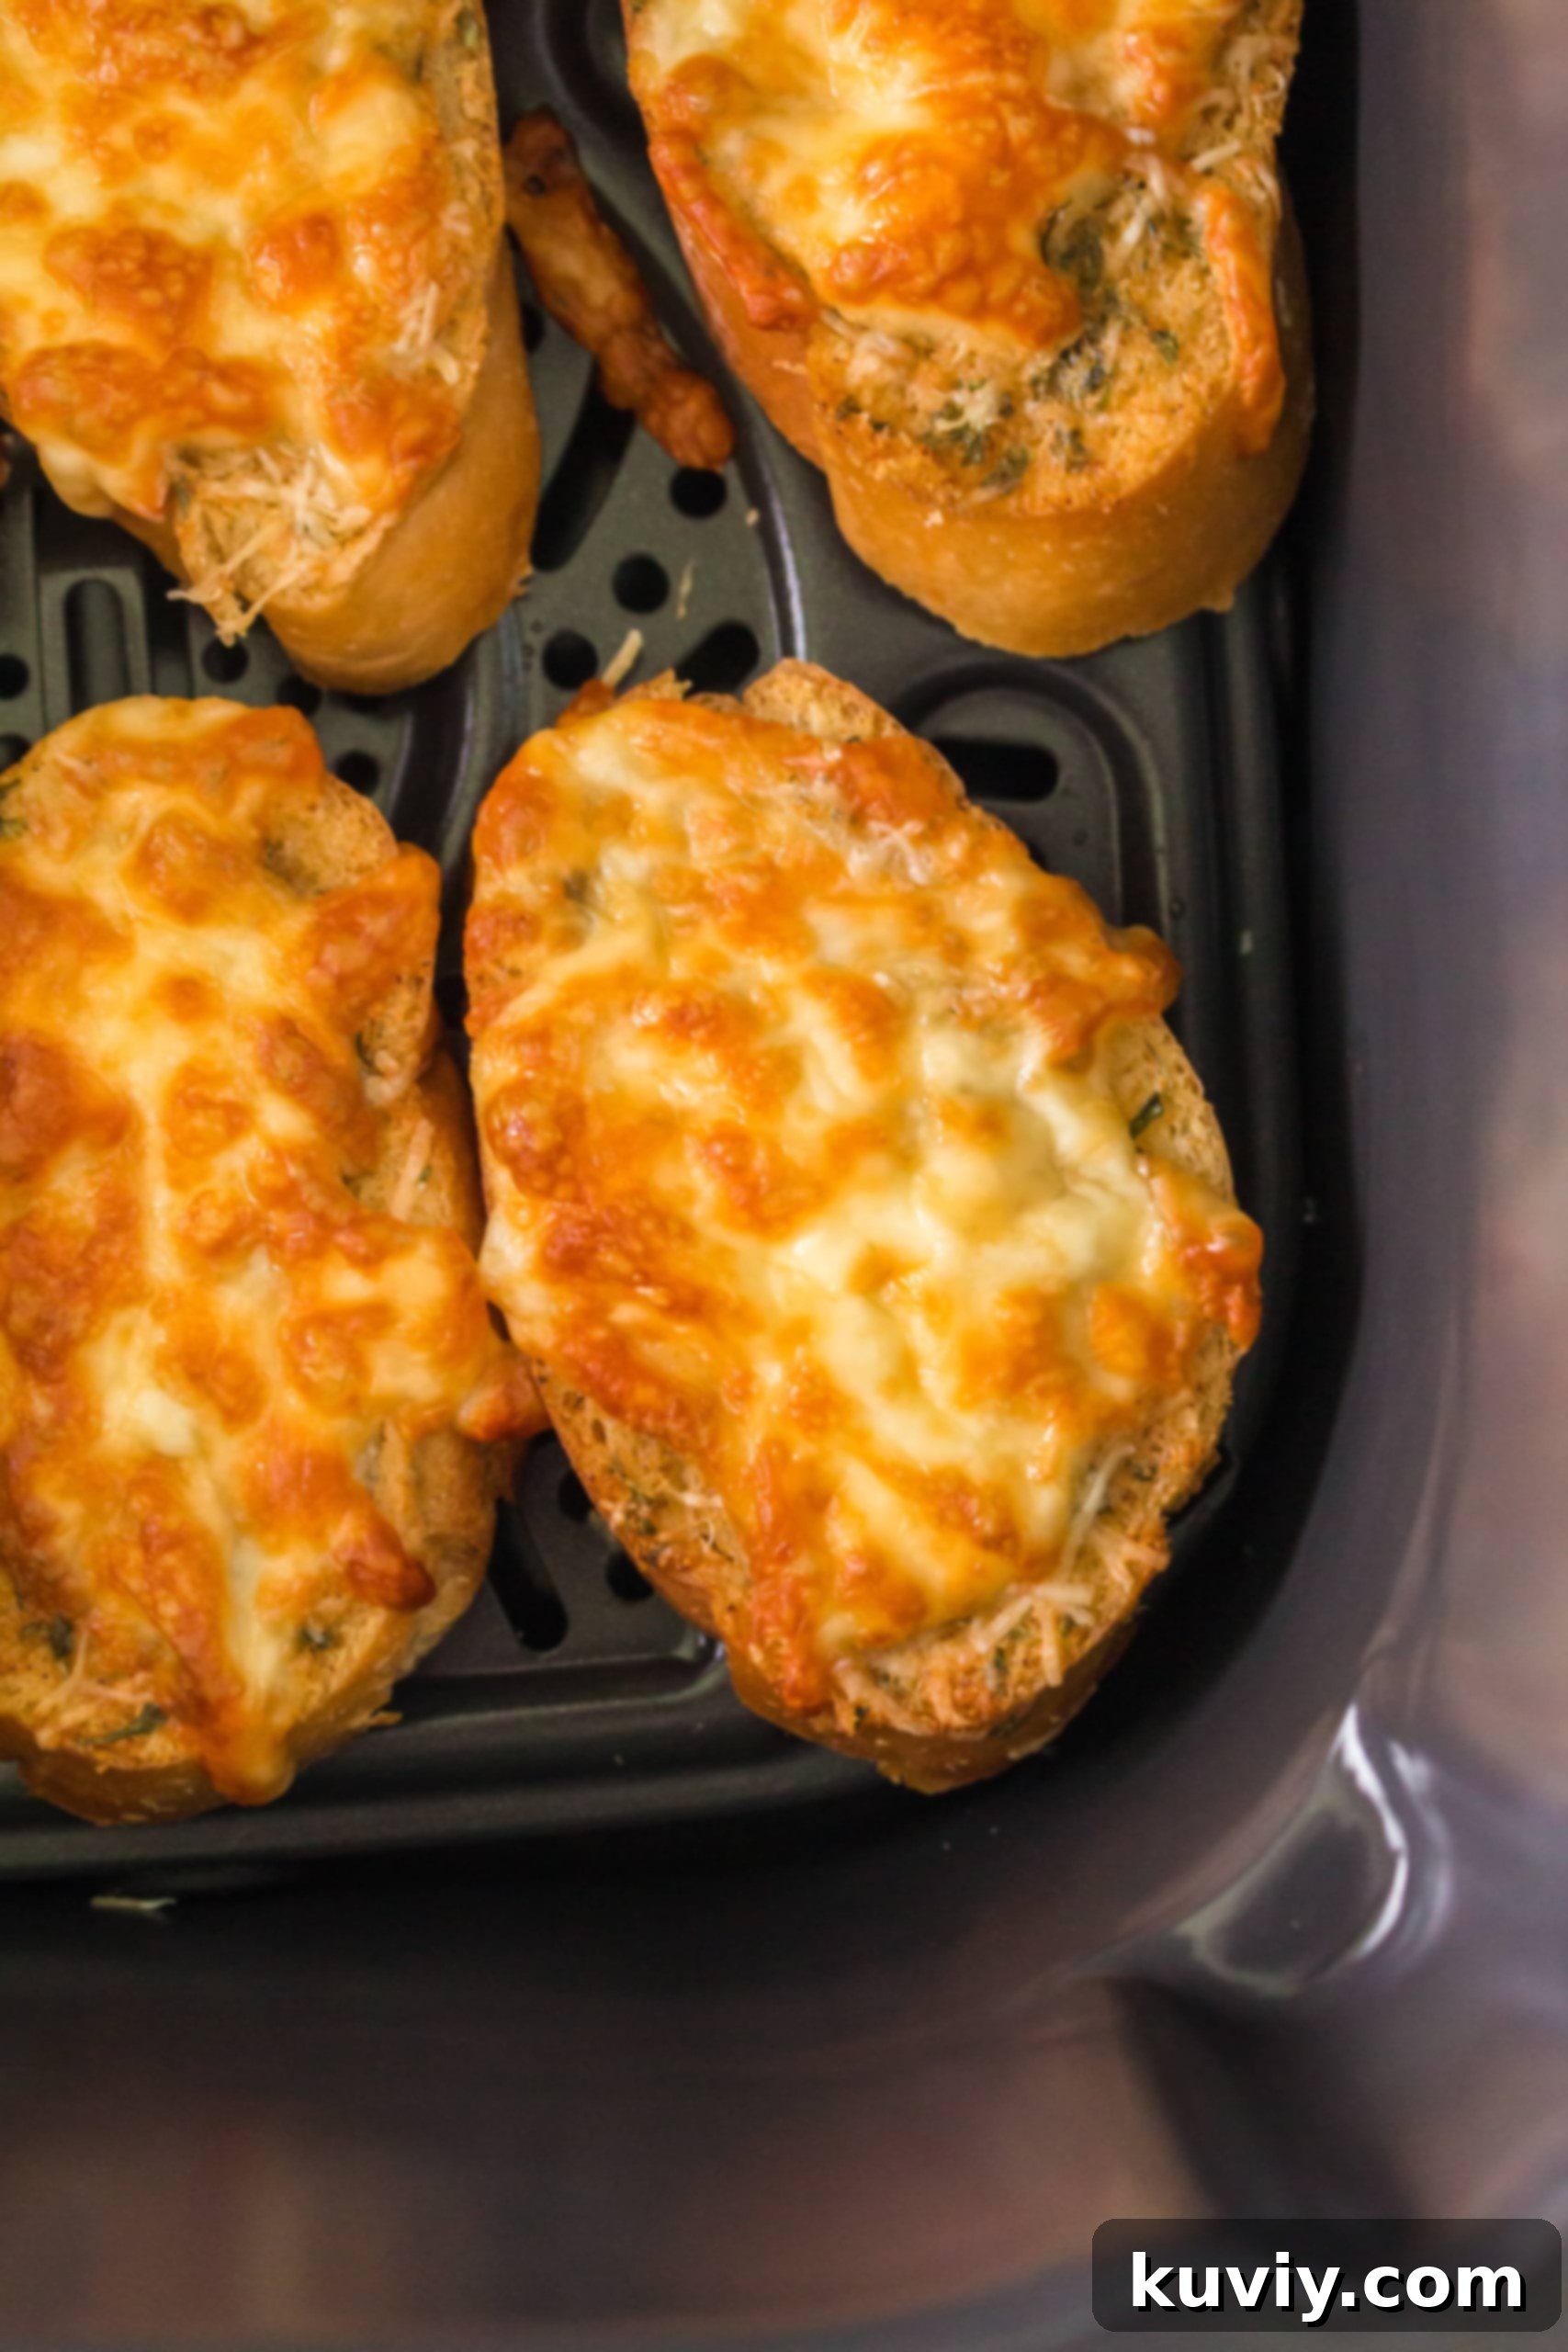
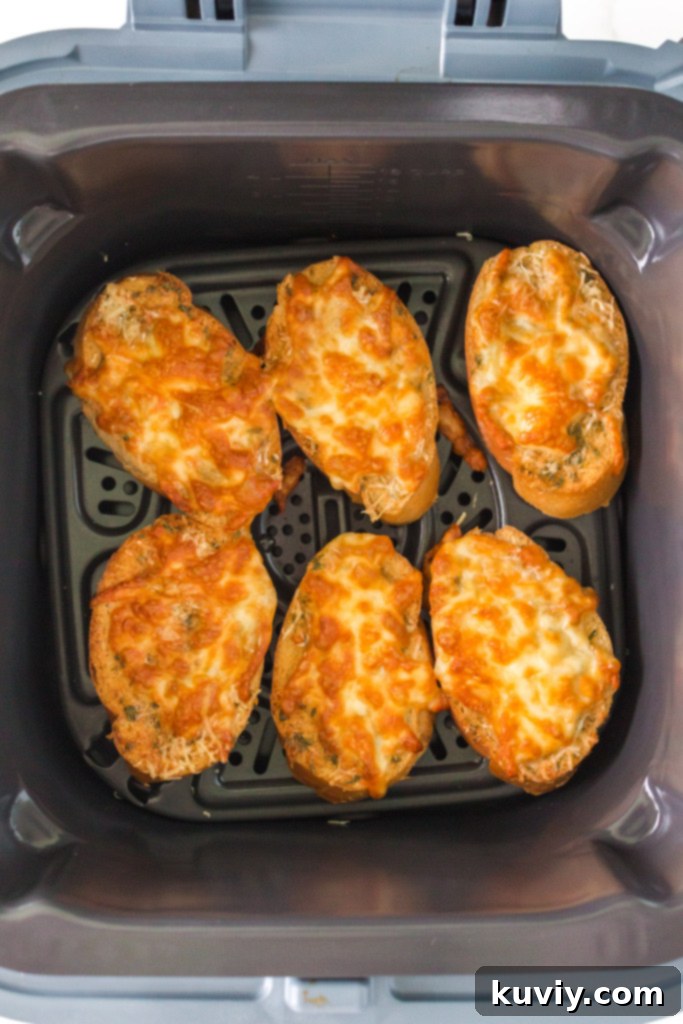
Using a blend ensures you get the best of both worlds: the perfect melt and a nuanced, savory taste. Don’t be shy with the cheese; a generous sprinkle on each buttered bread piece will yield the most satisfying results. The air fryer works magic, crisping the edges of the cheese while keeping the center delightfully soft and melted.
Essential Tips for Making the BEST Air Fryer Cheesy Garlic Bread
Achieving perfectly crispy and cheesy garlic bread in your air fryer is simple with a few key tips:
- Preheat Your Air Fryer: Just like an oven, preheating your air fryer is crucial for even cooking and achieving that immediate crispness. This helps the bread start cooking instantly and prevents it from drying out before the cheese melts.
- Don’t Overcrowd the Basket: Air fryers work by circulating hot air around the food. If you pack too many slices into the basket, the air won’t circulate properly, leading to uneven cooking and less crispiness. Cook in batches if necessary, ensuring there’s space between each slice.
- Monitor Closely: Air fryers cook quickly! Keep a close eye on your garlic bread, especially during the last few minutes. The exact cooking time can vary based on your air fryer model, the thickness of your bread, and how golden you like your crust.
- Adjust for Frozen Bread: If using frozen pre-sliced garlic bread or a frozen baguette, you will need to adjust the temperature and time. For frozen slices, you might start at a slightly lower temperature (e.g., 300°F) for a few minutes to thaw and then increase to crisp. For a whole frozen baguette, you may need to bake it in a conventional oven first according to package directions, or considerably increase air frying time at a lower temperature, before adding cheese. Our Air Fryer Texas Toast recipe is a great guide for frozen options.
- Slice Consistently: Uniformly sliced bread ensures even cooking. Aim for 1/2-inch thick slices when cutting your baguette.
- Embrace the Cheese Combo: As mentioned, using a mix of Mozzarella or Colby Jack with Parmigiano delivers the best flavor and texture. Don’t limit yourself to just one!
- Garlic Butter Only Option: If you prefer classic garlic bread without the cheese, simply omit the cheese and proceed with the garlic butter. It will still be wonderfully flavorful and crisp.

Whether you’re making individual slices or a split baguette, the method remains simple and effective for achieving that perfect crispy, cheesy finish in your air fryer. This versatility makes it an excellent choice for any meal, from a casual family dinner to an impromptu gathering.

Enjoy your homemade, warm, and cheesy Air Fryer Garlic Bread! It’s truly a game-changer for quick, delicious sides.
Serving Suggestions for Your Perfect Cheesy Garlic Bread
Air Fryer Cheesy Garlic Bread is a versatile side dish that complements a wide array of meals. Its rich flavor and satisfying crunch make it an excellent accompaniment to many main courses:
- Pasta Dishes: The classic pairing! Serve alongside hearty spaghetti with meat sauce, creamy fettuccine Alfredo, or a robust lasagna. It’s perfect for soaking up delicious sauces.
- Soups and Stews: A warm bowl of tomato soup, minestrone, or a beef stew is made even better with a piece of cheesy garlic bread for dipping.
- Salads: Add a delightful crunch and savory element to a fresh garden salad or a Caesar salad.
- Grilled Meats: Pair with grilled chicken, steak, or pork chops for a complete and satisfying meal.
- Appetizer: Serve it on its own with some marinara sauce for dipping as a crowd-pleasing appetizer at parties or gatherings.
Storing and Reheating Leftovers
While this garlic bread is best enjoyed fresh out of the air fryer, you can certainly store and reheat leftovers. Place any cooled leftover cheesy garlic bread in an airtight container or a Ziploc bag. It will keep in the refrigerator for up to 2-3 days.
To reheat, the air fryer is your best bet for regaining that crispy texture. Simply preheat your air fryer to 300-325°F and cook the garlic bread for 3-5 minutes, or until warmed through and re-crisped to your liking. Keep a close watch to prevent burning. Reheating in a microwave is generally not recommended as it can make the bread soft and chewy rather than crispy.
Troubleshooting Common Air Fryer Cheesy Garlic Bread Issues
Even with a simple recipe, minor issues can sometimes arise. Here are quick fixes for common problems:
- Bread is too dry/hard: This usually means it was cooked too long or at too high a temperature. Reduce cooking time or temperature next time. Ensure your bread slices aren’t too thin.
- Cheese isn’t melted enough: The temperature might be too low, or the cooking time too short. Increase the temperature slightly or cook for an extra minute. Ensure your cheese is shredded for quicker melting.
- Cheese burnt before bread crisped: This happens if the temperature is too high. The cheese on top cooks faster than the bread underneath. Reduce the temperature (especially if using a Ninja Speedi) and cook for a slightly longer duration. You can also try covering the cheese loosely with a small piece of foil for the first few minutes, then removing it to allow the cheese to brown.
- Bread is soggy: This is less common in an air fryer but can happen if the bread isn’t crusty enough or if too much butter was applied. Use a good quality crusty baguette and ensure butter is spread evenly, not pooled.
Variations to Try
Once you’ve mastered the basic Air Fryer Cheesy Garlic Bread, feel free to experiment with these delicious variations:
- Herb Explosion: Add other dried herbs like oregano, basil, or Italian seasoning to your garlic butter mix for an extra layer of flavor.
- Spicy Kick: A pinch of red pepper flakes in the butter or sprinkled over the cheese can add a delightful heat.
- Different Cheeses: Experiment with other melting cheeses like Provolone, Fontina, or a sharp white Cheddar for distinct flavor profiles.
- Fresh Garlic: For a more intense garlic flavor, substitute garlic powder with 1-2 cloves of finely minced fresh garlic, but be careful not to burn it. Mix it into the butter.
- Everything Bagel Seasoning: A sprinkle of everything bagel seasoning over the cheese before air frying can add a unique savory crunch.
No matter how you customize it, this Air Fryer Cheesy Garlic Bread is bound to become a staple in your kitchen. Its speed, ease, and incredible taste make it an unbeatable choice for any occasion.
Air Fryer Cheesy Garlic Bread
Pin Recipe
Save RecipeSaved!
Ingredients
- 1/2 Baguette (Cut into about 6 slices or lengthwise)
- 4 Tbsp Salted Butter, Room Temperature
- 2 Tsp Garlic Powder
- 1 Tbsp Dried Parsley
- 1/2 Cup Shredded Mozzarella (or a mix of Colby Jack and Mozzarella)
- 1/2 Cup Freshly Grated Parmigiano
Instructions
-
Preheat your Air Fryer to 330°F (If using a Ninja Speedi, set to 315°F).
-
Slice half of the baguette into 1/2-inch thick slices, or cut it lengthwise. Set the bread aside.
-
In a small bowl, combine the room temperature butter, garlic powder, and dried parsley. Mix thoroughly until all ingredients are well combined and form a smooth garlic butter spread.
-
Generously spread the garlic butter mixture on both sides of each bread slice (or on the cut sides if using lengthwise halves).
-
Sprinkle a good amount of shredded Mozzarella (or the Colby Jack/Mozzarella mix) and freshly grated Parmigiano over one side of each buttered bread piece.
-
Carefully place the prepared bread slices in a single layer in the air fryer basket, ensuring not to overcrowd it. Cook in batches if necessary.
-
Air Fry for 7-8 minutes, or until the bread is golden brown and crispy, and the cheese is melted and bubbly. Cooking time may vary based on your air fryer model.
-
Carefully remove the hot cheesy garlic bread from the air fryer and serve immediately while warm.
Notes
Nutrition
