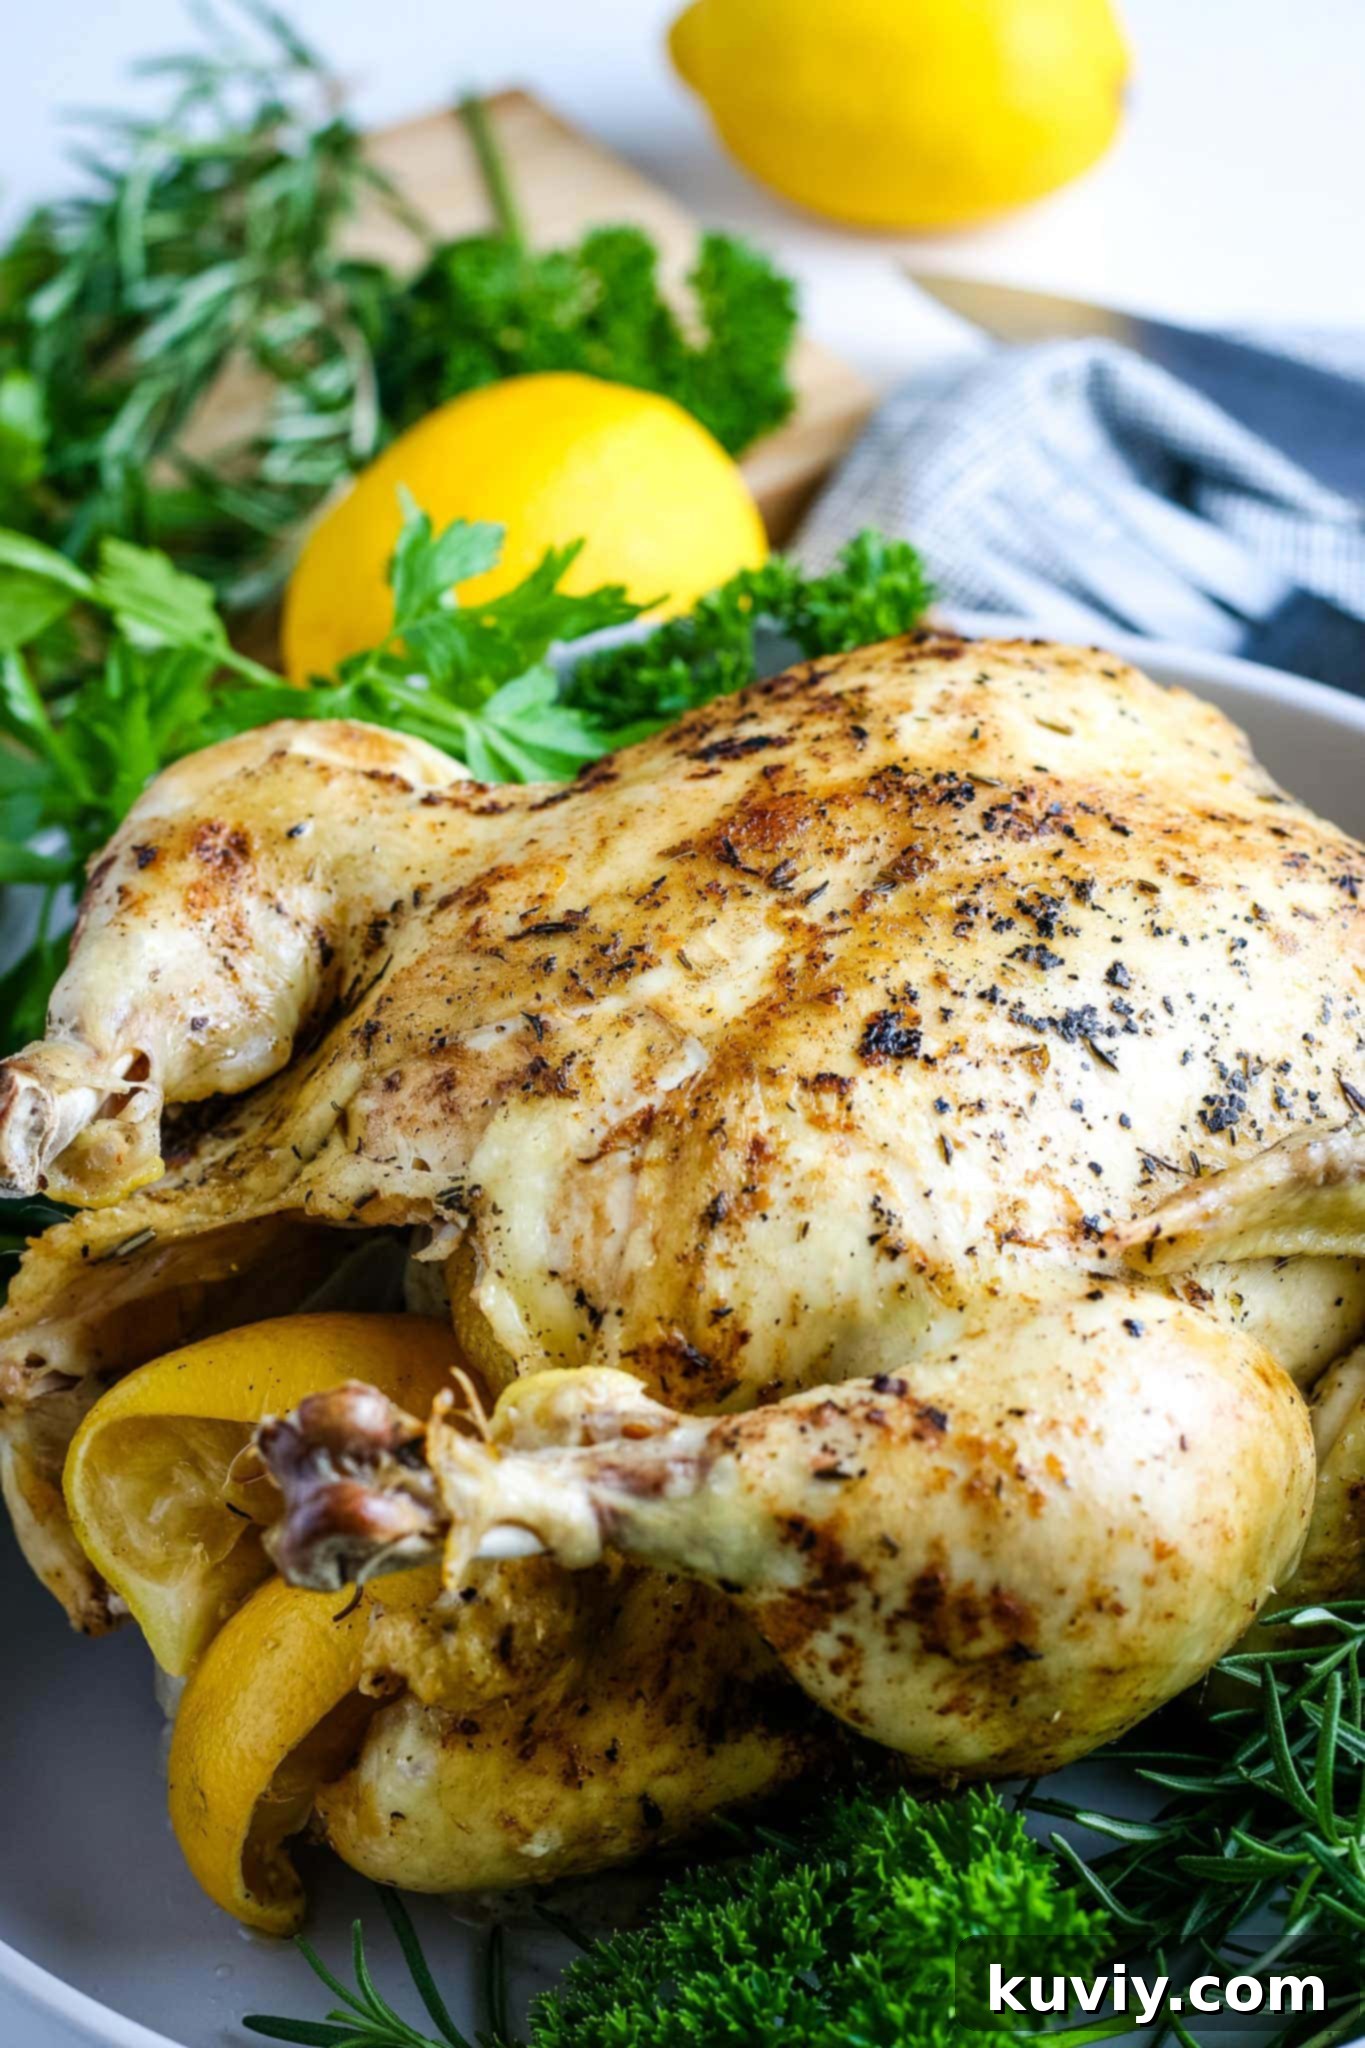
Juicy & Crispy Air Fryer Whole Chicken: Your Guide to Homemade Rotisserie Perfection
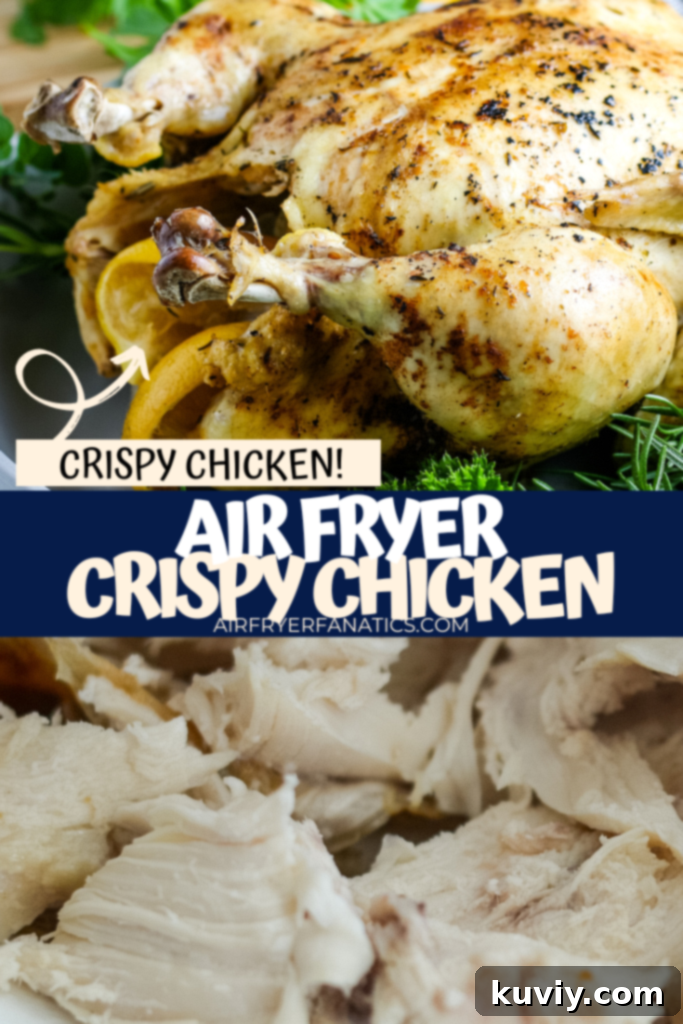
Making a whole chicken in your air fryer or Ninja Foodi is an absolute game-changer, quickly becoming a favorite method for achieving perfectly cooked poultry. This technique consistently delivers results that rival the delicious, slow-roasted rotisserie chickens you find at the deli, but with the unbeatable satisfaction of a homemade meal. The air fryer excels at creating an incredibly crispy skin while locking in the natural juices, ensuring a tender and flavorful interior.
While the Ninja Foodi offers a pressure cooker option for a fall-off-the-bone tender chicken, this particular guide will focus exclusively on harnessing the power of the air fryer or the Air Crisp function of your Ninja Foodi. Our goal is to guide you through crafting a beautifully golden-brown, wonderfully crispy, and exceptionally juicy whole chicken every single time. Prepare to elevate your weeknight dinners and impress your family with this surprisingly simple yet utterly delicious Air Fryer Whole Chicken recipe!
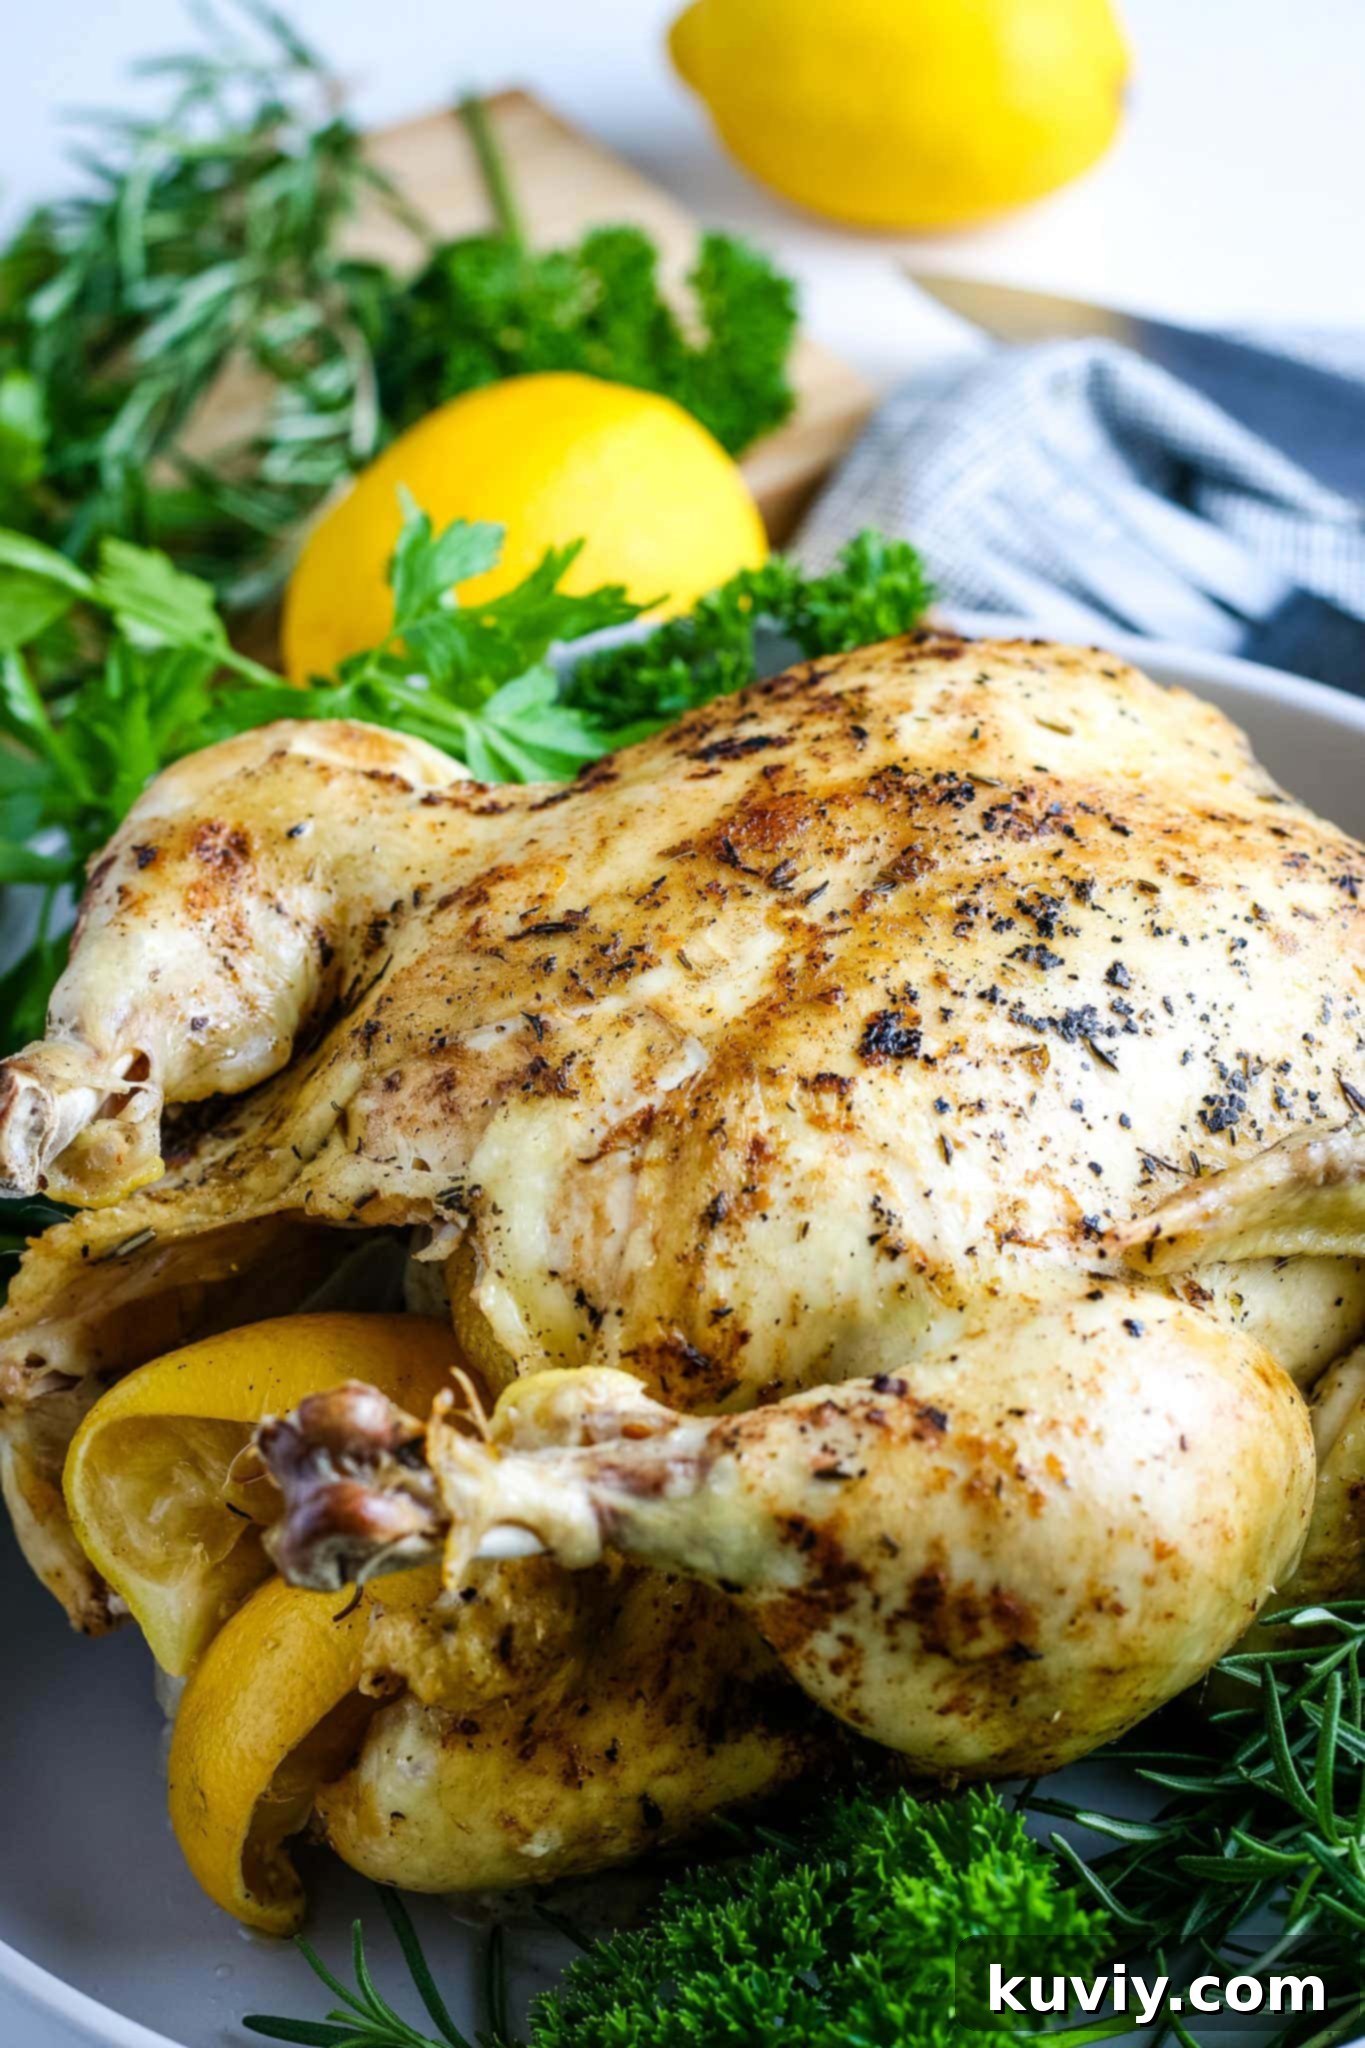
Why Air Fry a Whole Chicken? Unlocking Unbeatable Flavor and Convenience
If you haven’t yet discovered the magic of air frying a whole chicken, you’re in for a treat. This cooking method offers a host of benefits that make it superior to traditional oven roasting for many home cooks:
* **Unparalleled Crispiness:** The air fryer’s powerful convection heating circulates hot air rapidly around the chicken, rendering the fat under the skin and creating a crackling, golden-brown exterior that’s hard to achieve elsewhere without deep frying. It truly mimics that desired rotisserie texture.
* **Juicy Interior:** Despite the intense heat, the relatively quick cooking time and enclosed environment help to retain moisture, ensuring the chicken meat remains incredibly tender and succulent.
* **Faster Cooking Times:** Compared to a conventional oven, an air fryer can significantly cut down on cooking duration, making it ideal for busy weeknights when you want a substantial, satisfying meal without the long wait.
* **Energy Efficiency:** Air fryers generally use less energy than preheating and running a large oven, making them a more economical choice for cooking smaller items like a whole chicken.
* **Minimal Cleanup:** Cooking in the air fryer basket often means less mess compared to roasting pans that can accumulate burnt-on drippings. A simple spray of olive oil keeps sticking to a minimum.
* **Versatility and Even Cooking:** The compact size and efficient air circulation promote remarkably even cooking, reducing the need for constant turning or worrying about undercooked spots.
Choosing and Preparing Your Whole Chicken
Selecting the right chicken and preparing it properly are foundational steps for a successful air fryer meal.
* **Size Matters:** Most standard air fryers can comfortably fit a chicken weighing between 3 to 5 pounds. Before purchasing, it’s always a good idea to measure your air fryer basket to ensure a snug, but not overly tight, fit. A 4-pound chicken is often the sweet spot for many models.
* **Fresh or Frozen:** While fresh chicken is ideal, a frozen whole chicken can be used if fully thawed beforehand. Thawing in the refrigerator typically takes 24-48 hours, depending on the chicken’s size. Never air fry a frozen whole chicken, as it will cook unevenly and can be unsafe.
* **Initial Preparation:** Upon unwrapping your chicken, remove any giblets or neck from the cavity. You can discard these, or save them to make a flavorful stock. Crucially, pat the chicken *very dry* with paper towels. Excess moisture on the skin is the enemy of crispiness, preventing that coveted golden crust from forming. Remove any ties around the legs if present, allowing the legs to splay slightly for more even cooking.
Essential Tips for the Ultimate Air Fryer Whole Chicken
Achieving that perfect rotisserie-style chicken in your air fryer is straightforward with a few key techniques.
* **Seasoning is Key:** While this recipe suggests Lemon Pepper seasoning for a bright, zesty flavor, the beauty of homemade chicken is its adaptability. Feel free to unleash your creativity! Other fantastic options include:
* **Classic Herbs:** A blend of dried rosemary, thyme, sage, and garlic powder.
* **Smoky Paprika Rub:** Paprika, onion powder, garlic powder, a pinch of cayenne, and salt and pepper.
* **Spicy Kick:** Chili powder, cumin, smoked paprika, and a dash of cayenne pepper.
* **Mediterranean Flavors:** Oregano, basil, garlic, and a hint of lemon zest.
* **Simple Salt & Pepper:** Sometimes, less is more, allowing the natural chicken flavor to shine.
Whichever seasoning you choose, ensure it’s generously applied all over the chicken, including under the wings and legs, for maximum flavor penetration.
* **The Power of Olive Oil Spray:** This isn’t just for preventing sticking; it’s essential for achieving that desirable crispy skin. A light, even coating of olive oil spray helps the seasonings adhere, promotes even browning, and encourages the skin to crisp up beautifully. If you don’t have spray, you can brush a small amount of olive oil over the chicken instead. Don’t skip this step!
* **Start Breast Side Down for Juiciness:** There’s a widely held belief that starting the chicken breast side down helps to keep the breast meat exceptionally juicy. By cooking it in this position first, the natural juices from the darker meat (thighs and legs) are encouraged to flow down into the breast, keeping it moist as it begins to cook. While it’s recommended, don’t fret if you forget or find it challenging to position; the air fryer’s consistent heat will still yield delicious results. It simply gives you an extra edge for moisture retention.
* **Flipping for Even Cooking and Crispiness:** After a period of initial cooking (typically around 40 minutes for a 4-5 pound chicken), it’s crucial to flip the chicken. This ensures even cooking on all sides and allows the entire skin surface to become golden and crispy.
* **Safe Flipping Technique:** Flipping a hot, whole chicken can be tricky. We’ve found the easiest and safest method is to carefully transfer the chicken to a sturdy cutting board using tongs or two spatulas. Once on the cutting board, you can easily flip it to the other side (breast side up) and then carefully return it to the air fryer basket. This prevents awkward maneuvering inside the hot appliance.
* **Re-Season and Re-Spray:** When you flip the chicken, take the opportunity to re-coat the newly exposed side with olive oil spray and a little more of your chosen seasoning. This ensures both sides develop that perfect crispy texture and rich flavor.
* **The Importance of a Meat Thermometer:** This is non-negotiable for food safety and optimal results. Always use an instant-read meat thermometer to check the internal temperature. The chicken is fully cooked and safe to eat when the thickest part of the thigh (without touching the bone) reaches **165°F (74°C)**. Cooking times are estimates and can vary based on your air fryer model and chicken size, so the thermometer is your most reliable guide.
* **Resting Period is Crucial:** Once cooked, resist the urge to carve immediately. Transfer the chicken to a cutting board, tent it loosely with foil, and let it rest for at least 10-15 minutes. This resting period allows the juices to redistribute throughout the meat, resulting in a more tender and flavorful chicken. Skipping this step often leads to dry meat as the juices will simply run out when you cut into it.
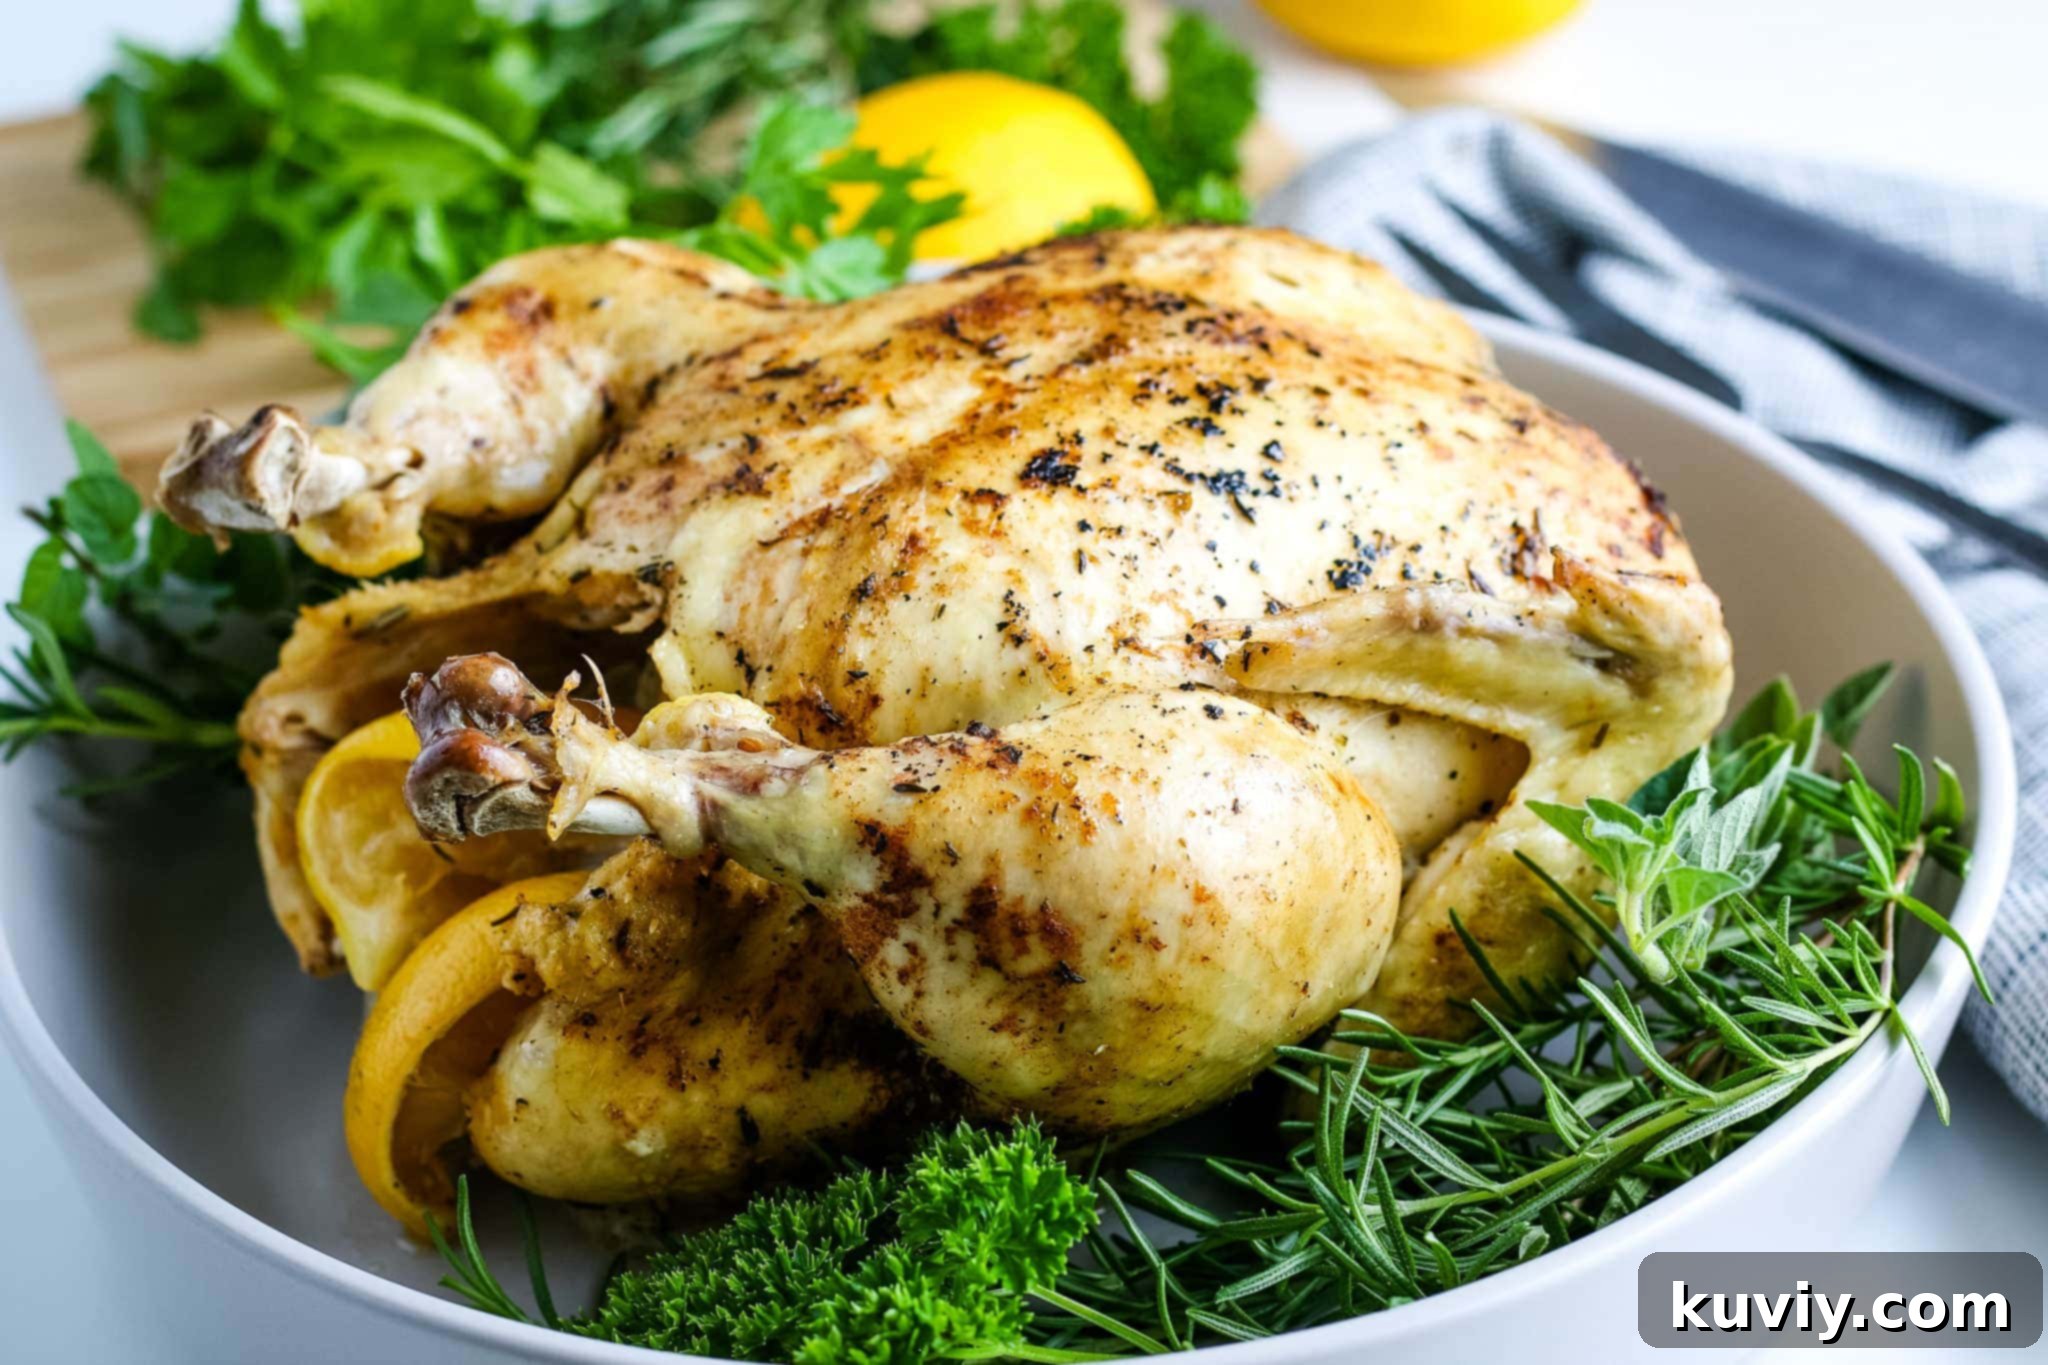
How to Carve a Whole Chicken Like a Pro
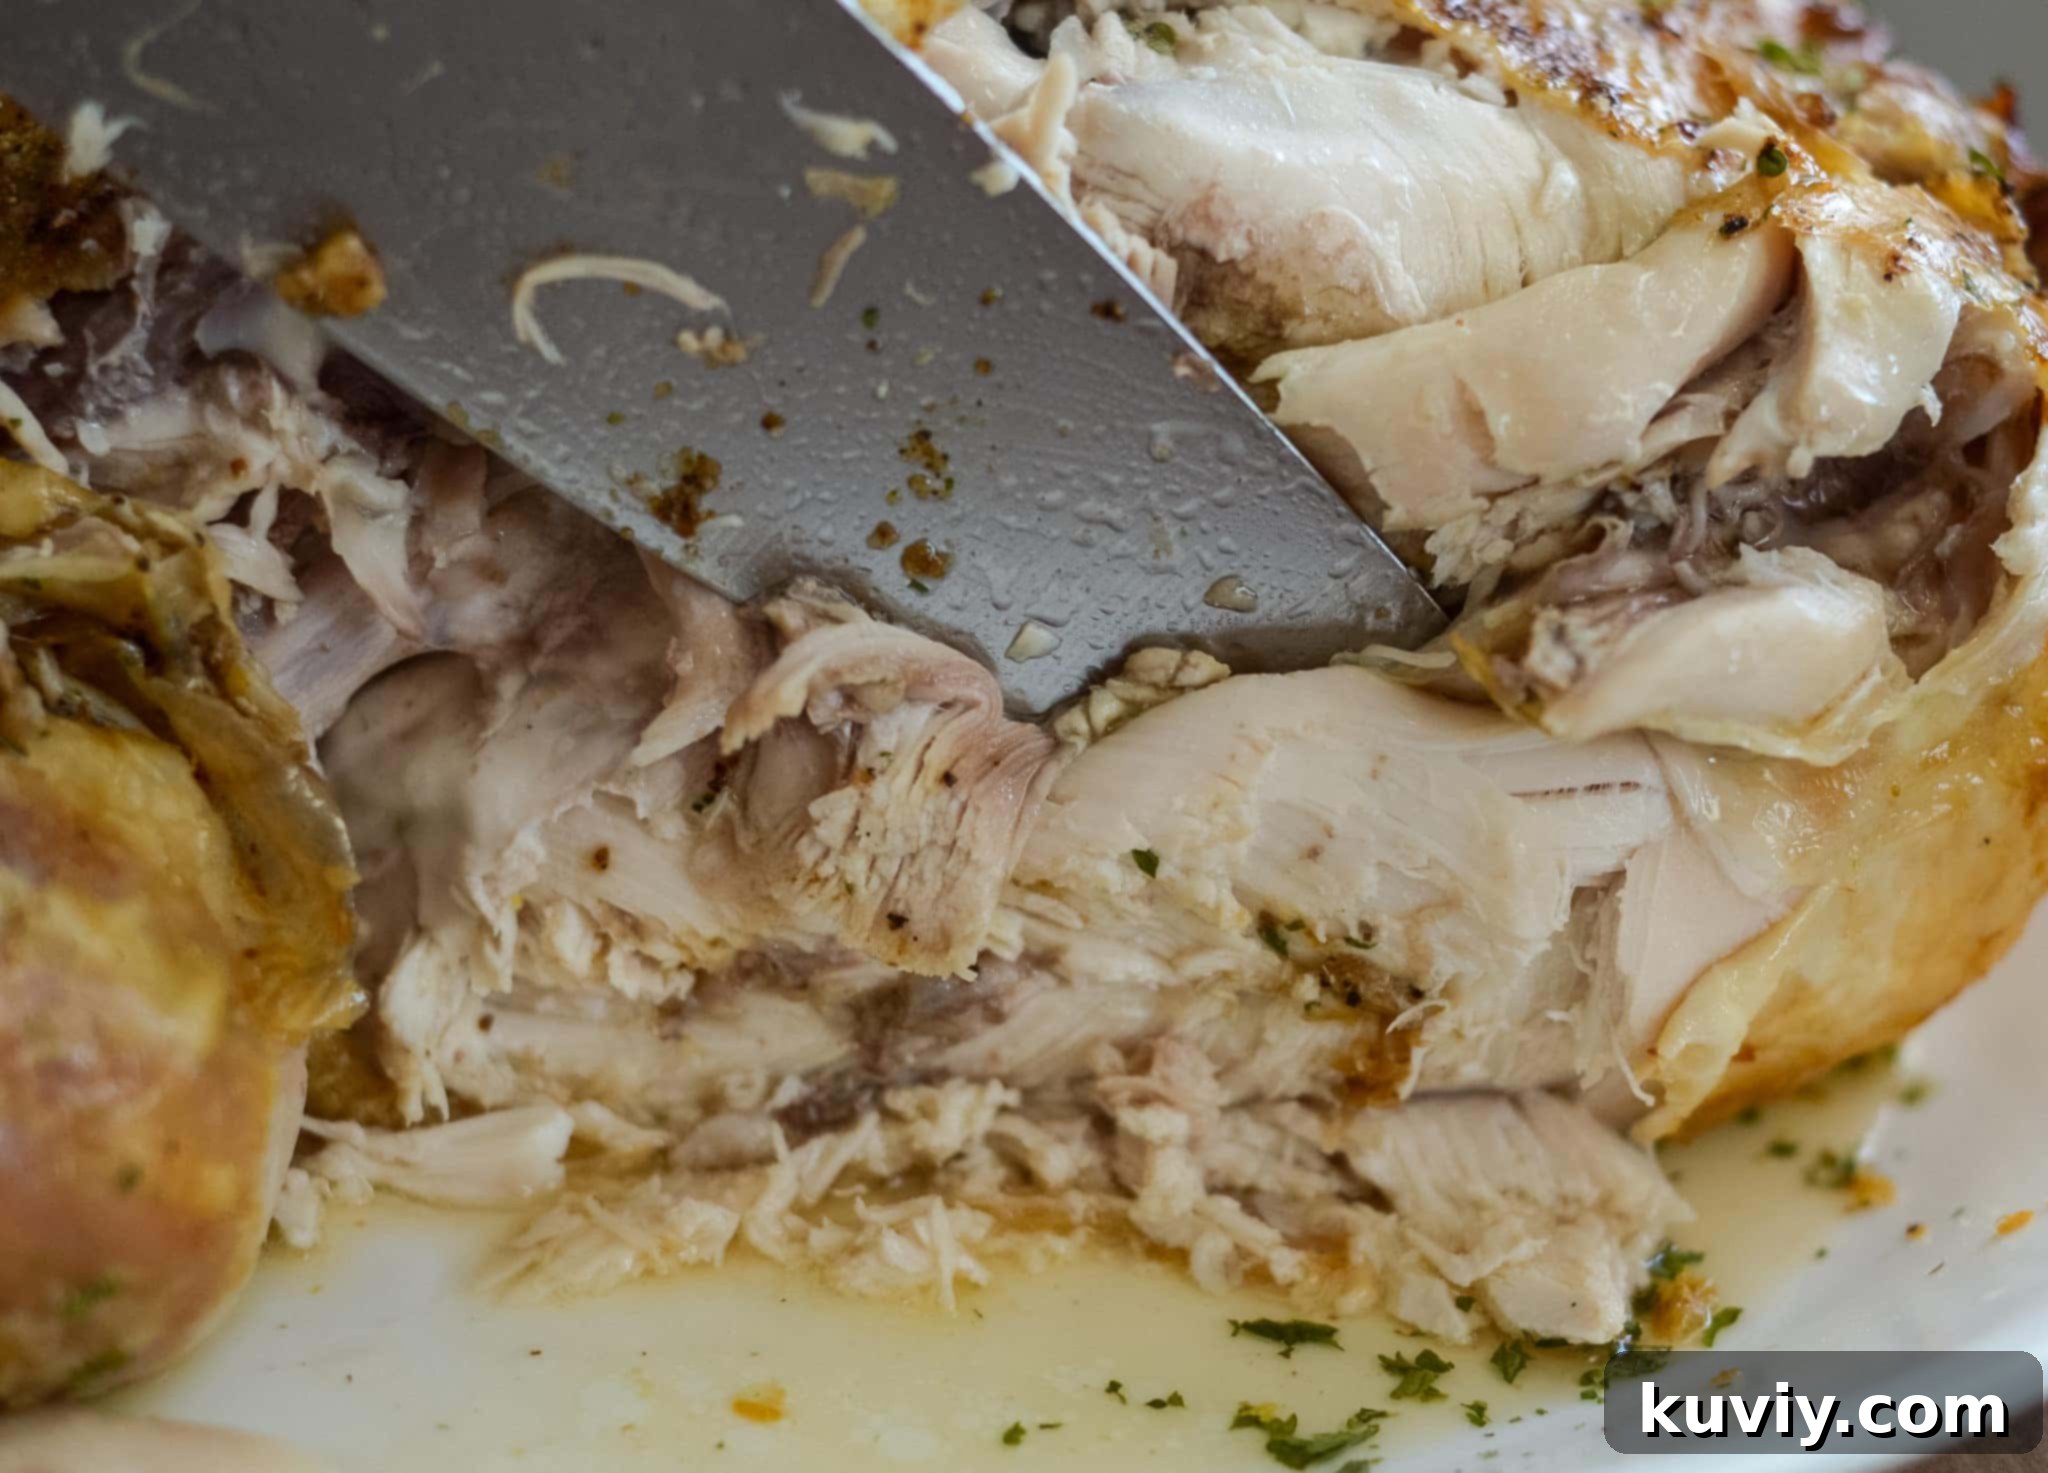
Carving a whole chicken might seem daunting, but it’s a skill easily mastered. For the best presentation and ease, it’s generally best served and cut breast side up.
1. **Rest the Chicken:** As mentioned, allow the chicken to rest for 10-15 minutes after cooking.
2. **Separate the Legs and Thighs:** Place the chicken breast-side up on a carving board. Using a sharp knife, slice through the skin between the thigh and the body. Push the leg away from the body until the joint pops. Cut through the joint and remove the entire leg and thigh piece. Repeat on the other side.
3. **Separate Thigh from Drumstick:** Find the joint between the thigh and drumstick and cut through it.
4. **Remove the Wings:** Pull each wing away from the body and cut through the shoulder joint to remove it.
5. **Slice the Breast Meat:** Carve down along one side of the breastbone, keeping the knife close to the bone, until you reach the rib cage. Repeat on the other side. You can then slice the breast meat against the grain into thinner portions.
6. **Serve:** Arrange the carved pieces on a platter.
This chicken is so versatile it can be used for a variety of meals! We frequently use it to make a hearty Ninja Foodi White Chicken Chili. A single air-fried whole chicken provides enough meat to feed a family of four and still have plenty left over for that delicious chili!
Serving Suggestions & Creative Leftover Ideas
Once your succulent Air Fryer Whole Chicken is carved, the possibilities for serving are endless. It makes a fantastic centerpiece for any meal, from a casual family dinner to a more formal gathering.
* **Classic Sides:** Pair it with traditional comforting sides like creamy mashed potatoes, roasted vegetables (carrots, broccoli, asparagus), a crisp green salad, or fluffy rice.
* **Global Flavors:** Serve with warm tortillas and your favorite salsa for chicken tacos, or alongside a vibrant couscous salad with chickpeas and herbs for a Mediterranean twist.
* **Simple & Fresh:** A side of coleslaw, cornbread, or a simple side salad with a vinaigrette dressing perfectly complements the richness of the chicken.
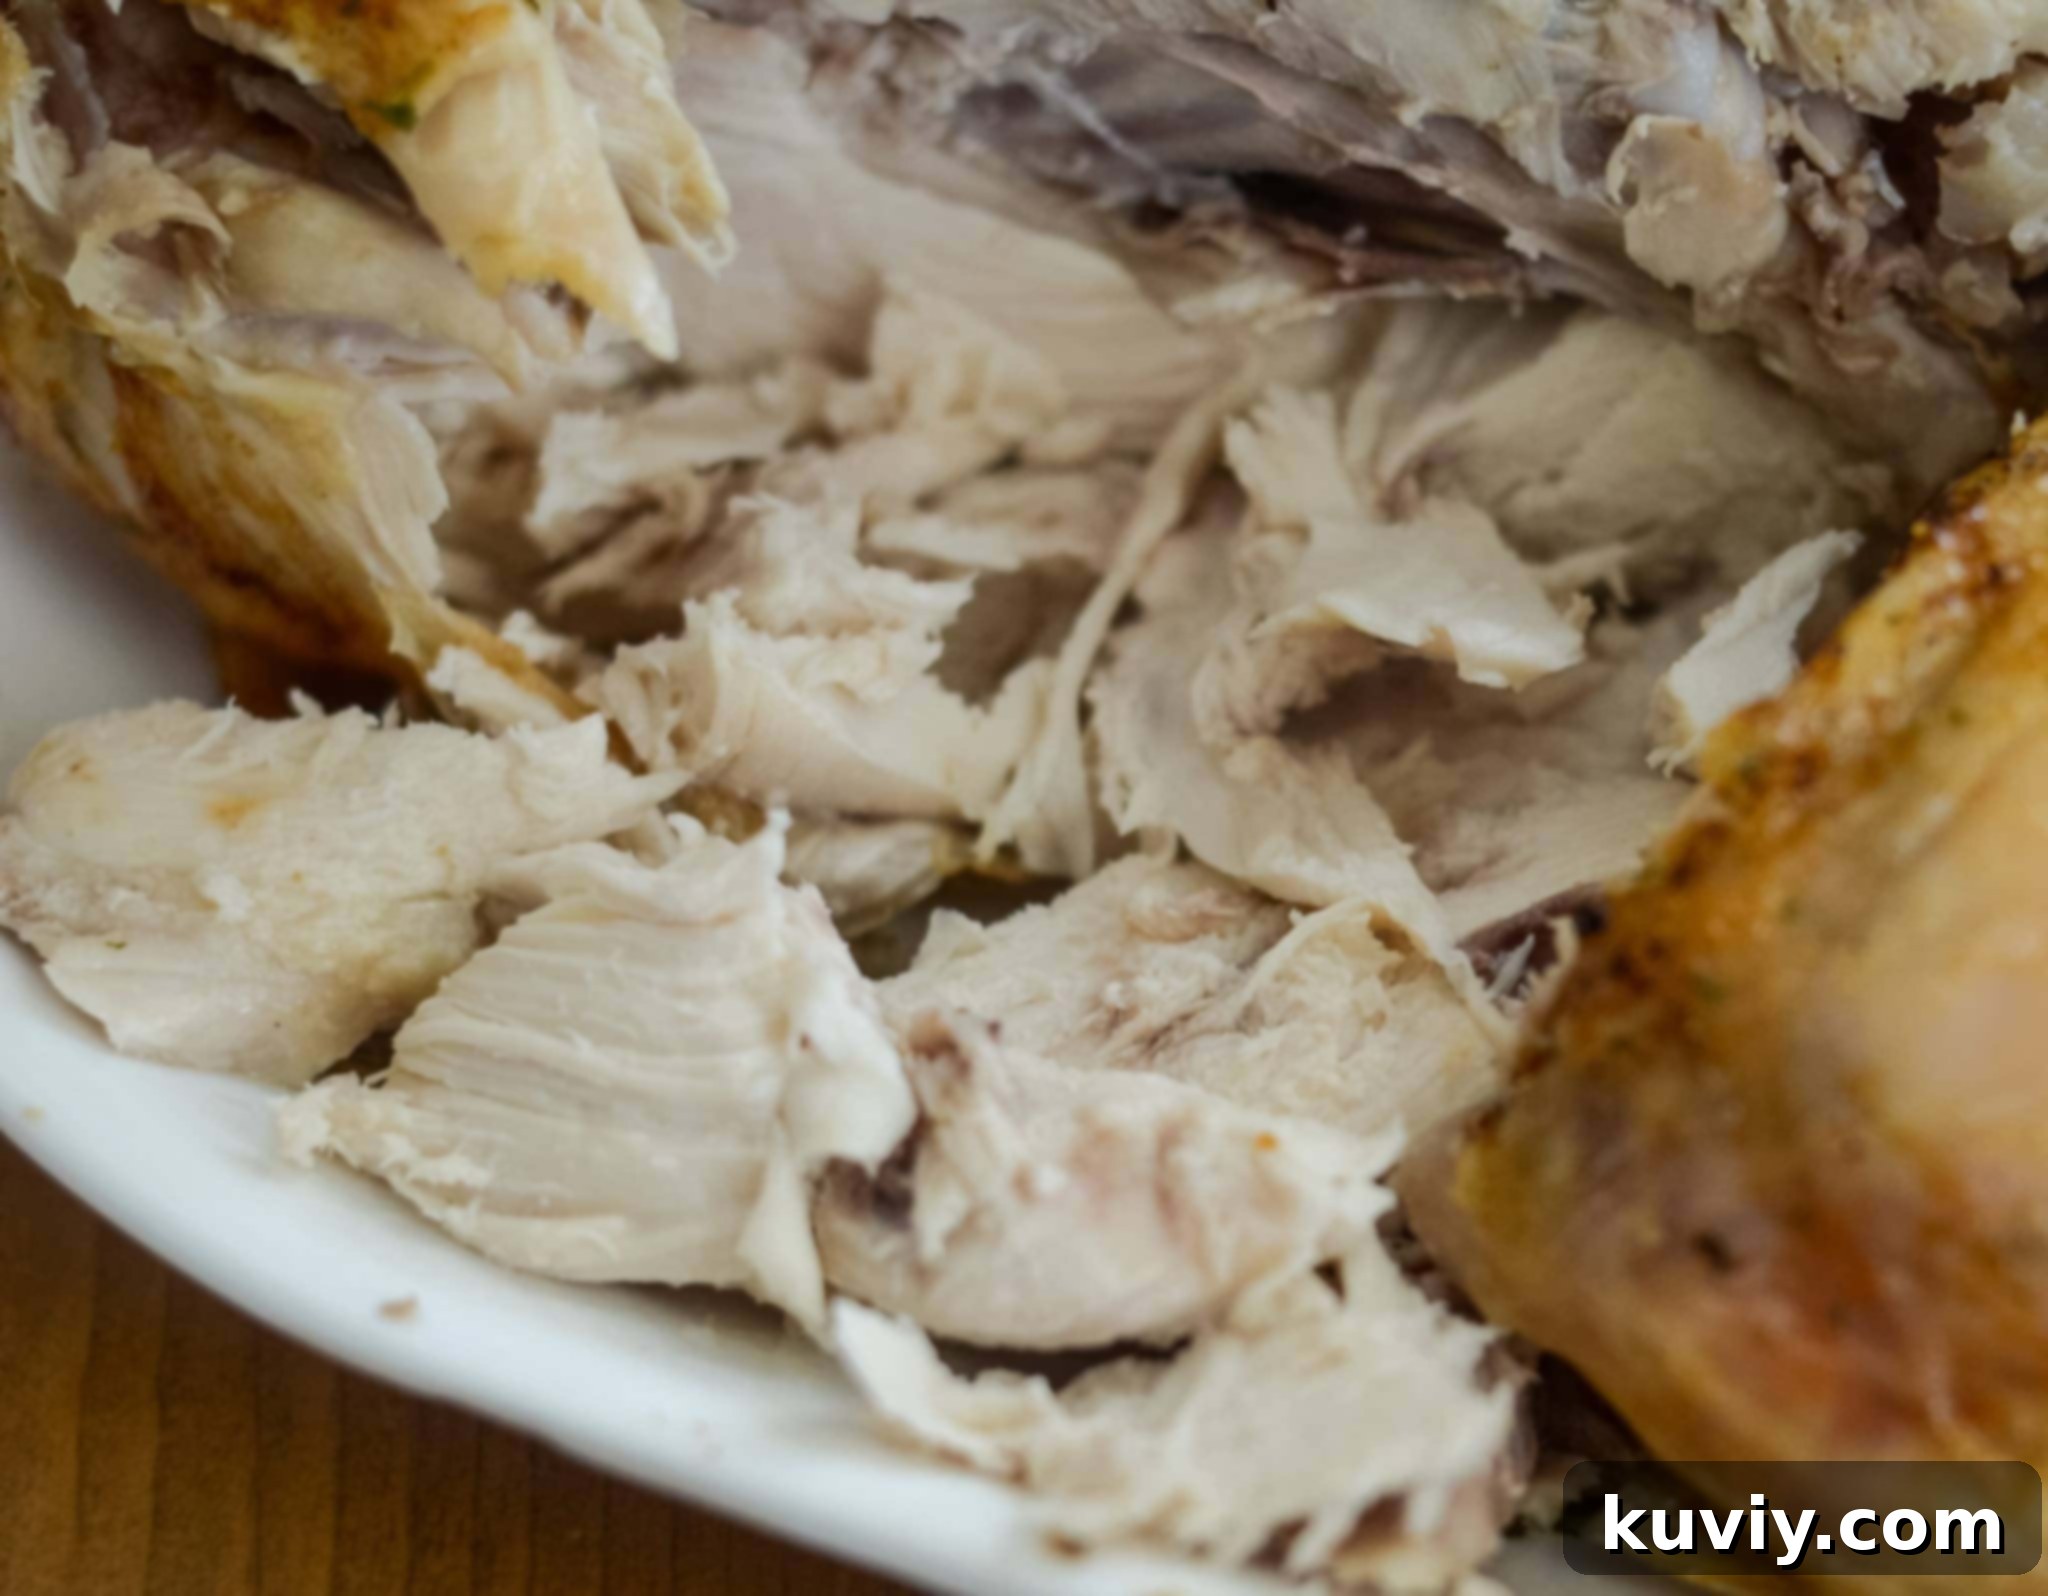
Don’t let any leftovers go to waste – air fryer whole chicken is excellent for meal prep and transforms beautifully into other dishes:
* **Quick Sandwiches & Wraps:** Shredded chicken makes a superb filling for sandwiches, pitas, or lettuce wraps. Add some mayo, celery, and a dash of herbs for a classic chicken salad.
* **Hearty Soups & Stews:** The leftover meat is perfect for enriching chicken noodle soup, chicken and rice soup, or a flavorful chicken stew.
* **Casseroles & Bakes:** Incorporate into your favorite chicken casserole, chicken pot pie, or a cheesy chicken and pasta bake.
* **Flavorful Salads:** Add to Cobb salads, Caesar salads, or any green salad for a protein boost.
* **Tacos, Quesadillas & Nachos:** Shredded chicken is a natural fit for Mexican-inspired dishes.
* **Our Favorite:** As mentioned, it’s perfect for our Ninja Foodi White Chicken Chili – a quick and comforting meal that uses every last bit of that delicious chicken!
Troubleshooting Common Air Fryer Chicken Issues
Even with the best instructions, sometimes things don’t go exactly as planned. Here are some common issues you might encounter when air frying a whole chicken and how to fix them:
* **Chicken is Dry:**
* **Cause:** Most likely overcooked.
* **Solution:** Always use a meat thermometer and cook only until it reaches 165°F (74°C) in the thickest part of the thigh. Also, ensure you allow the chicken to rest for 10-15 minutes after cooking.
* **Skin isn’t Crispy Enough:**
* **Cause:** Skin was too wet, not enough oil, or air fryer basket was overcrowded.
* **Solution:** Pat the chicken *very dry* with paper towels before seasoning. Apply a generous, even coating of olive oil spray. Ensure there’s enough space around the chicken in the basket for air to circulate; if your chicken is too large for your air fryer, consider spatchcocking it or cutting it into pieces.
* **Chicken is Unevenly Cooked:**
* **Cause:** Not flipped during cooking, or hot spots in the air fryer.
* **Solution:** Make sure to flip the chicken halfway through the cooking process. Some air fryers might have hot spots; rotating the basket or the chicken occasionally can help.
* **Smoking from the Air Fryer:**
* **Cause:** Fat dripping and burning on the bottom of the basket, especially with fattier cuts like a whole chicken.
* **Solution:** Add a slice of bread to the bottom of your air fryer basket to absorb drips, or a small amount of water if your air fryer model allows it and doesn’t interfere with the heating element. You can also clean out any accumulated grease from previous cooks.
By being aware of these potential issues and their solutions, you can ensure your Air Fryer Whole Chicken turns out perfectly every time.
Air Fryer Whole Chicken
Air Fryer Fanatics
Pin Recipe
Save RecipeSaved!
Ingredients
- 4-5 Pound Whole Chicken Fryer with Giblets Removed
- Olive Oil Spray
- 1 Tbsp Lemon Pepper Seasoning
- Sliced Lemon Optional, for flavor inside cavity
Instructions
-
**Prepare the Chicken:** Begin by removing any ties around the chicken’s legs and take out the giblets from the cavity if they haven’t been removed already. Thoroughly pat the entire chicken dry with paper towels to ensure crispy skin.
-
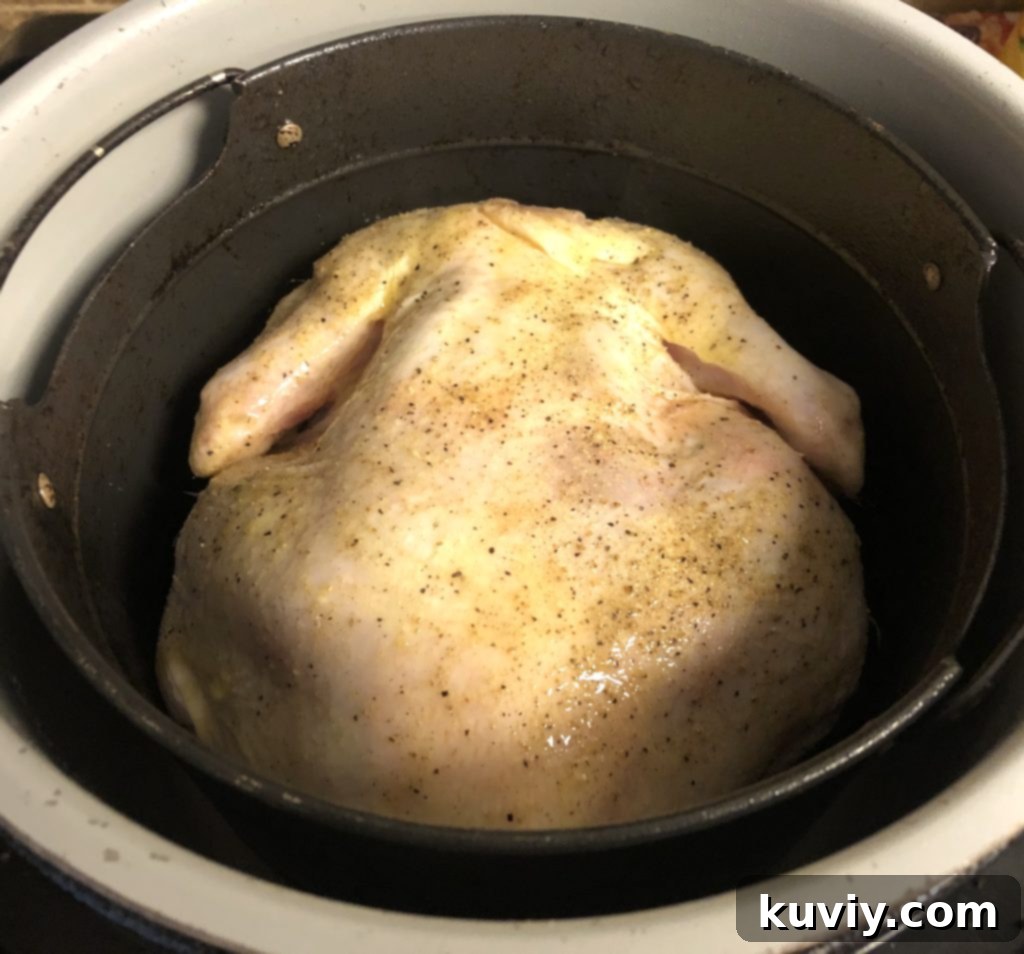
**Season Generously:** Lightly coat the chicken all over with olive oil spray. Then, evenly sprinkle the lemon pepper seasoning over the entire surface of the chicken, making sure to cover all sides for maximum flavor.
-
**Rest for Flavor:** Allow the seasoned chicken to rest at room temperature for about 10 minutes. This helps the seasoning adhere and the chicken to come closer to room temperature for more even cooking.
-
**Preheat & Position:** When you’re ready to cook, spray the basket of your air fryer with a little more olive oil spray to prevent sticking. Carefully place the chicken into the air fryer basket. For the juiciest results, it’s best to position the chicken breast side down first.
-
**Initial Cook:** Cook the chicken in the air fryer at 360°F (180°C) for 40 minutes.
-
**Flip the Chicken:** After the initial 40 minutes, carefully turn the chicken over. We’ve found it easiest and safest to temporarily remove the chicken to a cutting board, flip it, and then place it back in the air fryer basket breast side up. You can adjust this method to your personal preference.
-
**Optional Lemon Addition:** While the chicken is on the cutting board or after flipping, if you prefer extra citrus flavor, you can place a few slices of lemon inside the chicken’s cavity. Re-spray with olive oil and add a touch more seasoning to the breast side if desired.
-
**Continue Cooking:** Once flipped and seasoned, continue cooking for another 30-40 minutes, or until the internal temperature of the thickest part of the thigh (without touching the bone) reaches at least 165°F (74°C). Use an instant-read meat thermometer to verify.
-
**Rest and Serve:** Transfer the cooked chicken to a cutting board, tent loosely with foil, and let it rest for 10-15 minutes before carving. Serve it breast side up, or carve and plate to your preference. Enjoy your delicious homemade rotisserie-style Air Fryer Whole Chicken!
Notes
Nutrition
Frequently Asked Questions About Air Frying a Whole Chicken
**Q: What size whole chicken works best in an air fryer?**
A: Most standard air fryers can accommodate a whole chicken between 3 to 5 pounds. It’s crucial to measure your air fryer basket before purchasing a chicken to ensure it fits without touching the heating element or the sides too much, allowing for proper air circulation. A 4-pound chicken is often ideal.
**Q: Do I need to truss the chicken?**
A: Trussing (tying the legs and wings) helps the chicken cook more evenly and maintain its shape, which can be beneficial. However, it’s not strictly necessary for an air fryer whole chicken, especially if you’re mindful of how it’s placed and flipped. If your chicken has ties around the legs already, removing them as per the recipe instruction allows the legs to splay and cook better.
**Q: Can I use a dry rub instead of a spray and seasoning?**
A: Absolutely! A dry rub is an excellent choice for air-fried chicken. Simply mix your preferred spices, generously rub them all over the patted-dry chicken, then proceed with the olive oil spray (or a light brush of oil) before cooking. The oil helps the rub adhere and contributes to the crispy skin.
**Q: How do I prevent the air fryer from smoking when cooking a whole chicken?**
A: Smoking usually occurs when fat drips onto the heating element and burns. To minimize this, ensure your air fryer basket is clean before starting. You can also try placing a slice of bread or a small amount of water (check your air fryer manual to ensure this is safe for your model) at the bottom of the collection drawer to absorb the drippings. Trimming excess fat from the chicken can also help.
**Q: How long can I store leftover air fryer whole chicken?**
A: Cooked chicken can be stored in an airtight container in the refrigerator for 3-4 days. For longer storage, you can freeze carved chicken meat for up to 2-3 months. When reheating, ensure it reaches an internal temperature of 165°F (74°C).
**Q: Can I put vegetables in the air fryer with the chicken?**
A: Yes, you can! However, be mindful of overcrowding. If you want to cook vegetables alongside, cut them into smaller, even pieces so they cook at a similar rate to the chicken. You might need to add them halfway through the chicken’s cooking time, or roast them separately to ensure everything is perfectly cooked without compromising the chicken’s crispiness.
Conclusion
Mastering the Air Fryer Whole Chicken is a culinary achievement that brings restaurant-quality rotisserie chicken right into your home kitchen. With its irresistible crispy skin, incredibly juicy meat, and the sheer convenience of air frying, this recipe is bound to become a staple in your meal rotation. By following our detailed tips on preparation, seasoning, cooking technique, and essential food safety, you’ll consistently create a meal that is not only delicious but also remarkably simple to execute.
Say goodbye to store-bought rotisserie chicken and hello to your new favorite way to cook a whole bird. Enjoy the process, savor the flavors, and revel in the joy of serving a perfectly cooked, homemade Air Fryer Whole Chicken to your loved ones!
