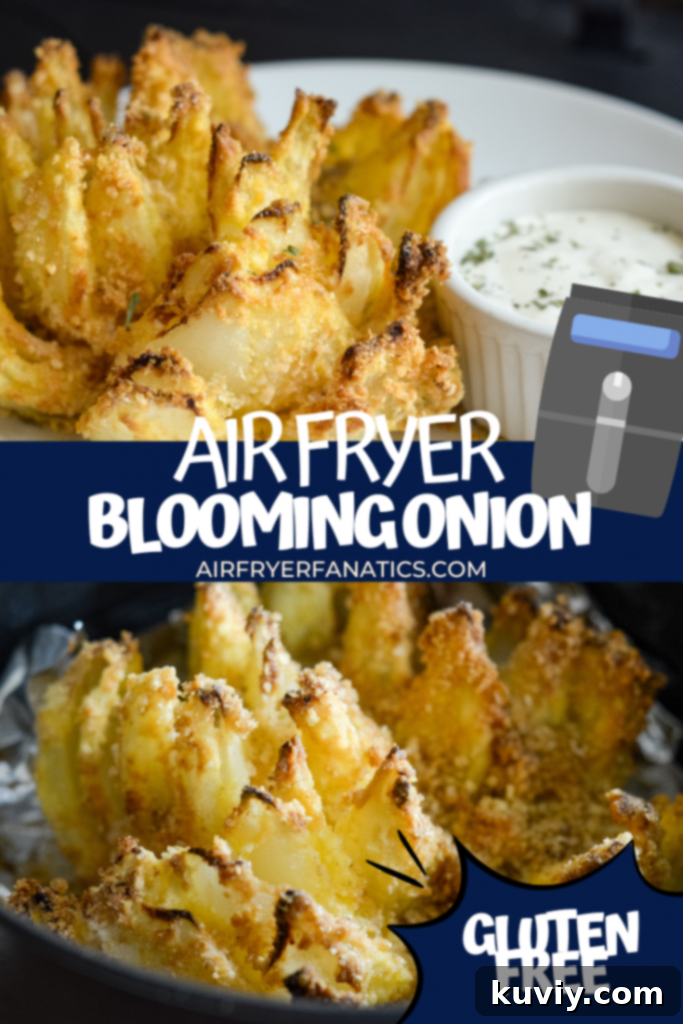
Homemade Air Fried Blooming Onion: The Crispy, Gluten-Free Appetizer You Crave!
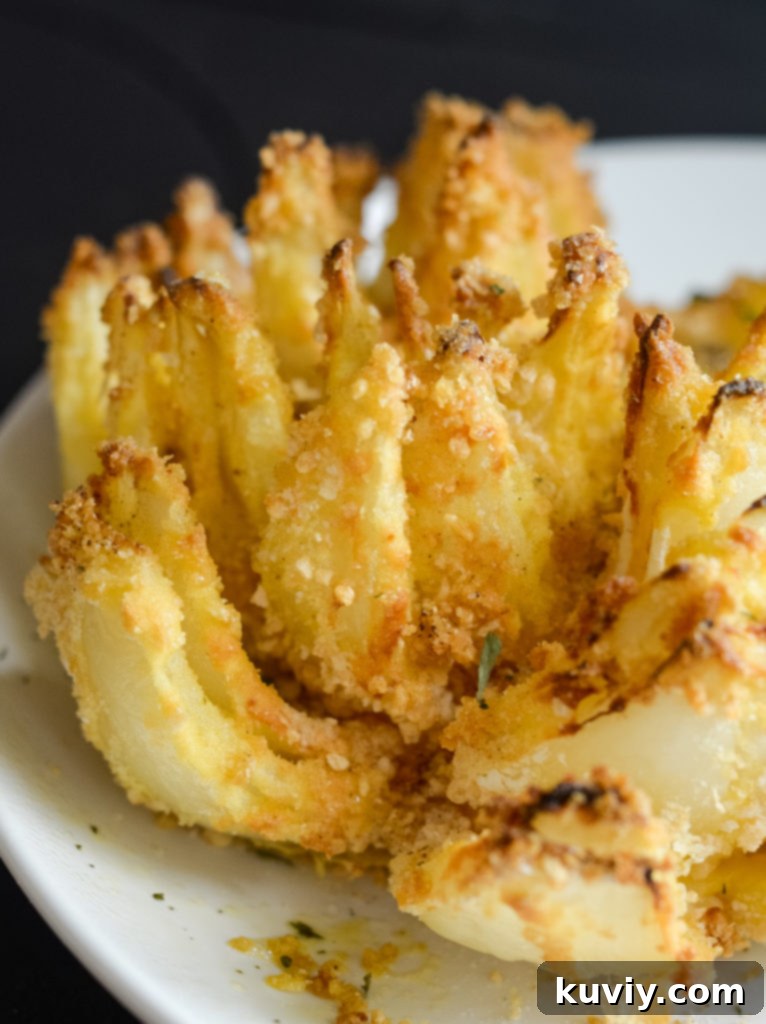
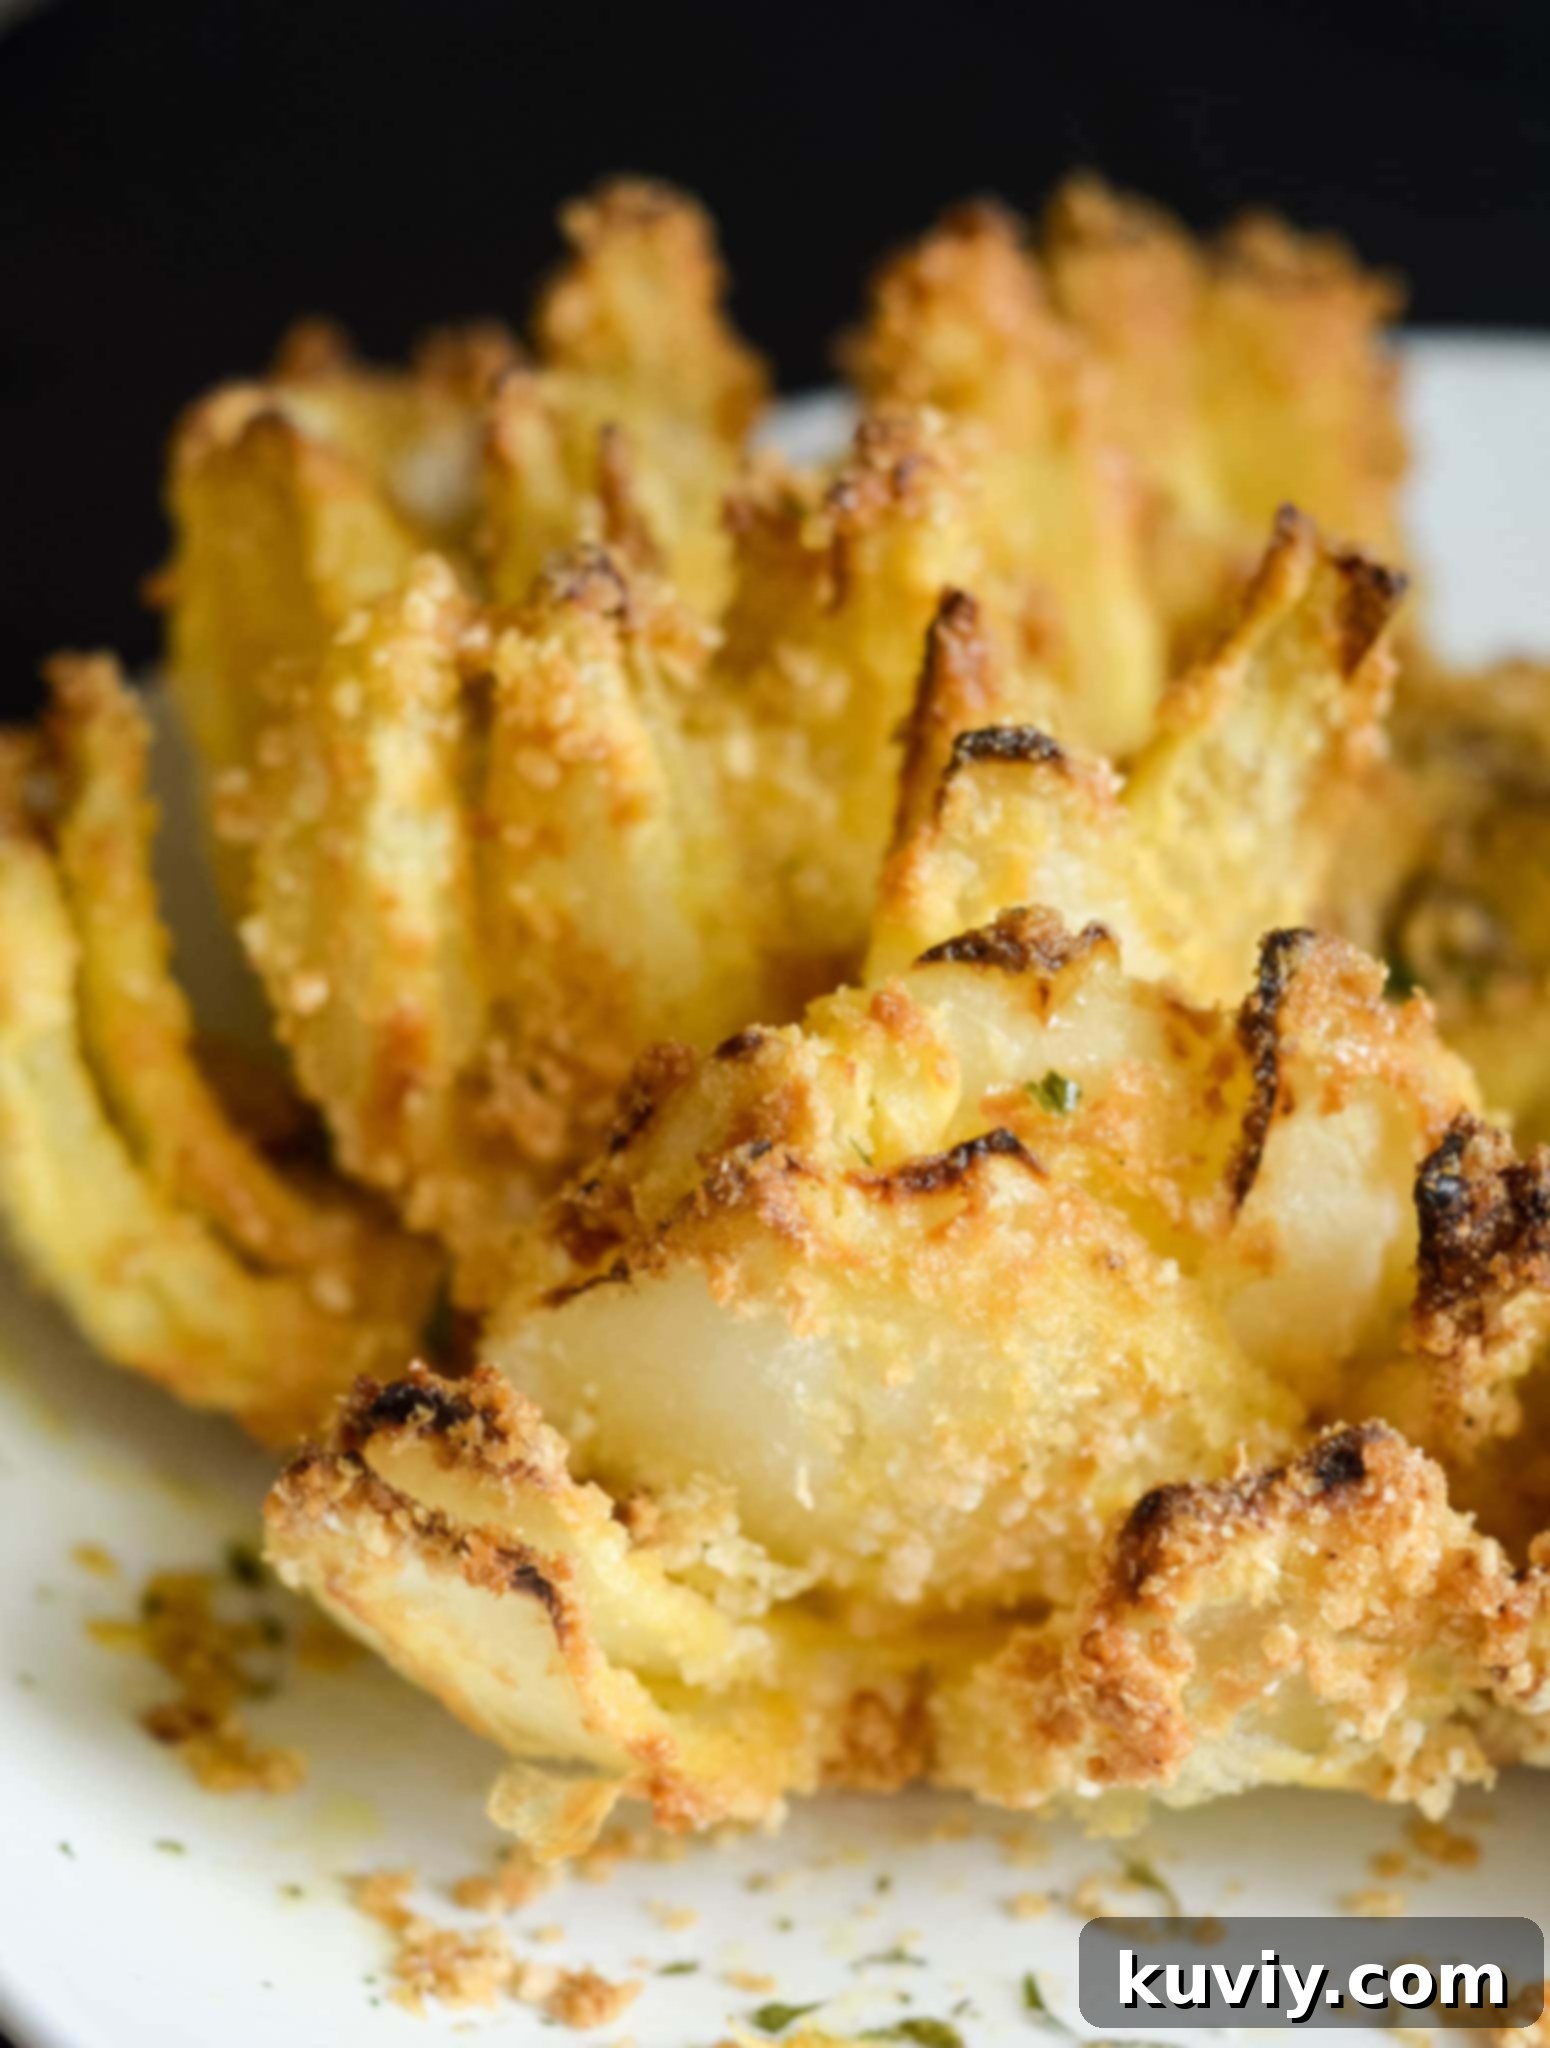
The iconic blooming onion – a crispy, savory, and immensely satisfying appetizer often found at fairs and restaurants – is a true culinary delight. For years, enjoying this deep-fried treat was a distant dream for many, especially those like me who follow a gluten-free diet or prefer healthier cooking methods. But what if I told you that you could recreate this show-stopping snack right in your own kitchen, using an air fryer? Not only is it possible, but it’s also incredibly easy to adapt this recipe to be entirely gluten-free!
After perfecting my Gluten-Free Air Fryer Onion Rings, I knew my next air fryer challenge had to be the blooming onion. The idea of transforming a whole onion into a golden, pull-apart masterpiece without the mess and oil of deep-frying was simply irresistible. And let me tell you, the results exceeded all expectations. The first air-fried blooming onion I made vanished in less than five minutes – a testament to its irresistible flavor and satisfying crunch!
If you’re new to the world of air frying or considering getting one, you’re in for a treat. Air fryers are game-changers for creating healthier versions of your favorite fried foods, delivering that desired crispiness with significantly less oil. To learn more about this versatile kitchen appliance, be sure to check out our comprehensive guide on Everything You Need to Know about An Air Fryer. It’s an investment that truly pays off, especially when you can whip up appetizers like this fantastic blooming onion at home.
While making an air-fried blooming onion might seem complex, it’s surprisingly straightforward. The key lies in a few simple techniques and a bit of patience. We’ll walk you through each step, offering plenty of tips to ensure your blooming onion turns out perfectly golden and delicious every single time. Get ready to impress your friends and family with this healthier, homemade take on a classic!
The Magic of Air Frying: Why It’s Perfect for Blooming Onions
Traditional blooming onions are famously deep-fried, resulting in a glorious crunch but also a significant amount of oil. The air fryer offers a brilliant alternative, achieving a remarkably similar texture with just a fraction of the fat. This means you can indulge in this savory snack without the guilt, making it a fantastic option for parties, game nights, or simply a treat for yourself.
The circulating hot air in an air fryer cooks the onion evenly, crisping up the breading beautifully while leaving the onion tender inside. You get that satisfying golden-brown exterior and a delightful contrast of textures without ever needing to submerge it in hot oil. This method is not only healthier but also much less messy and safer than deep-frying at home. It’s a win-win for flavor and convenience!
How to Make a Perfectly Air Fried Blooming Onion
There are several techniques for preparing a blooming onion, but I’ve found a method that consistently delivers the best results, especially for air frying. My secret weapons? A good, long soak in buttermilk and a reliable basting brush for even coating. Let’s dive into the process.
Step 1: Preparing Your Onion for the Bloom
The first and arguably most crucial step is cutting the onion correctly to create its “blooming” effect. Start by peeling your large sweet onion entirely. Sweet onions are generally preferred for their milder flavor, which becomes wonderfully caramelized when cooked.
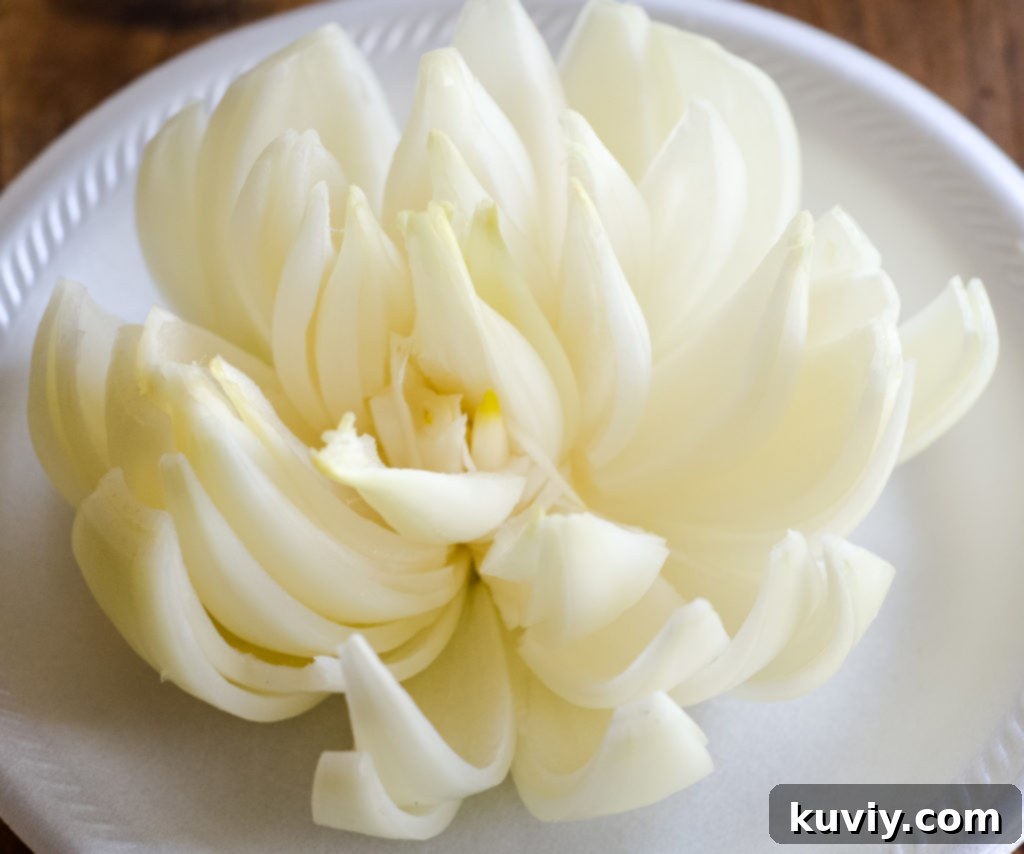
Next, prepare both ends of the onion. Slice one end flat to create a stable base. On the other end, where the root is, trim it just enough to remove the very tip, but be careful to keep the root core intact. This core is essential as it holds the “petals” of the blooming onion together. You don’t want it to fall apart when you cut it!
Now, with the root end facing up, carefully make several vertical cuts from the top of the root down to the flat end. Imagine dividing the onion into 12 to 16 equal sections, but *do not cut all the way through the root core*. You want each section to remain attached at the very bottom. The deeper you cut without separating the base, the more “petals” your onion will have when it blooms.
Once all your cuts are made, gently begin to peel back and separate the layers of the onion. This process requires a delicate touch. You want to open the onion up to resemble a flower in bloom, ensuring that each layer is loosened but still connected at the bottom. Take your time here; slow and steady wins the race to a perfect bloom.
Step 2: The Buttermilk Soak – A Flavorful Foundation
After your onion is beautifully bloomed, it’s time for its buttermilk bath. Place the opened onion in a shallow bowl and pour buttermilk over it, ensuring it’s mostly submerged. If the buttermilk doesn’t cover it completely, simply flip the onion over after about an hour to allow the other side to soak. The onion should soak for 1-2 hours.
Why buttermilk, you ask? This crucial step serves two primary purposes that contribute to the blooming onion’s success. Firstly, the acidity in the buttermilk tenderizes the onion, mellowing out its sometimes pungent flavor, making it sweeter and more enjoyable. Secondly, and perhaps more importantly for adherence, the buttermilk creates a sticky surface for the flour and breadcrumbs to cling to, ensuring an even, robust coating that will crisp up beautifully in the air fryer.
Step 3: The Breading Process for Ultimate Crispiness
Once the onion has finished soaking, gently lift it out of the buttermilk and let any excess drip off. It’s important not to rinse it, as you want that sticky buttermilk residue. Now, dredge the onion in flour. Start with about 1 cup of gluten-free all-purpose flour (or regular all-purpose flour if not gluten-free) and add more as needed. Make sure every single petal and crevice is thoroughly coated. You can gently shake the onion to ensure the flour gets into all the layers, then shake off any loose excess.
Next comes the egg wash. For this step, a good basting brush is your best friend. Whisk a couple of eggs in a bowl and then carefully brush the beaten egg mixture onto the floured onion. The brush allows you to get into all the nooks and crannies, ensuring a light but complete coating on every petal. You don’t need perfection, just good coverage.
Finally, it’s time for the breadcrumbs and seasoning. You can either sprinkle the breadcrumb mixture generously over the onion, making sure to get it between the layers, or, for maximum coverage, gently dip the onion into the breadcrumbs. For a gluten-free version, use quality gluten-free breadcrumbs. The final touch before cooking is to evenly sprinkle a dash of salt and a generous amount of Cajun seasoning over the entire onion. This adds that iconic burst of spicy, savory flavor that makes blooming onions so addictive!
Step 4: Air Frying Your Blooming Onion to Golden Perfection
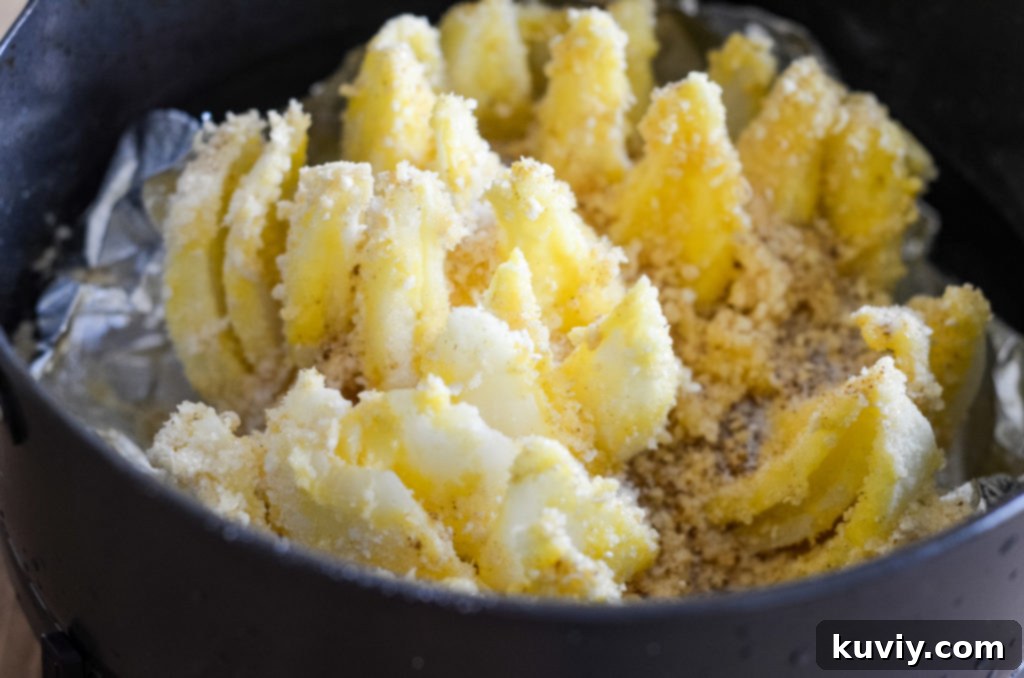
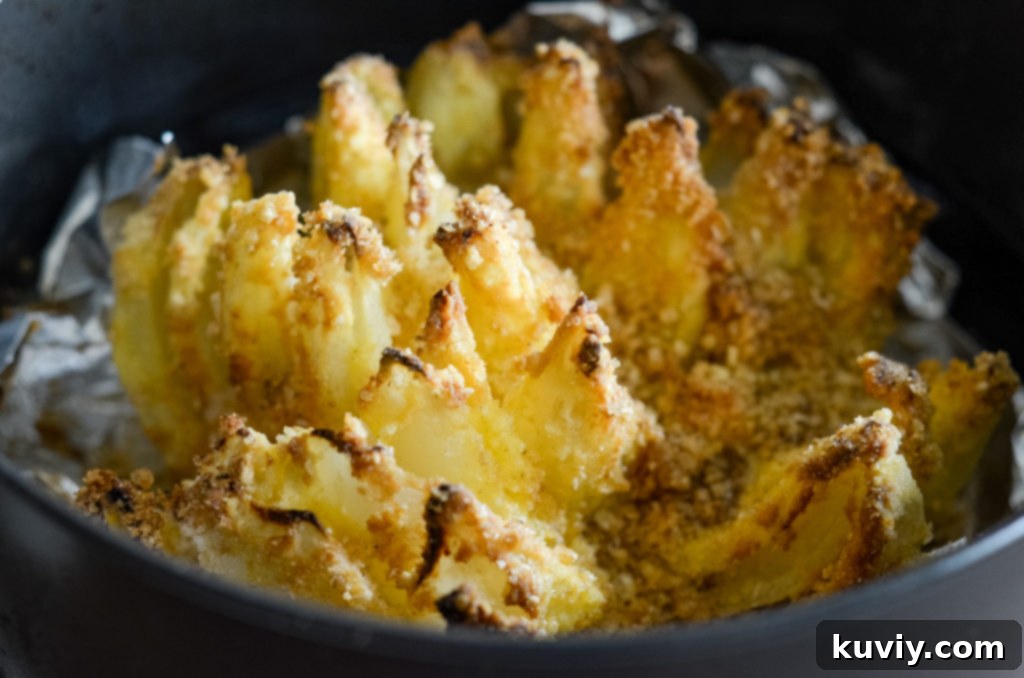
Before placing the onion in your air fryer, prepare a sheet of aluminum foil. Spray it lightly with olive oil spray or grapeseed oil spray. Cut the foil to fit your air fryer basket, and gently roll up the edges to form a shallow dish. This will help contain any stray breading and moisture, while still allowing air to circulate freely around the onion for even cooking. Carefully place your coated blooming onion onto the foil.
For an extra boost of moisture and to ensure a beautiful golden crisp, give the entire onion another light spray of olive oil or grapeseed oil before cooking. This helps the breading achieve that perfect deep-fried look and texture.
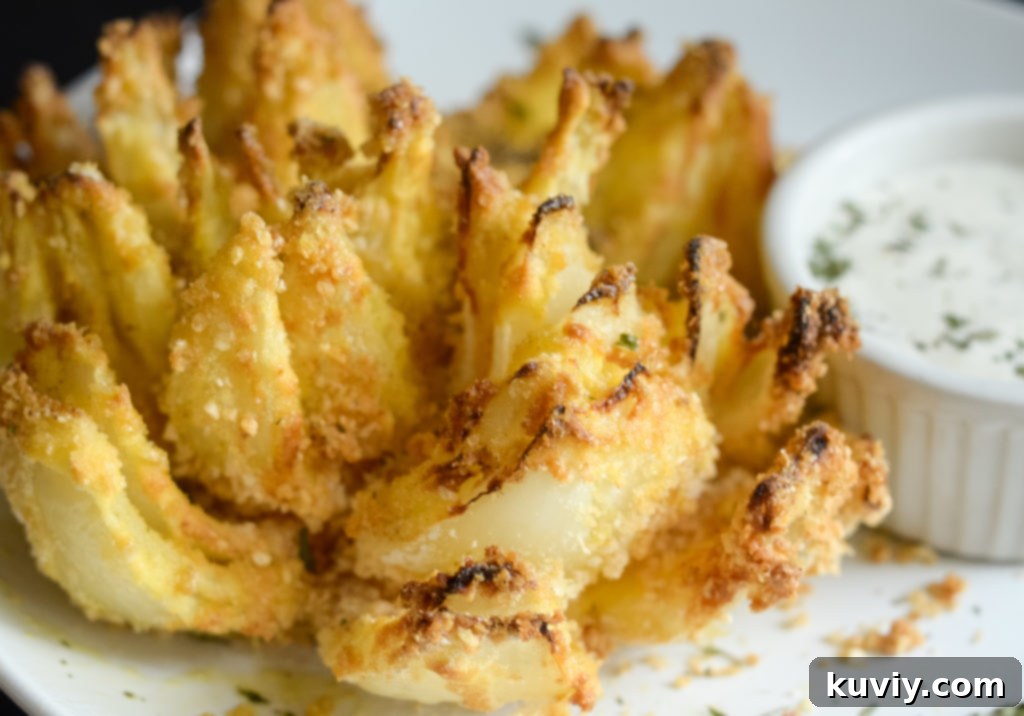
Preheat your air fryer to 390°F (199°C). Once hot, carefully transfer the foil-lined onion into the air fryer basket. Cook for approximately 15 minutes. However, it’s crucial to check on your blooming onion about halfway through the cooking time (around 7-8 minutes), as air fryer models can vary significantly in heating efficiency. You want a beautifully golden-brown and crispy exterior. If it’s browning too quickly, you can slightly reduce the temperature, or if it needs more crispiness, continue cooking for a few more minutes, checking frequently.
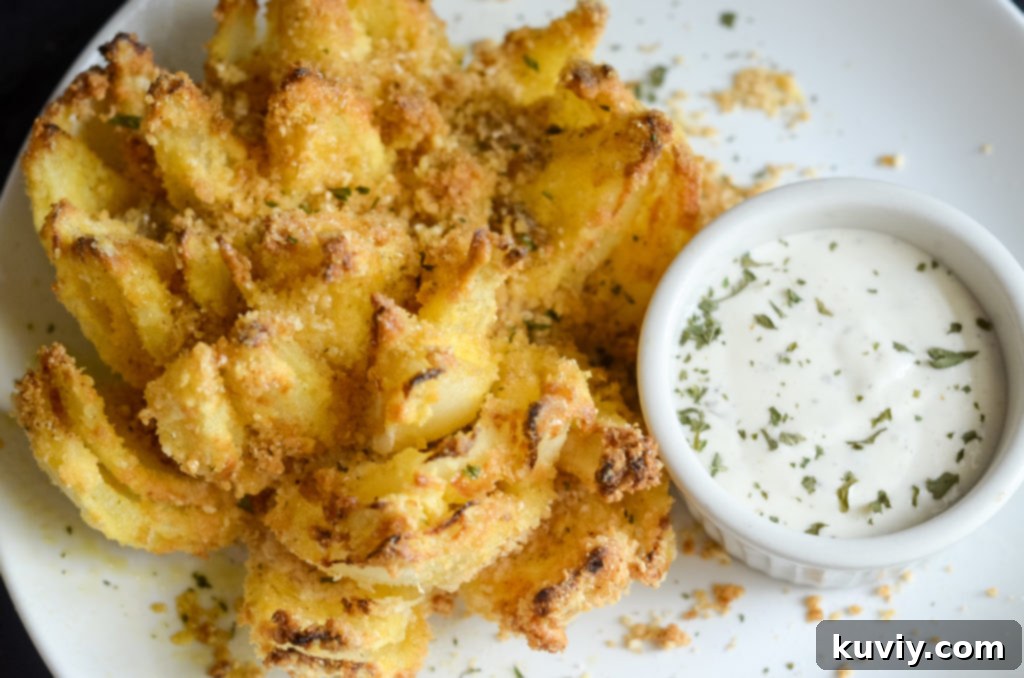
Once cooked to perfection, carefully remove the air-fried blooming onion from the basket. It will be hot and fragrant, ready to be devoured!
Making it Gluten-Free: A Simple Swap
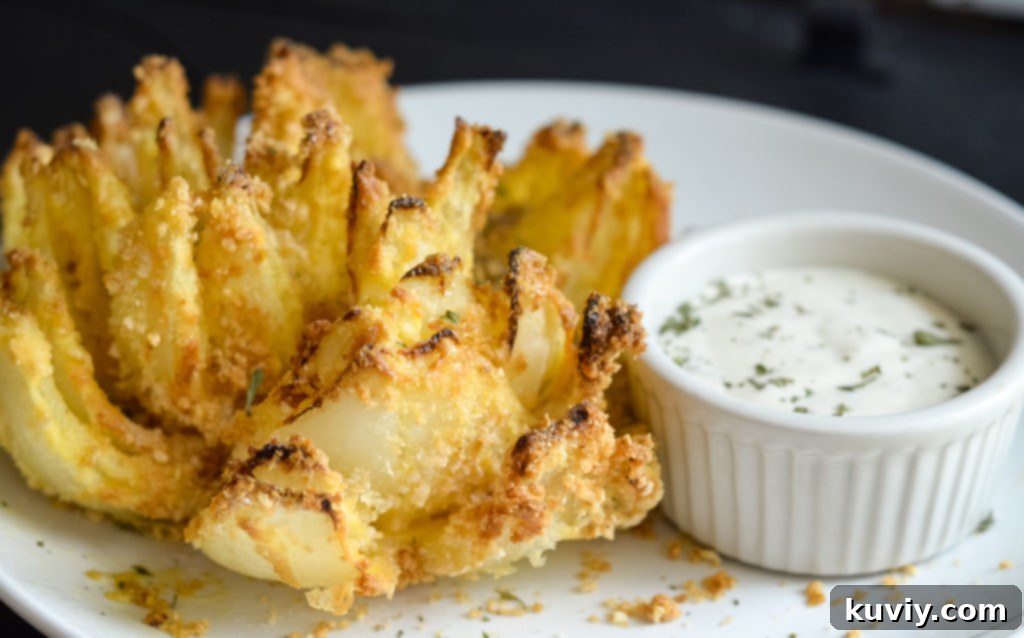
One of the best aspects of this air-fried blooming onion recipe is how easily it adapts to a gluten-free diet without compromising on taste or texture. The main ingredients needing modification are the flour and breadcrumbs. Simply swap out regular all-purpose flour for a high-quality gluten-free all-purpose flour blend, such as Better Batter, which performs exceptionally well in breading applications. For the breadcrumbs, use your favorite brand of gluten-free breadcrumbs. These two simple substitutions are all it takes to transform this recipe into a delicious, safe, and satisfying gluten-free treat.
Serving Suggestions & The Perfect Dipping Sauce
A blooming onion is rarely served alone; it demands a delicious dipping sauce! While a classic ranch dressing or a tangy aioli works wonders, consider whipping up a homemade “blooming onion sauce” with mayonnaise, ketchup, horseradish, paprika, and a dash of cayenne for a kick. This sauce perfectly complements the savory, slightly spicy flavor of the onion. Serve your air-fried blooming onion hot, right after cooking, for the best crispiness. It makes an incredible appetizer for gatherings, a fun side dish, or even a unique snack.
This air-fried, gluten-free blooming onion is truly a revelation. It brings the joy of a favorite restaurant appetizer into your home, made healthier and customized to your dietary needs. The satisfaction of pulling apart those crispy, flavorful petals is unmatched, and knowing you created it with ease in your air fryer is just the icing on the cake. Are you ready to make the best air-fried blooming onion you’ve ever tasted?
Don’t miss out on more delicious and easy air fryer recipes! Be sure to sign up for our Newsletter to get Air Fryer Recipes delivered straight to your inbox.
Air Fried Blooming Onion (Gluten-Free Option)
Air Fryer Fanatics
Pin Recipe
Save RecipeSaved!
Ingredients
- 1 Large Sweet Onion (such as Vidalia or Walla Walla)
- 1 Cup Buttermilk
- 1-2 Cups Gluten-Free All-Purpose Flour or Regular All-Purpose Flour
- 2 Large Eggs beaten
- 2 Cups Gluten-Free Breadcrumbs or Regular Panko Breadcrumbs
- 1 Tsp Salt (or to taste)
- 1 Tsp Cajun Seasoning (adjust to preference for spice)
- Olive Oil Spray or Grapeseed Oil Spray
Instructions
-
Begin by peeling the large sweet onion, ensuring all outer skin is removed.
-
Trim the root end of the onion, making it mostly flat but ensuring the core remains intact to hold the petals together.
-
Cut the other end of the onion flat to create a stable base.
-
Starting from the root, slice downwards towards the flat end, making 12-16 even cuts around the onion, but do not cut through the root core. The slices should fan out like petals.
-
Carefully separate each layer and petal of the onion to create the blooming effect, being gentle to keep the base intact.
-
Place the fully opened onion in a shallow bowl and cover it with buttermilk. Let it soak for 1-2 hours. If not fully submerged, flip halfway through soaking time.
-
After soaking, gently shake off any excess buttermilk. Place the onion into a bowl with 1-2 cups of your chosen flour (gluten-free or regular). Ensure all petals and crevices are thoroughly coated, adding more flour if needed. Shake off any excess flour.
-
In a separate bowl, beat the eggs. Using a basting brush, carefully brush the beaten egg mixture onto the floured onion, making sure to get into each individual layer.
-
Line your air fryer basket with a sheet of foil, cut to fit, and roll up the sides to create a small barrier while still allowing air circulation. Lightly spray the foil with Olive Oil or Grapeseed Oil spray.
-
Carefully transfer the egg-coated onion onto the prepared foil in the air fryer basket.
-
Generously coat the onion with your chosen breadcrumbs (gluten-free or regular). You can sprinkle them on or gently press the onion into the breadcrumbs.
-
Evenly sprinkle the salt and Cajun seasoning over the entire breaded onion.
-
At this point, you can lightly spray the onion again with olive oil spray to help it crisp up beautifully and achieve a golden-brown color.
-
Preheat your air fryer to 390°F (199°C). Cook the blooming onion for 15 minutes.
-
Carefully remove the crispy blooming onion from the air fryer and serve immediately with your favorite dipping sauce.
Video
Notes
While the instructions are detailed, remember that perfecting your blooming onion technique might take a couple of tries. Don’t be discouraged! You’ll likely develop your own preferred method for handling and coating the onion with practice.
For a quick overview of the process, keep these key steps in mind:
- Precisely cut and separate the onion.
- Soak the onion in buttermilk for tenderizing and adhesion.
- Thoroughly dip in flour for a dry base.
- Evenly coat with beaten egg using a brush.
- Generously sprinkle with breadcrumbs and seasoning.
- Lightly spray with oil for ultimate crispiness.
- Air Fry until golden and tender.
- Serve immediately and enjoy every crispy petal!
Nutrition
