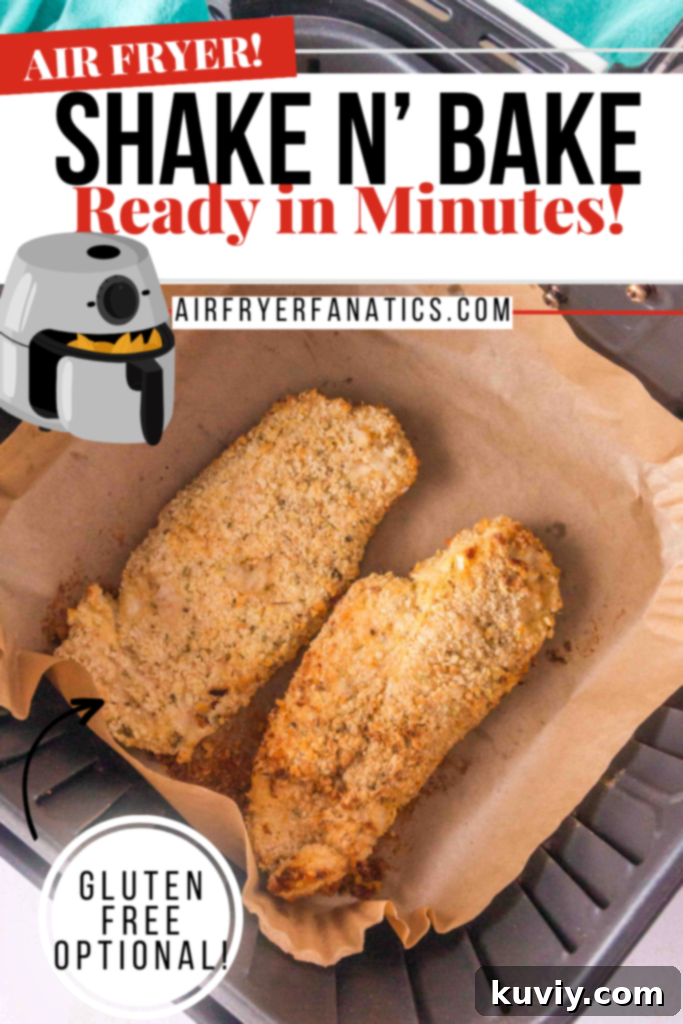
Crispy & Flavorful Air Fryer Shake and Bake Chicken: Your Ultimate Gluten-Free Weeknight Meal
Are you searching for a quick, delicious, and satisfying chicken recipe that the whole family will love? Look no further! This Gluten-Free Air Fryer Shake and Bake Chicken is a culinary revelation, delivering incredibly juicy and flavorful results with a perfectly crispy coating, all in under 30 minutes. It’s truly one of the BEST air fryer chicken recipes you’ll ever try, and it pairs wonderfully with a side of Air Fryer Truffle Fries or your favorite roasted vegetables.
Many of us grew up with the nostalgic charm of classic “Shake N Bake” chicken, and this homemade version captures that beloved essence using simple, everyday seasonings from your pantry. The best part? It’s incredibly adaptable and can be easily made gluten-free with a straightforward swap of breadcrumbs, ensuring everyone can enjoy this fantastic meal.
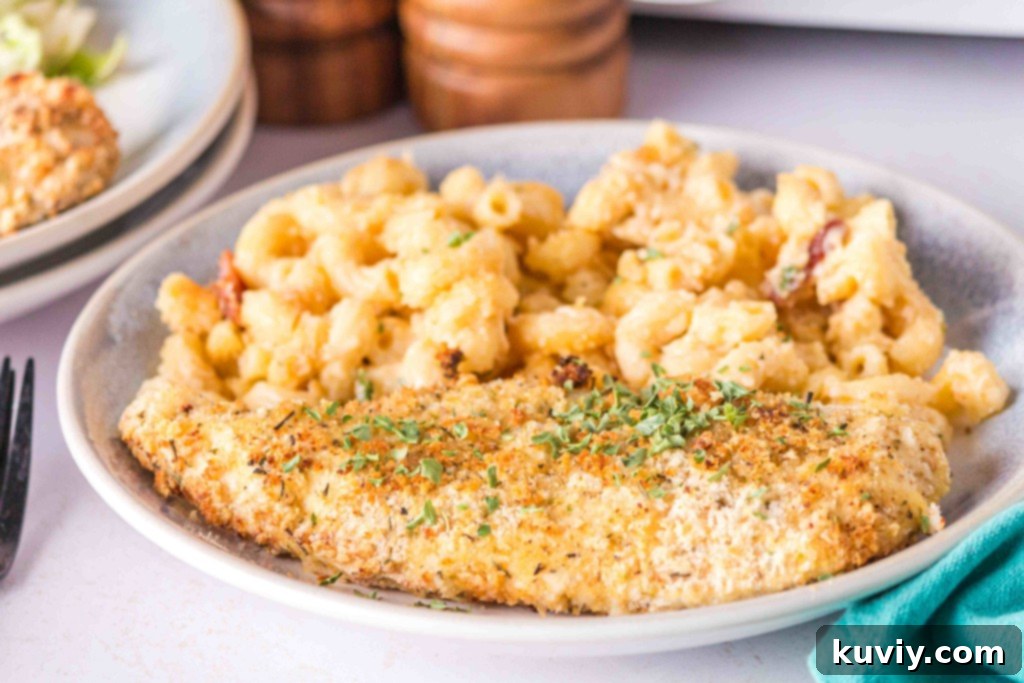
Beyond its convenience, air frying offers a healthier way to achieve that satisfying crunch without excessive oil. This method locks in moisture, ensuring every bite is succulent while maintaining a beautifully golden and crispy exterior. Whether you’re a busy parent, a health-conscious cook, or simply seeking a hassle-free meal, this Air Fryer Shake and Bake Chicken is a game-changer for your weekly menu.
The Magic Behind Air Frying Chicken
Air frying has revolutionized the way we cook, especially when it comes to achieving crispy textures. For chicken, it’s particularly effective because it circulates hot air around the food, mimicking the results of deep-frying or oven-baking but with significantly less oil and a much faster cooking time. This means you get a deliciously crunchy coating and tender, moist chicken every single time, making it an ideal method for our “Shake and Bake” inspired recipe.
The high heat and consistent airflow ensure that the breadcrumb coating crisps up beautifully without becoming soggy, which can sometimes happen with traditional baking. Plus, the quick cooking time makes it perfect for those busy weeknights when you need a wholesome meal on the table in a flash. It’s a healthier alternative that doesn’t compromise on flavor or texture.
Essential Ingredients for Your Air Fryer Shake and Bake Chicken
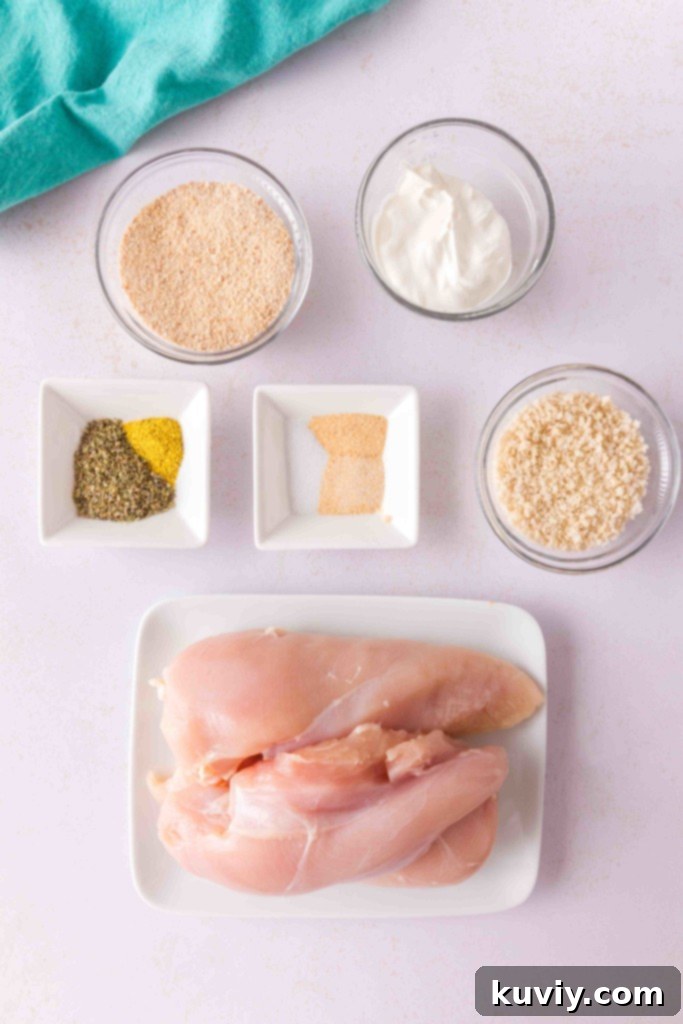
Creating this flavorful chicken requires a few key ingredients, most of which you likely already have in your pantry. The combination creates a robust and satisfying flavor profile that stands out. Here’s a detailed look at what you’ll need:
- Gluten-Free or Regular Panko Breadcrumbs: These coarser breadcrumbs are crucial for achieving that superior, extra-crispy texture that defines this dish. Panko tends to absorb less oil, resulting in a lighter, crunchier crust compared to standard breadcrumbs.
- Gluten-Free or Regular Fine Breadcrumbs: Used in conjunction with Panko, these finer breadcrumbs help create a more even and thorough coating on the chicken, ensuring every part is covered and seasoned perfectly.
- Italian Seasoning: A fragrant blend of herbs like oregano, basil, thyme, and rosemary, Italian seasoning forms the aromatic heart of our spice mixture, providing a classic, well-rounded flavor.
- Salt: Essential for enhancing all the other flavors and seasoning the chicken properly from the outside in.
- Garlic Powder: Adds a warm, pungent, and savory depth without the raw bite of fresh garlic.
- Onion Powder: Contributes a sweet and savory background note, complementing the garlic and Italian seasoning.
- Lemon Pepper: This zesty seasoning delivers a bright, citrusy kick and a subtle peppery finish, elevating the chicken’s overall taste profile.
- Boneless, Skinless Chicken Breast: The lean and versatile canvas for our flavorful coating. We specifically recommend boneless and skinless for consistent cooking and a lighter result.
- Sour Cream: This might seem unconventional, but sour cream is our secret weapon! It acts as an excellent tenderizer and a fantastic adhesive, helping the breadcrumb mixture cling to the chicken, while also adding a subtle tang and contributing to the chicken’s moistness.
- Grapeseed Oil Spray: A high smoke point oil spray is vital for achieving optimal crispiness in the air fryer.
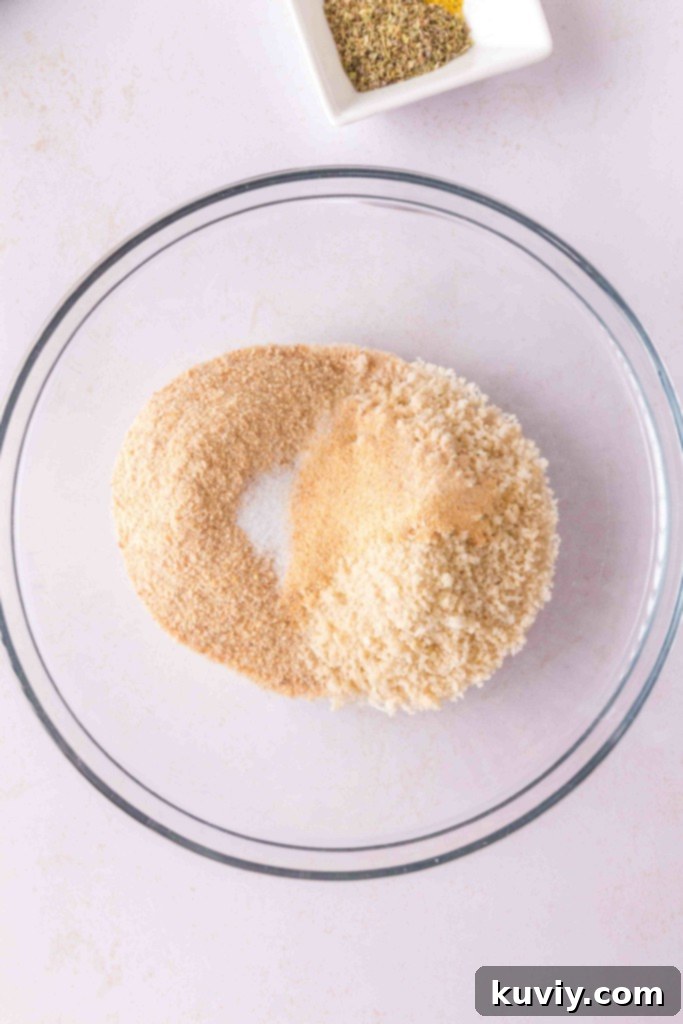
The strategic use of both Panko and fine breadcrumbs is key to the texture of this dish. Panko, with its larger, flakier crumbs, provides that signature crispness and a satisfying crunch with every bite. The finer breadcrumbs, on the other hand, ensure a thorough and even coating, helping the seasonings adhere perfectly to the chicken. This dual-breadcrumb approach creates a multi-layered texture that’s truly irresistible.
For the cooking spray, grapeseed oil is highly recommended due to its neutral flavor and high smoke point, which allows it to get very hot without burning, thus promoting a golden-brown and extra-crispy exterior. While olive oil spray can be used as an alternative, remember that it has a lower smoke point, so monitor closely to prevent charring.
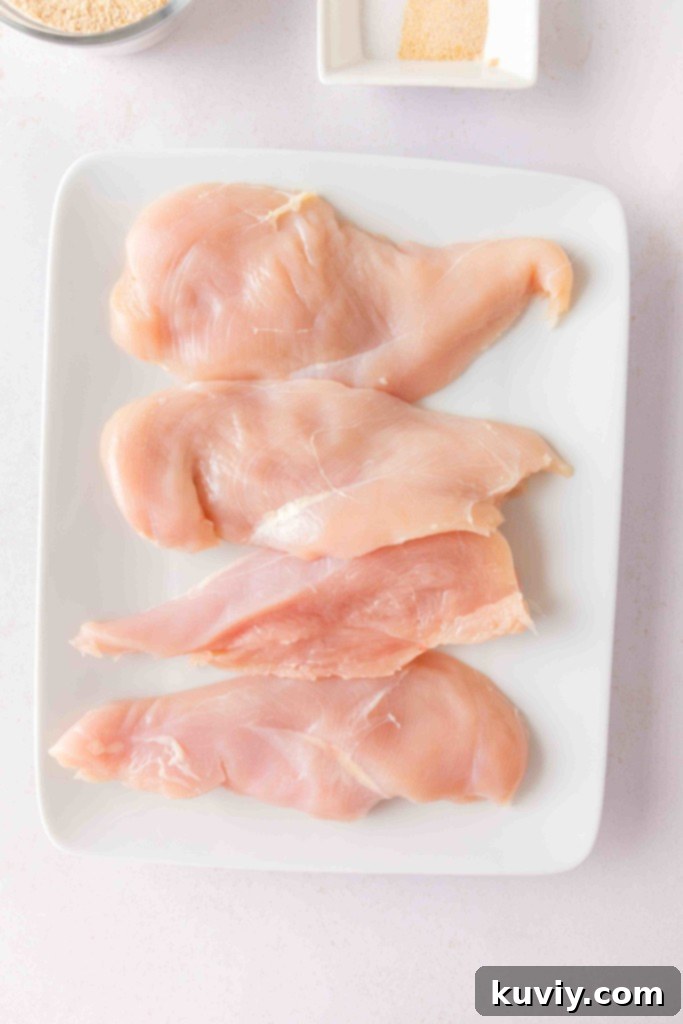
This recipe specifically calls for boneless, skinless chicken breasts. They cook quickly and evenly, making them ideal for the air fryer. We use four chicken breasts, but if yours are particularly thick, consider slicing them lengthwise in half to create thinner cutlets. This not only speeds up cooking but also ensures uniform thickness for even doneness and allows you to get more servings from fewer pieces of chicken. Chicken thighs would also work wonderfully for this recipe if you prefer dark meat, but be aware that their cooking times will differ; always rely on an internal meat thermometer to ensure they reach a safe temperature.
Making This Recipe Perfectly Gluten-Free
One of the best aspects of this recipe is how easily it can be adapted to be completely gluten-free without sacrificing any flavor or texture. The only modification required is substituting traditional breadcrumbs with gluten-free versions.
In my experience, 4C Foods Gluten-Free Plain Breadcrumbs and 4C Foods Gluten-Free Panko Breadcrumbs are excellent choices. They are widely available at major retailers like Walmart and perform just as well as their gluten-containing counterparts, providing that desired crunch and coverage. However, feel free to use any brand of gluten-free breadcrumbs you prefer or have access to; the key is to ensure you have both a coarse (Panko style) and a fine variety for the best texture.
Aside from the breadcrumbs, all other ingredients in this recipe—Italian seasoning, salt, garlic powder, onion powder, lemon pepper, chicken, sour cream, and grapeseed oil spray—are naturally gluten-free. Nevertheless, it’s always a good practice to double-check the labels of all your ingredients to confirm they are certified gluten-free, especially if you or someone you’re cooking for has a severe gluten sensitivity or celiac disease. This extra step helps prevent any potential cross-contamination and ensures a safe and enjoyable meal for everyone.
Expert Tips for Making the Best Gluten-Free Air Fryer Shake and Bake Chicken
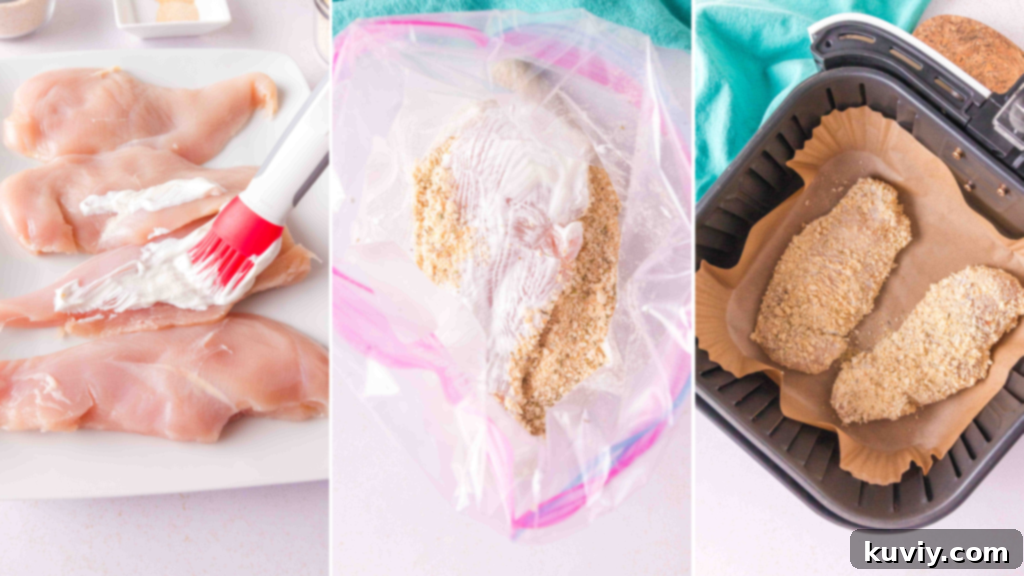
Achieving perfectly crispy and juicy Air Fryer Shake and Bake Chicken is simple when you follow a few key tips and tricks. These pointers will help you get that restaurant-quality result right in your own kitchen:
- Preparation is Key: Before you even start coating, ensure your chicken breasts are patted thoroughly dry with paper towels. Excess moisture can prevent the breading from adhering properly and result in a less crispy crust. Trim any visible fat for a cleaner bite.
- The Sour Cream Advantage: Once your chicken is prepped, each piece should be coated generously with sour cream. This creamy base is essential; it acts as the “glue” that binds the breadcrumb and seasoning mixture to the chicken, ensuring a thick, even crust. It also helps to keep the chicken incredibly moist and tender during the air frying process. You can use a pastry brush, the back of a spoon, or even your hands to spread it evenly.
- The “Shake” Method: For the traditional “Shake and Bake” experience, combine your breadcrumbs and seasonings in a large Ziploc bag. After coating the chicken with sour cream, place one or two pieces into the bag, seal it, and give it a good shake until the chicken is completely covered. This method ensures maximum coating and minimal mess. If you prefer not to use a bag, a wide, shallow bowl works just as well; simply roll the sour cream-coated chicken in the mixture until evenly coated.
- Preheat Your Air Fryer: While not strictly necessary for all air fryer recipes, preheating your air fryer for 3-5 minutes at the cooking temperature (380°F) can significantly improve the crispiness of your chicken. A hot basket helps the breading crisp up immediately upon contact, creating a superior crust.
- Don’t Overcrowd the Basket: This is perhaps the most crucial rule for successful air frying. Place chicken pieces in a single layer in the air fryer basket, ensuring there is ample space between them for air to circulate. Overcrowding will steam the chicken instead of frying it, resulting in a soggy crust. If necessary, cook in multiple batches.
- Use Oil Spray Liberally: Just before air frying, give the coated chicken a generous spray of grapeseed oil (or olive oil). This isn’t just about preventing sticking; the oil helps achieve that beautiful golden-brown color and ultimate crispiness. Don’t be shy with the spray!
- Flip for Even Cooking: To ensure uniform crispness and cooking, flip the chicken halfway through the cooking time. This exposes both sides to the direct heat of the air fryer.
- Check for Doneness: The chicken is done when it reaches an internal temperature of at least 165°F (74°C). This is best verified with a reliable meat thermometer. My personal favorite is the Thermapen; it’s incredibly fast and accurate, making it a valuable tool in any kitchen for various foods, not just chicken.
- Keep Warm Between Batches: If you’re cooking in multiple batches and want to keep the first batch warm, simply transfer the cooked chicken to a baking sheet and place it in a preheated oven at 200°F (93°C) while the remaining batches cook.
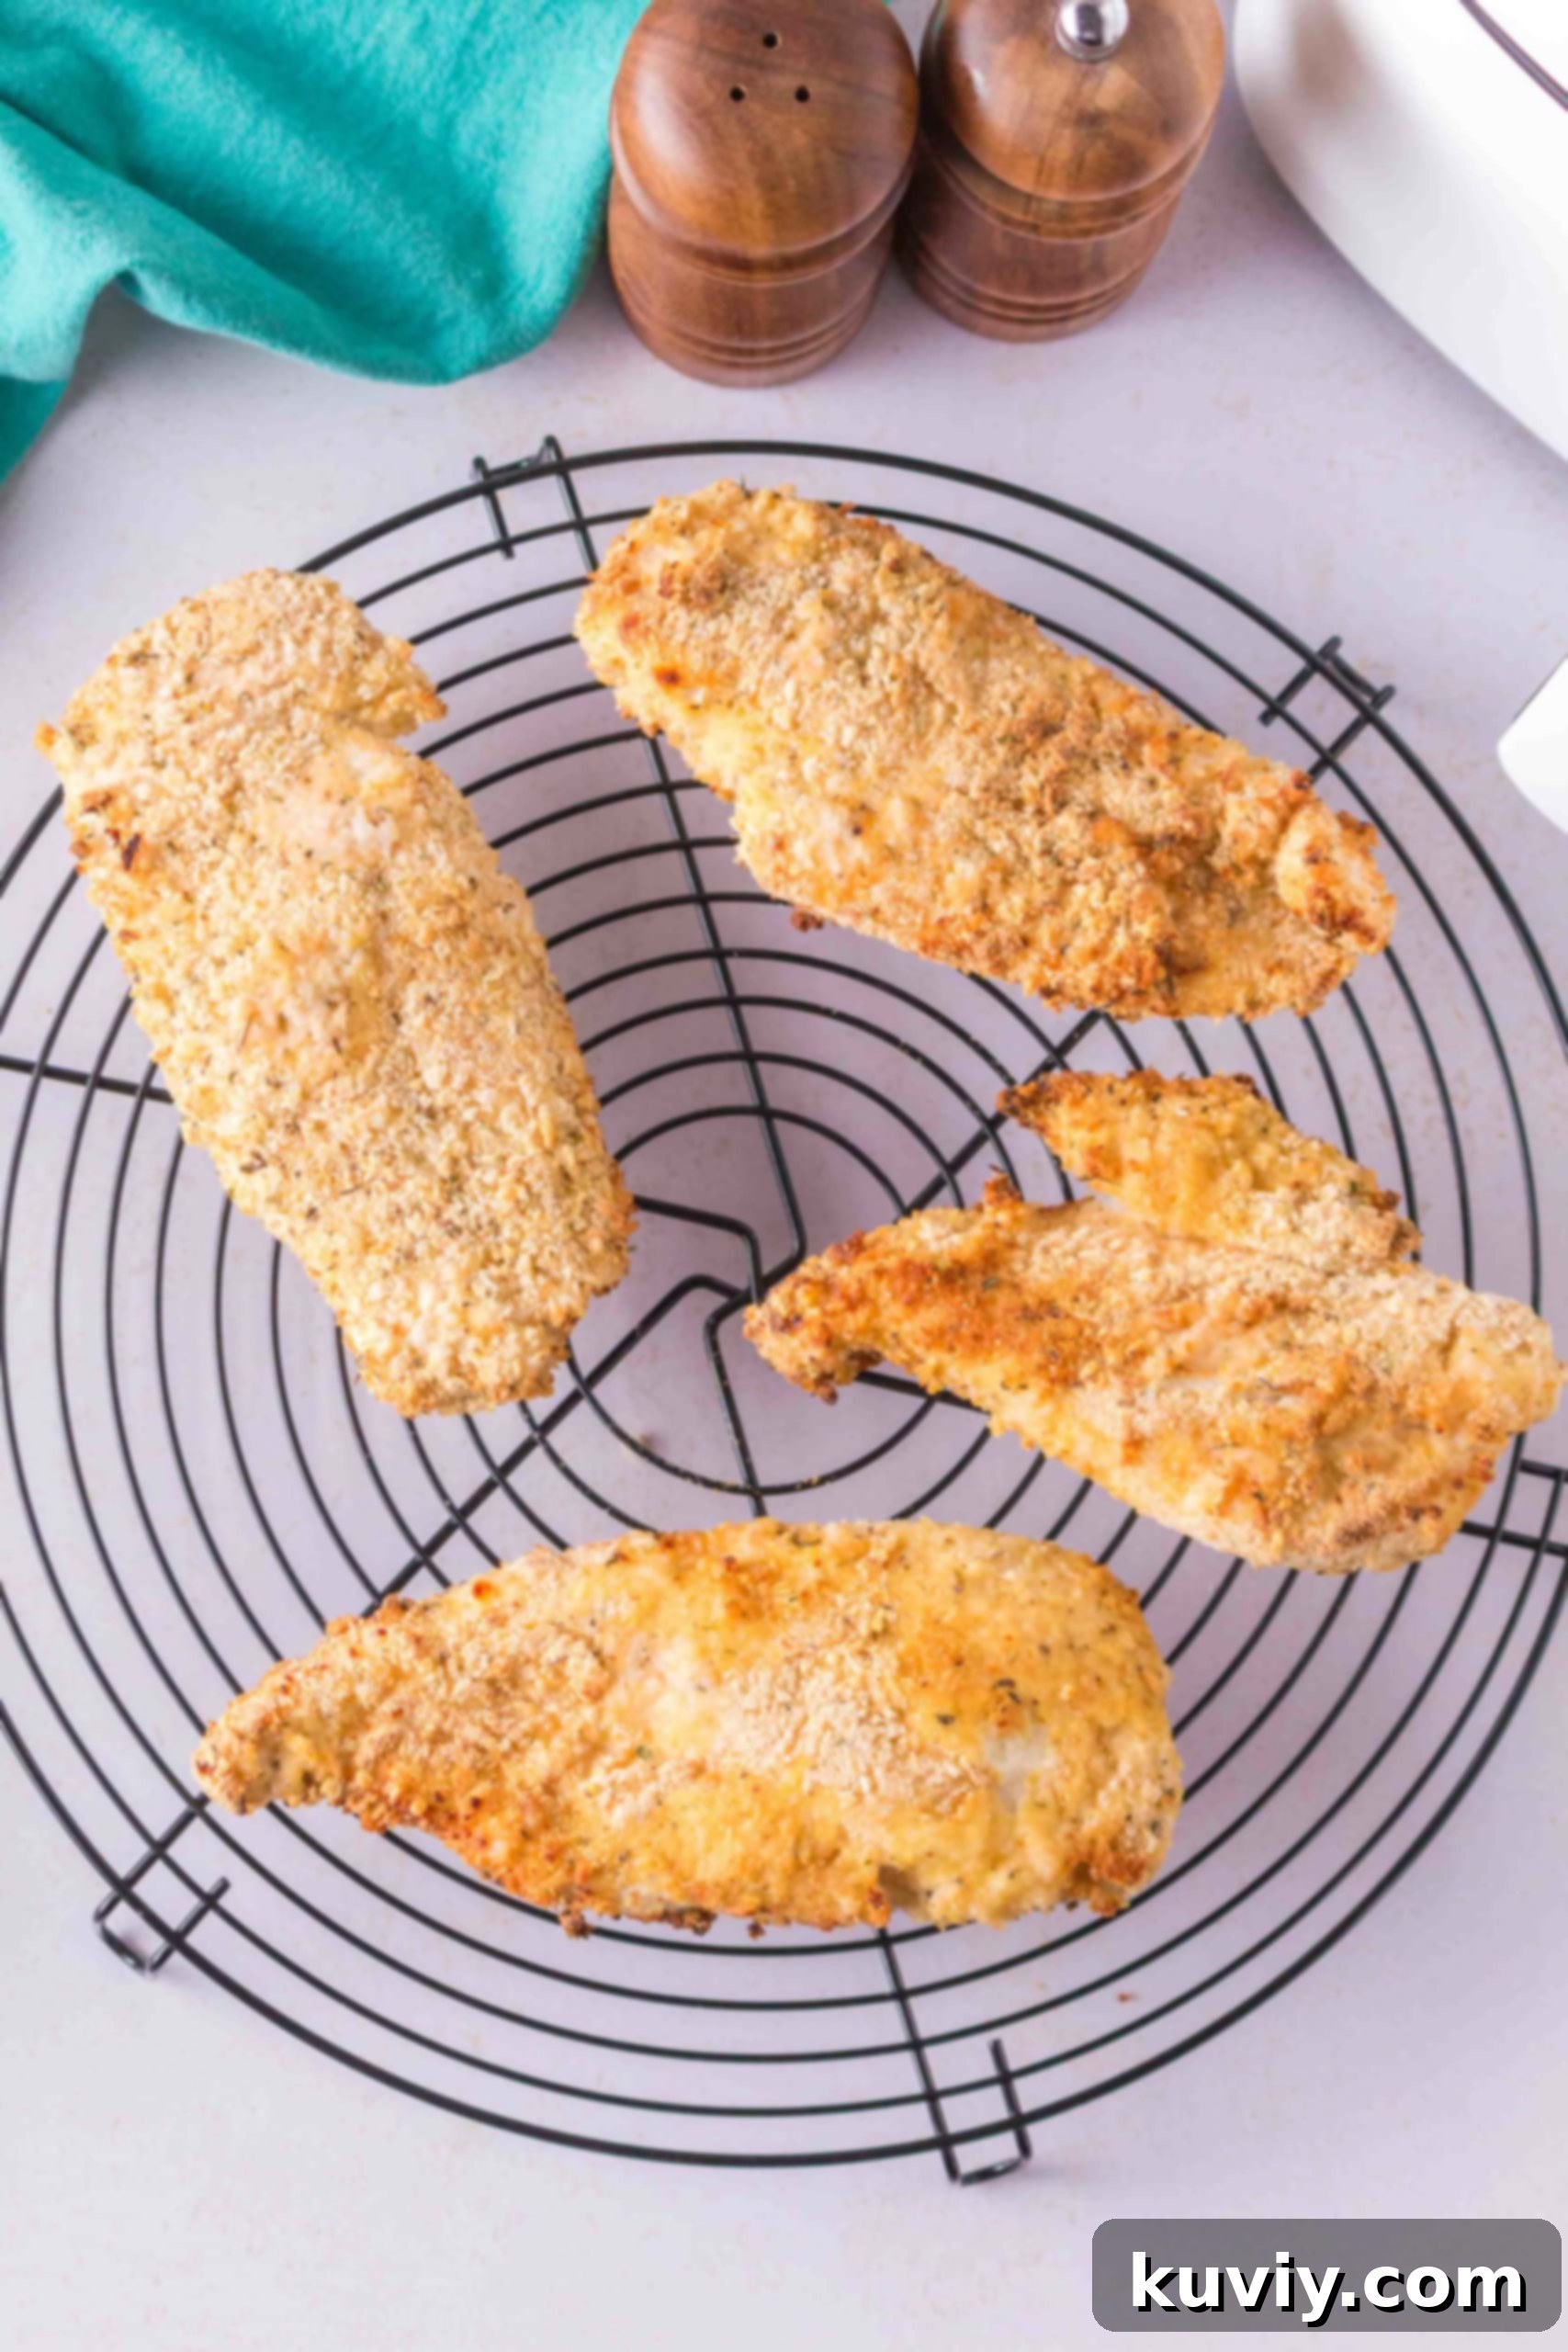
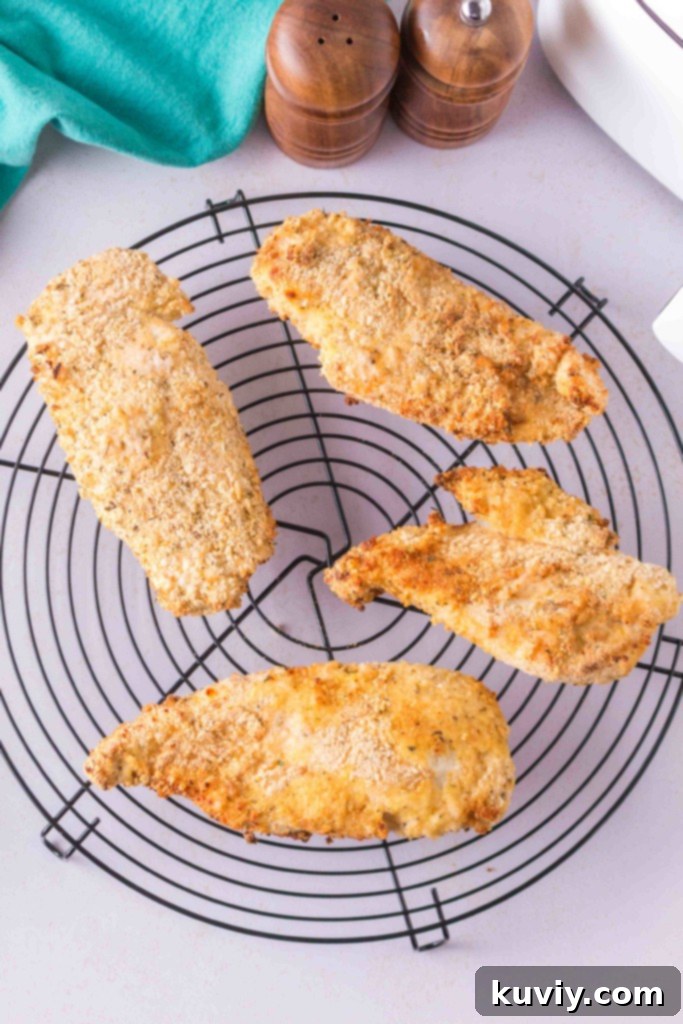
- Rest Before Serving: Once cooked, allow the chicken to rest for 3-5 minutes on a cooling rack before serving. This allows the juices to redistribute throughout the meat, ensuring maximum tenderness and flavor.
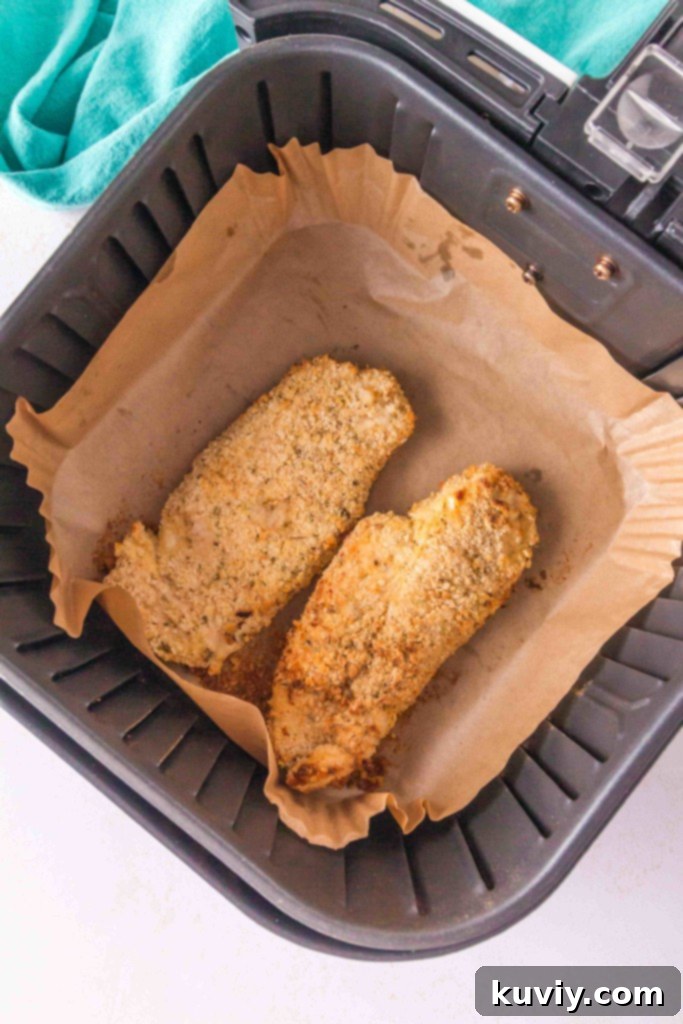
By following these detailed tips, you’re guaranteed to achieve perfectly crispy, wonderfully flavorful, and incredibly juicy Air Fryer Shake and Bake Chicken every time. The step-by-step instructions are provided in the recipe card below.
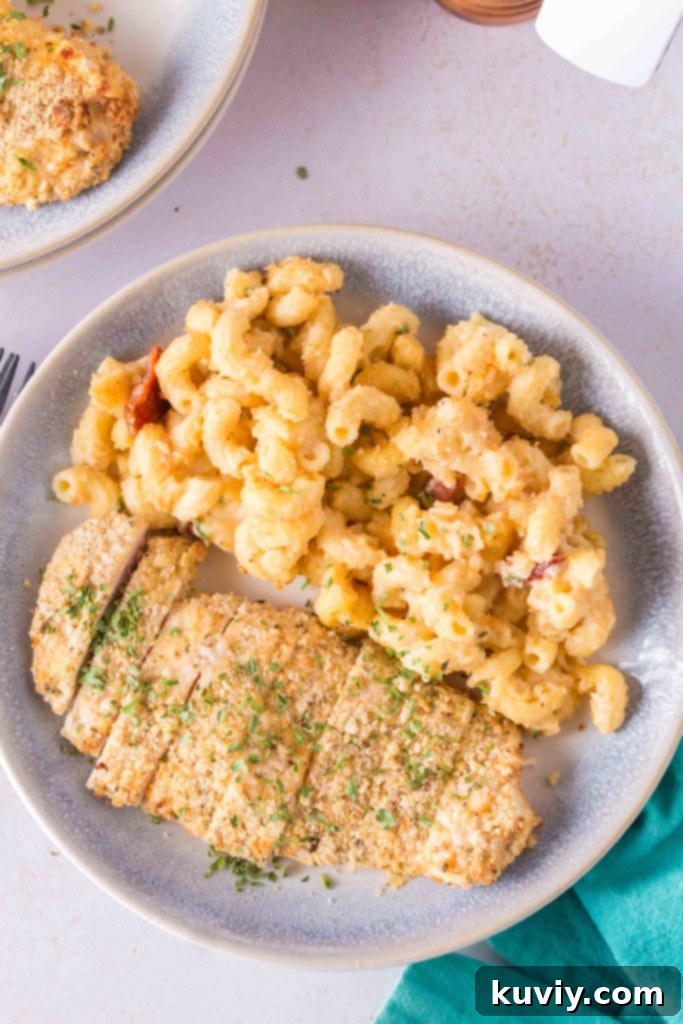
Delicious Variations of Air Fryer Shake and Bake Chicken
While the classic recipe is fantastic on its own, this Air Fryer Shake and Bake Chicken is also incredibly versatile, allowing you to easily customize its flavor profile to suit your preferences. Here are a few exciting variations to inspire your culinary creativity:
- Make it Spicy: For those who love a kick, add 1-2 teaspoons of chili powder and 1 teaspoon of smoked paprika to the breadcrumb mixture. A pinch of cayenne pepper can also be added for an extra fiery punch. This variation adds a vibrant color and a delightful warmth to the chicken.
- Make it Kid-Friendly: Entice even the pickiest eaters by mixing 1/4 cup of finely grated Parmigiano cheese and 2 tablespoons of cooked, crumbled bacon bits into the breadcrumb mixture. The cheesy, smoky flavors are always a hit, turning dinner into an exciting treat.
- Make it Deluxe (Parmesan-Style): Elevate your chicken by serving it over a bed of marinara pasta. Top the freshly air-fried chicken with a spoonful of warm marinara sauce and a generous sprinkle of grated Parmesan cheese. This transforms a simple chicken dish into a hearty, Italian-inspired meal.
- Herb Garden Twist: Beyond Italian seasoning, consider adding other fresh or dried herbs to your breadcrumb mixture. A teaspoon of dried rosemary or a tablespoon of finely chopped fresh parsley or chives can add a unique aromatic dimension.
- Smoky BBQ Flavor: For a smoky BBQ flair, swap the Italian seasoning for a tablespoon of your favorite BBQ rub. You can also lightly brush the cooked chicken with a thin layer of BBQ sauce during the last minute of air frying for a caramelized finish.
Don’t limit yourself to just serving it as a main dish with sides! This versatile chicken is also fantastic when sliced and used in a variety of other meals. It makes an incredible chicken sandwich when placed on a toasted bun with your favorite toppings like lettuce, tomato, and a dollop of mayonnaise or a tangy coleslaw. It can also be chopped and added to salads for a protein boost, tucked into wraps, or even used as a crispy topping for homemade pizzas. The possibilities are endless!
Storing and Reheating Leftovers for Maximum Freshness
Having leftovers of this delicious Air Fryer Shake and Bake Chicken is a rare treat, but if you do, proper storage and reheating are essential to maintain its texture and flavor. Store any leftover chicken in an airtight container in the refrigerator for 2-3 days. This ensures it remains fresh and safe to eat.
When you’re ready to enjoy your leftovers, the air fryer is your best friend for reheating! Unlike a microwave, which can make breaded chicken soggy, the air fryer will bring back that desirable crispiness. To reheat, preheat your air fryer to 300°F (150°C) and cook the chicken for approximately 5 minutes, or until it is thoroughly warmed through and crispy again. You might want to flip it halfway through for even reheating. This method ensures your chicken tastes almost as good as it did when freshly made, retaining its juicy interior and crunchy exterior.
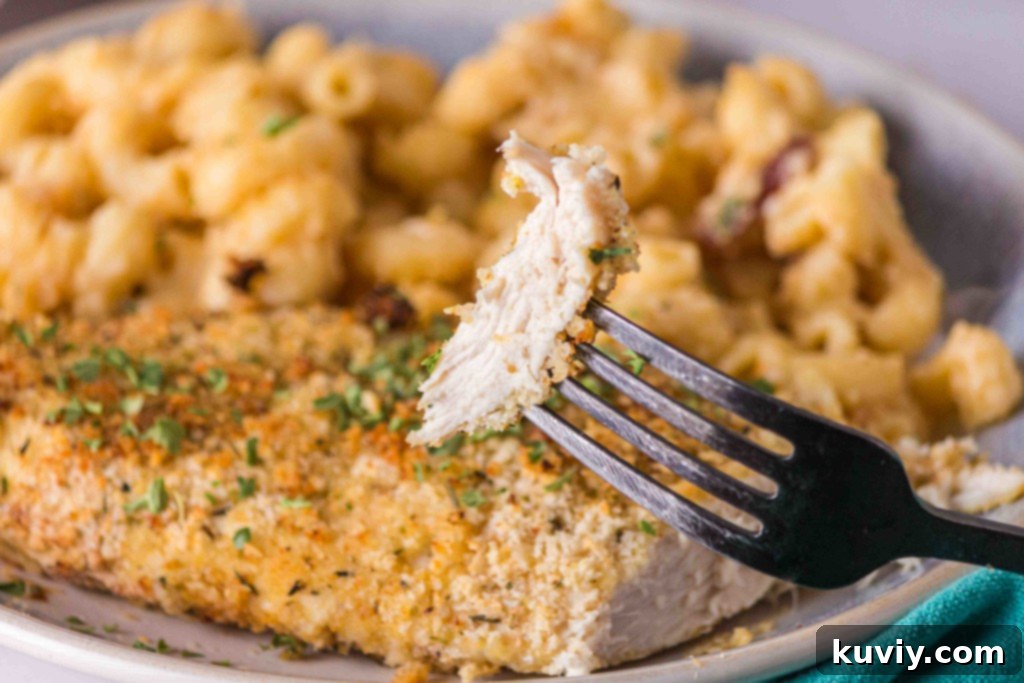
So, are you ready to experience the convenience and deliciousness of the BEST Air Fryer Shake and Bake Chicken? With its perfectly seasoned, crispy coating and tender, juicy interior, this recipe is guaranteed to become a new family favorite. Plus, with the easy gluten-free option, everyone can indulge in this delightful meal. It’s time to gather your ingredients, fire up that air fryer, and “Shake N’ Bake” your way to a fantastic dinner tonight!
Gluten-Free Air Fryer Shake and Bake Chicken
Pin Recipe
Save RecipeSaved!
Ingredients
- 1/2 Cup Gluten-Free or Regular Panko Breadcrumbs Coarse for ultimate crispiness
- 1/2 Cup Gluten-Free or Regular Fine Breadcrumbs For a smooth, even coating
- 2 tsp Italian Seasoning
- 1 tsp Salt
- 1 tsp Garlic Powder
- 1 tsp Onion Powder
- 1/2 tsp Lemon Pepper
- 4 Boneless, Skinless Chicken Breast See Note about cutting thick breasts
- 1/3 Cup Sour Cream Acts as a binder and adds moisture
- Grapeseed Oil Spray Or other high smoke point oil spray
Instructions
-
Prepare the Coating: In a small bowl or a large Ziploc bag, combine the Panko breadcrumbs, fine breadcrumbs, Italian seasoning, salt, garlic powder, onion powder, and lemon pepper. Mix thoroughly until well combined. Set this mixture aside.
-
Prep the Chicken: Unwrap the boneless, skinless chicken breasts. Using paper towels, thoroughly pat each piece dry to ensure the breading adheres properly. Place the dried chicken on a clean plate. Trim any excess fat or, if the breasts are thick, carefully cut them lengthwise in half to create thinner, more uniform cutlets (this ensures even cooking).
-
Coat with Sour Cream: Using a pastry brush, evenly brush a thin layer of sour cream onto both sides of each chicken breast. If you don’t have a brush, the back of a spoon or a knife can work just as well. Ensure complete coverage as this acts as the binder for the breadcrumbs.
-
Apply Breadcrumb Mixture: Place one or two sour cream-coated chicken pieces into the breadcrumb mixture. If using a Ziploc bag, seal the bag and gently shake it, tumbling the chicken until it is fully and evenly coated on all sides. If using a bowl, roll and press the chicken into the mixture to ensure a thick, even crust.
-
Preheat Air Fryer & Arrange: Preheat your air fryer to 380°F (195°C) for 3-5 minutes. Once preheated, carefully place the breaded chicken into the air fryer basket in a single layer, making sure not to overcrowd it. Leave space between each piece for optimal air circulation and crispiness. You may need to cook in two batches depending on the size of your air fryer.
-
Spray with Oil: Generously coat the top surface of the chicken with grapeseed oil spray. This step is optional but highly recommended as it greatly enhances the golden color and crispiness of the crust.
-
Air Fry: Cook the chicken at 380°F (195°C) for 13-15 minutes. At the halfway point (around 6-7 minutes), flip the chicken pieces to ensure even cooking and browning on both sides.
-
Check Doneness: The chicken is fully cooked and safe to eat when it reaches an internal temperature of at least 165°F (74°C). Use a meat thermometer inserted into the thickest part of the chicken to verify.
-
Serve Immediately: Once cooked, transfer the crispy chicken to a cooling rack to allow any excess moisture to dissipate and maintain crispness. Serve hot and enjoy!
-
Keeping Warm (if batch cooking): If you’re cooking multiple batches and want to keep the first batch warm, place the cooked chicken on a baking sheet in an oven preheated to 200°F (93°C) until all batches are ready.
Notes
This recipe uses a combination of two types of breadcrumbs for optimal texture. If you need this recipe to be entirely gluten-free, be sure to use certified gluten-free Panko and fine breadcrumbs. Always check all ingredient labels for gluten-free certification.
Nutrition
