Air Fryer Garlic Butter Chicken Skewers: Your Ultimate Recipe for a Quick, Flavorful & Easy Weeknight Meal
If you’re searching for a meal that effortlessly combines speed, incredible flavor, and simple preparation, these Air Fryer Garlic Butter Chicken Skewers are precisely what you need. Imagine perfectly tender, juicy chicken pieces, marinated in a rich, aromatic garlic butter sauce, and cooked to crispy perfection in your air fryer in mere minutes. This recipe is designed to become your new go-to for busy weeknights or whenever you crave a delicious, satisfying dish without the fuss. Say goodbye to bland dinners and hello to a burst of savory goodness!
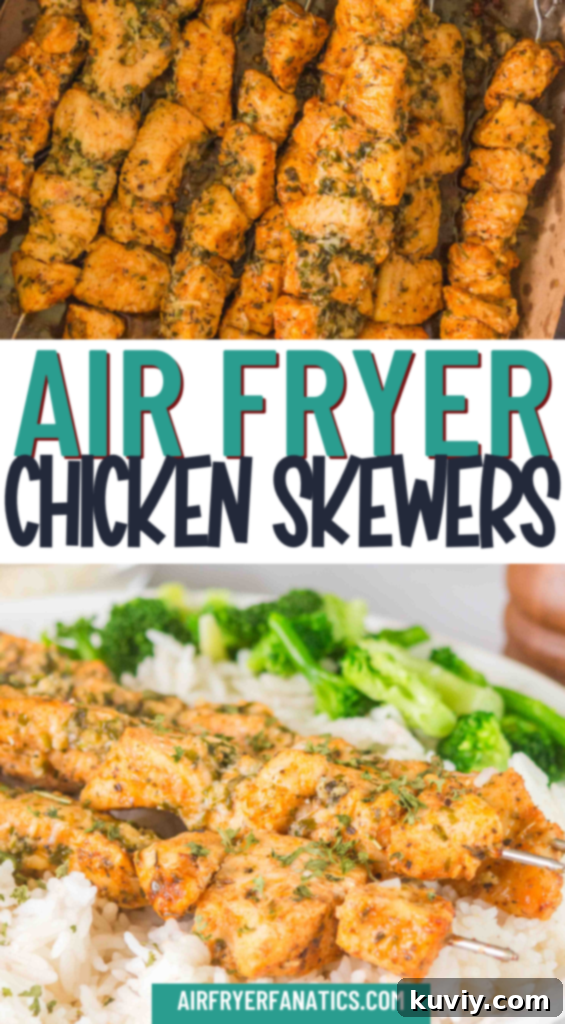
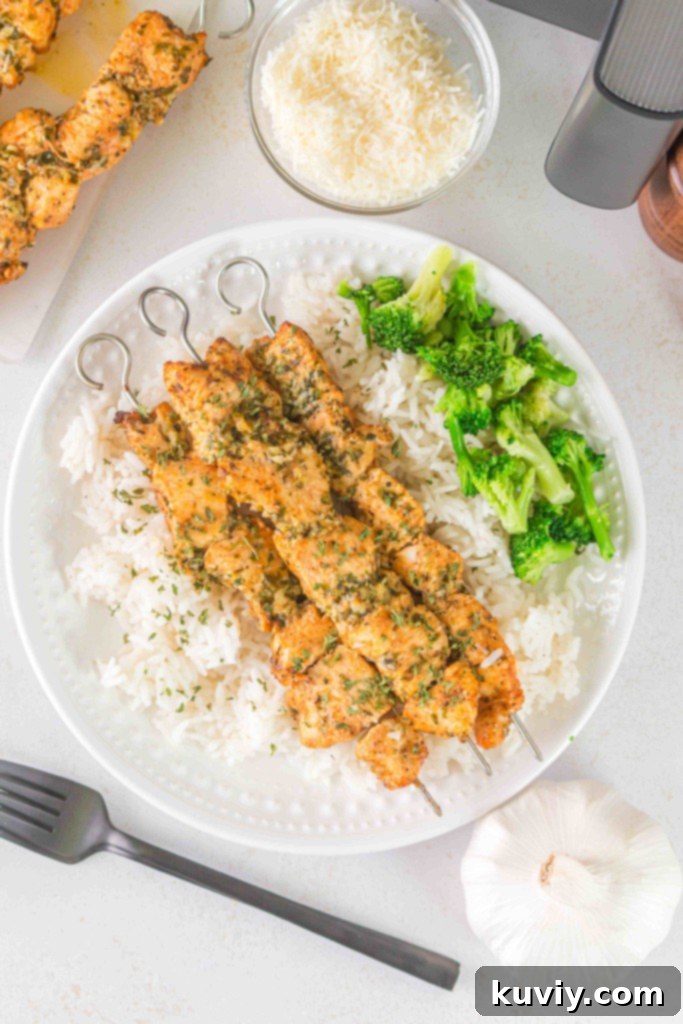
Beyond being incredibly easy to make, these garlic butter chicken skewers are wonderfully versatile. They pair beautifully with a variety of sides, transforming a simple meal into a delightful feast. For a wholesome and balanced dinner, consider serving them alongside fluffy cooked rice and vibrant air fryer broccoli. This combination creates a complete meal that’s not only delicious but also packed with nutrients, making it a fantastic choice for the entire family. The delicate crunch of broccoli and the comforting warmth of rice perfectly complement the savory chicken, making every bite a joy.
Essential Ingredients for Irresistible Garlic Butter Chicken Skewers
Creating these mouthwatering chicken skewers requires a handful of simple yet potent ingredients that come together to form a truly unforgettable flavor profile. The magic lies in the garlic butter sauce, which infuses the chicken with richness and aroma, and the perfect blend of seasonings that enhance its natural taste. Here’s what you’ll need to gather to bring this incredible dish to life:
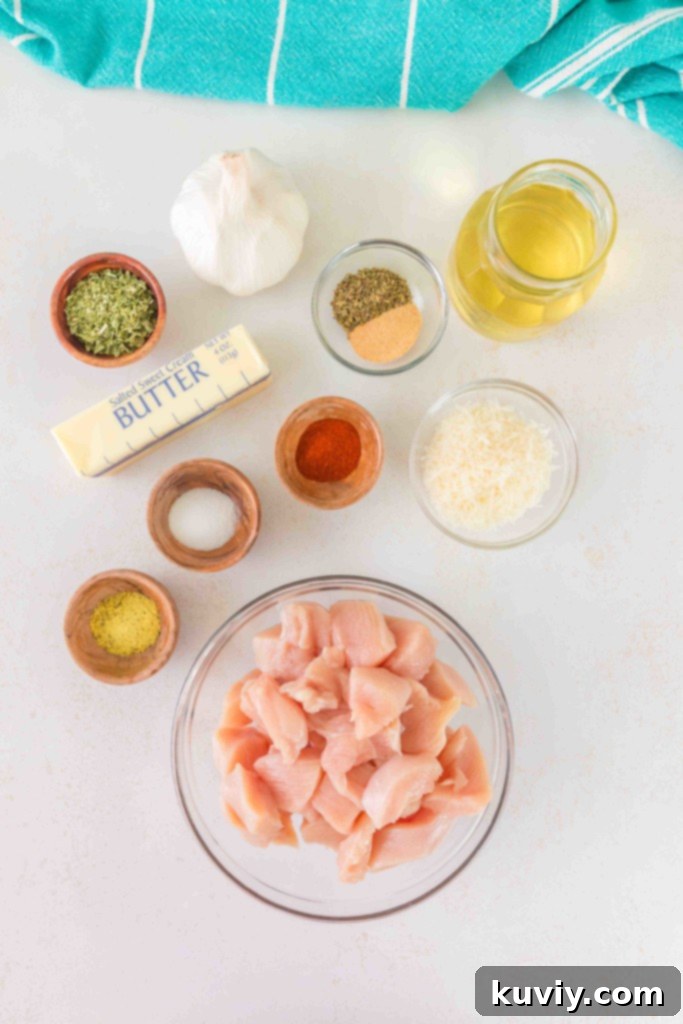
- Salted Butter: The foundation of our luscious garlic butter sauce, providing richness and flavor.
- Dried Parsley: Adds a touch of herbaceous freshness and visual appeal to the butter mixture.
- Kosher Salt: Essential for seasoning both the butter sauce and the chicken, bringing out their best flavors.
- Fresh Garlic: Minced or crushed, this is the star of the butter sauce, delivering a pungent and aromatic kick.
- Italian Seasoning: A fragrant blend of herbs that adds depth and classic Italian-inspired taste to the chicken.
- Garlic Powder: Provides an additional layer of garlic flavor to both the chicken and the butter sauce, ensuring every bite is infused.
- Paprika: Contributes a beautiful color and a mild, slightly sweet, peppery note to the chicken seasoning.
- Lemon Pepper: A zesty and tangy seasoning that brightens the chicken’s flavor, adding a refreshing finish.
- Parmigiano Cheese: Finely grated Parmesan cheese melts into the butter sauce, adding a savory, umami richness that’s simply divine.
- Boneless Skinless Chicken Breast: The lean protein base, cut into bite-sized pieces for quick cooking and easy skewering.
- Olive Oil: Used to coat the chicken before seasoning, helping the spices adhere and promoting even browning.
- Skewers: The essential tool for holding your chicken pieces together for easy handling in the air fryer.
Each ingredient plays a crucial role in building the incredible taste of these air fryer garlic butter chicken skewers. Opting for fresh garlic over just powder will give you a more vibrant flavor, while salted butter ensures a good base seasoning. Don’t skip the lemon pepper – it truly brightens the overall profile!
Chicken Thighs vs. Chicken Breast: Which to Choose?
While this recipe specifically calls for boneless, skinless chicken breast, you absolutely have the flexibility to use boneless, skinless chicken thighs if that’s your preference or what you have on hand. Chicken thighs tend to be a bit more forgiving, often staying juicier due to their higher fat content, which can be a real plus for air frying.
However, there’s an important consideration when swapping: cooking time. Chicken thighs generally cook faster than chicken breasts, especially when cut into smaller pieces for skewers. Therefore, if you opt for thighs, be sure to keep a very close eye on them during the cooking process. Using a meat thermometer is always recommended to ensure they reach the safe internal temperature of 165°F (74°C) without overcooking and becoming dry. The key to success with either cut is cutting the chicken into uniformly sized pieces, which ensures even cooking and prevents some pieces from being undercooked while others are overcooked.
Choosing the Right Skewers for Your Air Fryer
The type of skewers you use is an important detail for air fryer cooking. Both metal and wooden skewers can be successfully used for this recipe, but there are a few things to keep in mind to ensure safety and optimal results.
First and foremost, your skewers must fit comfortably within your air fryer basket. Air fryer baskets come in various sizes, so measure yours to determine the maximum length of skewer you can use. Typically, skewers ranging from 4 to 6 inches will work well for most standard air fryer models. You might need to trim longer wooden skewers to size, or simply select shorter metal skewers designed for compact appliances.
If you choose to use **wooden skewers**, it is absolutely crucial to soak them in water for at least 30 minutes (or even longer, up to an hour) before threading your chicken onto them. This step prevents the wood from burning or charring during the high-heat air frying process. Metal skewers, on the other hand, don’t require soaking but can get very hot, so always handle them with oven mitts or tongs.
Consider the material: metal skewers are reusable and conduct heat efficiently, often leading to slightly faster cooking. Wooden skewers are disposable and can be easier to handle if you’re worried about heat. Whichever you choose, ensure they are sturdy enough to hold the chicken pieces securely without bending or breaking.
Expert Tips for Perfect Air Fryer Garlic Butter Chicken Skewers
Achieving perfectly tender, flavorful, and evenly cooked air fryer garlic butter chicken skewers is simple with a few helpful tips. Follow these guidelines to ensure your chicken comes out tasting amazing every time, with minimal effort.
Preparation is Key
Evenly Cut Chicken: Begin by cutting your boneless, skinless chicken breast into uniform 1-inch cubes or bite-sized pieces. Consistency in size is paramount for even cooking, preventing some pieces from drying out while others remain undercooked. Aim for pieces that are roughly the same thickness and width.
Prepare the Garlic Parmigiano Butter: In a small bowl, thoroughly mix all the ingredients for the garlic Parmigiano butter sauce. This rich, aromatic mixture will be brushed onto the chicken later, so have it ready and set aside. The flavors will meld beautifully as it waits.
Seasoning the Chicken: Before skewering, coat your chicken pieces evenly with a drizzle of olive oil. This helps the seasonings adhere better and promotes a nice crust. Then, sprinkle generously with the specified blend of paprika, garlic powder, salt, lemon pepper, and Italian seasoning. Ensure every piece is well-coated for maximum flavor.
Air Frying for Perfection
Don’t Overcrowd the Basket: When placing the skewers in the air fryer basket, ensure there’s enough space between each one for proper air circulation. Overcrowding will steam the chicken instead of crisping it, leading to less desirable results. Cook in batches if necessary.
Initial Cook & Flip: Air fry the seasoned chicken skewers at 400°F (200°C) for an initial 4-5 minutes. This creates a good sear. Carefully flip the skewers halfway through this stage to ensure even cooking on all sides.
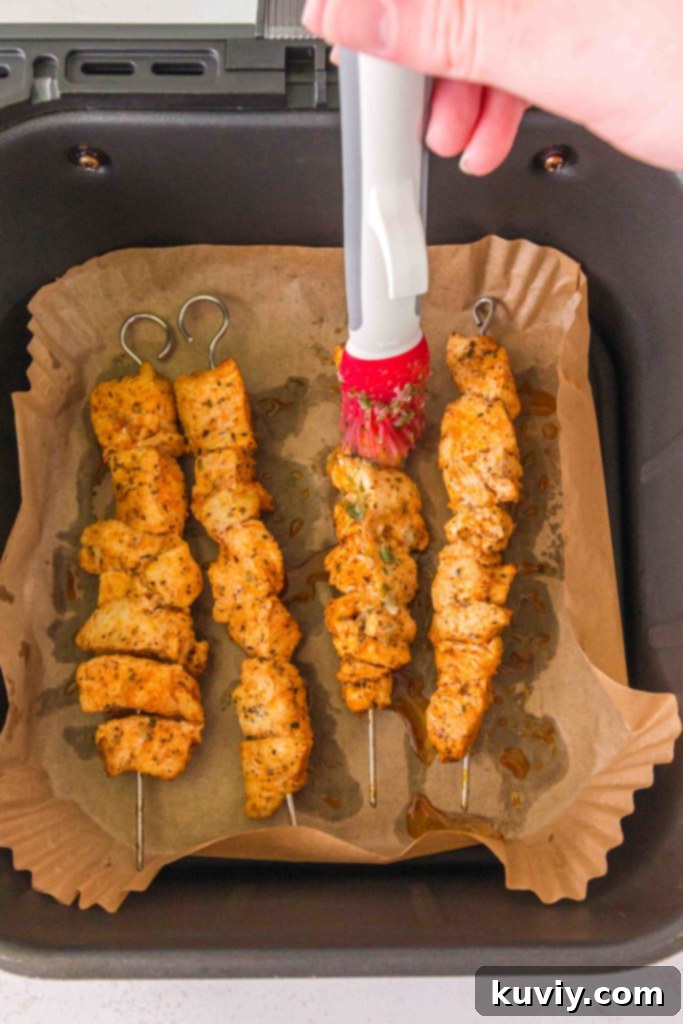
Brushing with Garlic Butter: After the initial cooking, it’s time for the flavor infusion! Use a pastry brush to generously coat each side of the flipped skewers with the prepared garlic butter mixture. This step is crucial for achieving that signature rich, savory taste.
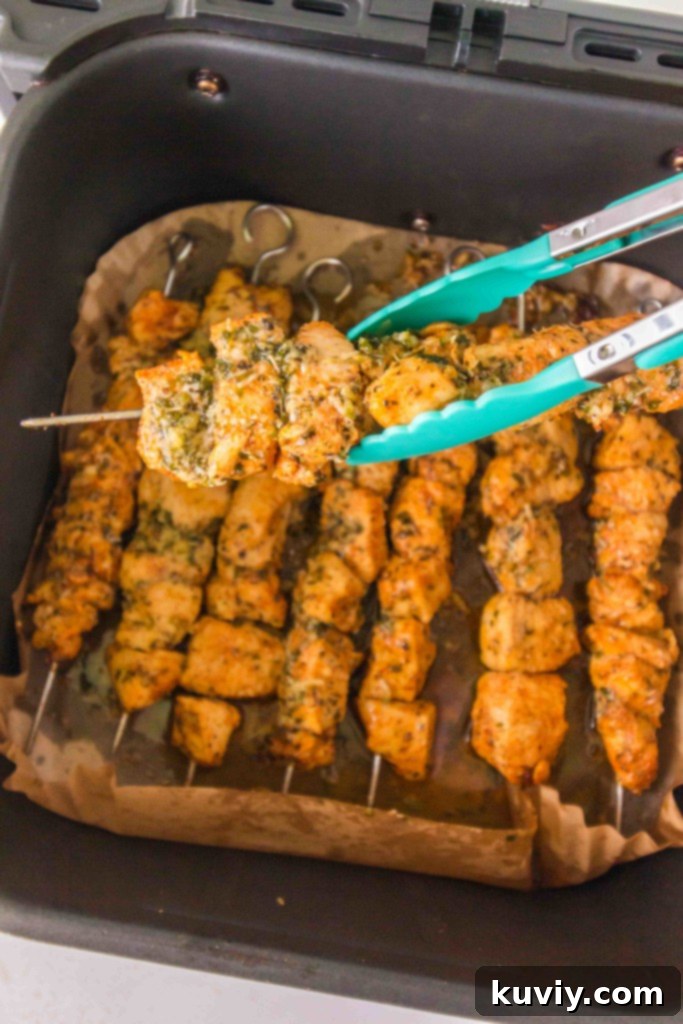
Cooking to Temperature: Continue to air fry the chicken for an additional 4 minutes after applying the butter. The most critical tip for any chicken recipe is to ensure it reaches an internal temperature of at least 165°F (74°C) to be considered safe to eat. Always use a reliable meat thermometer inserted into the thickest part of a chicken piece, avoiding the skewer. Remember that all air fryers vary in heating, so cooking times are approximate; your meat thermometer is your best friend!
Easy Cleanup & Serving
Parchment Paper for Easy Cleanup: We highly recommend lining your air fryer basket with air fryer parchment paper. This little trick makes cleanup incredibly easy, preventing the butter and chicken juices from sticking to the basket. While you can make them without it, parchment paper simplifies the entire process.
Extra Dipping Sauce: For an extra boost of flavor, consider making a bit of additional garlic butter to serve as a dipping sauce alongside your cooked skewers. It’s an excellent way to enhance the meal and is always a crowd-pleaser.
Batch Cooking & Warming: If you’re cooking multiple batches and the first batch starts to cool, simply place all the cooked skewers back into the air fryer basket. Warm them at 275°F (135°C) for 2-3 minutes before serving to ensure they are delightfully warm and ready to enjoy.
Dietary Considerations
This recipe is naturally gluten-free, making it suitable for those with gluten sensitivities. Furthermore, it’s incredibly easy to customize to various dietary preferences. Feel free to adjust seasonings or add vegetables to the skewers for a more comprehensive meal.
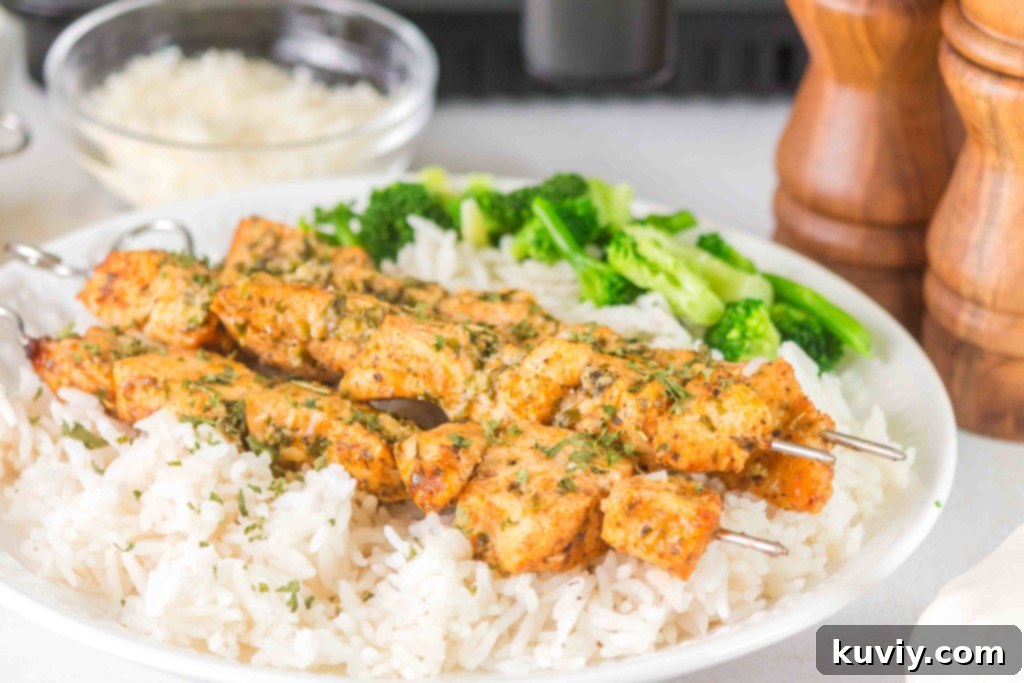
Delicious Variations for Your Air Fryer Chicken Skewers
One of the best aspects of these air fryer garlic butter chicken skewers is their versatility. While the original recipe is fantastic as is, it also serves as a perfect canvas for culinary creativity. Here are a few exciting variations to explore, allowing you to tailor the flavors to your mood or occasion:
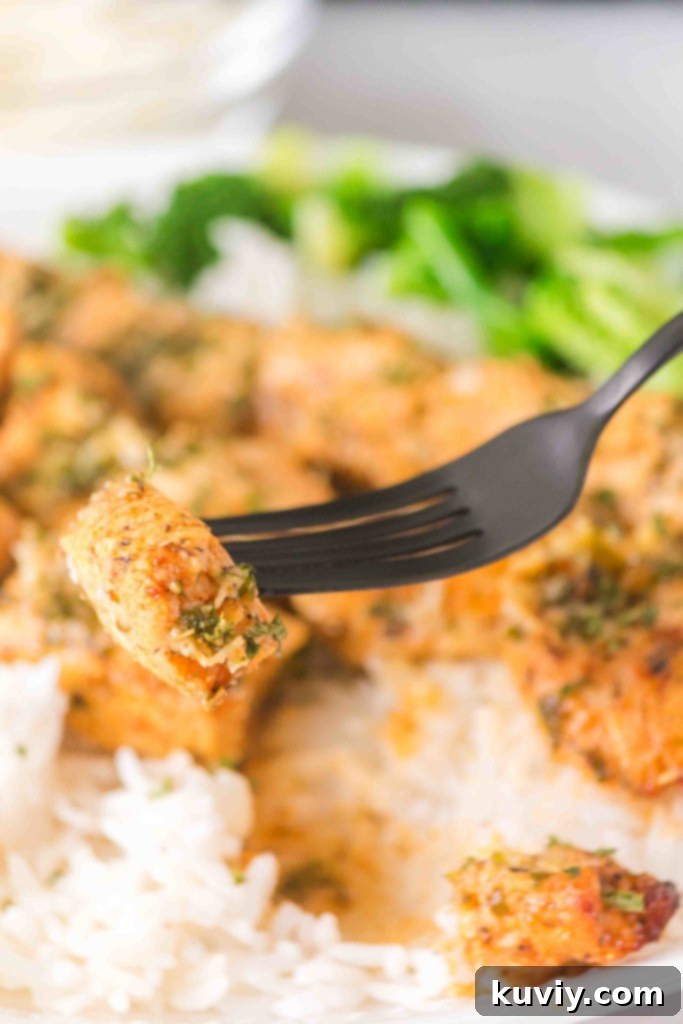
- Make it Spicy: For those who love a bit of heat, easily transform these skewers by adding red pepper flakes and a dash of chili powder to the garlic butter sauce. You could also sprinkle a pinch of cayenne pepper over the chicken before air frying. The spice will beautifully complement the rich butter and garlic, adding an exciting kick.
- Make it Kid-Friendly: Get the little ones excited about dinner by making a cheesy version! During the last minute or two of air frying, sprinkle some shredded cheddar or mozzarella cheese over the cooked skewers and let it melt until bubbly and golden. Kids absolutely love cheesy chicken, making this a surefire hit.
- Make it Deluxe: Elevate your meal into a more sophisticated dining experience. Serve the succulent garlic butter chicken skewers over a bed of creamy risotto or wild rice, topped with perfectly sautéed mushrooms. A sprinkle of fresh herbs like chives or extra parsley would add a gourmet touch, perfect for a special dinner.
- Add Vegetables: Turn these into a full meal on a stick by adding bell peppers, red onion, zucchini, or cherry tomatoes to the skewers along with the chicken. Cut vegetables into similar 1-inch pieces to ensure they cook evenly with the chicken. Toss them with a little olive oil and the same seasonings as the chicken for a cohesive flavor.
- Herb Lover’s Dream: If you’re a fan of fresh herbs, incorporate finely chopped fresh rosemary, thyme, or oregano into your garlic butter mixture, or sprinkle them over the chicken before serving. This will add another layer of aromatic complexity.
Storing and Reheating Leftovers
These garlic butter chicken skewers are so delicious, you might not have many leftovers! But if you do, they store beautifully, allowing you to enjoy their fantastic flavor for another meal. Proper storage ensures your chicken remains fresh and tasty.
To store leftovers, allow the cooked skewers to cool completely before transferring them to an airtight container. They can be kept in the refrigerator for up to 3-4 days. For best results and to prevent the chicken from drying out, it’s best to remove the chicken pieces from the skewers before storing, especially if they are metal, as they can accelerate cooling.
When you’re ready to reheat, the air fryer is your best friend once again! Place the chicken pieces (or entire skewers, if they fit) back into the air fryer basket. Air fry at 300°F (150°C) for about 5 minutes, or until the chicken is thoroughly warmed through to your liking. This method helps the chicken retain its tenderness and even brings back a little crispness, unlike microwave reheating which can sometimes make chicken rubbery. Always ensure the chicken is heated to a safe internal temperature of 165°F (74°C).
These garlic butter chicken skewers are not only easy to prepare but are also packed with so much flavor that they’re destined to become a beloved staple in your meal rotation. Their simplicity and deliciousness make them a perfect fit for any occasion, ensuring that everyone at your table, from the pickiest eaters to the most seasoned foodies, will enjoy this effortless and satisfying recipe.
Air Fryer Garlic Butter Chicken Skewers
Pin Recipe
Save RecipeSaved!
Ingredients
Garlic Parmigiano Butter
- 8 Tbsp Salted Butter, Melted
- 1 Tbsp Dried Parsley
- 1/4 Tsp Kosher Salt
- 1 Clove Crushed Garlic
- 1 Tsp Italian Seasoning
- 1 Tsp Garlic Powder
- 1/4 Cup Parmigiano Cheese
Chicken
- 1 1/2 Pounds Boneless, Skinless Chicken Breast (Cut in bite-sizes)
- 2 Tbsp Olive Oil
- 1 Tsp Paprika
- 1 Tsp Garlic Powder
- 1 Tsp Kosher Salt
- 1 Tsp Lemon Pepper
- 1 Tsp Italian Seasoning
- 8 Skewers (Wood or Metal)
Instructions
Garlic Parmigiano Butter
-
Combine the melted butter, dried parsley, salt, crushed garlic, Italian seasoning, garlic powder, and Parmigiano Cheese in a small bowl. Stir until all ingredients are well combined. Set this flavorful mixture aside.
Chicken
-
Begin by preheating your air fryer to 400°F (200°C) for 4 minutes. This ensures the air fryer is at optimal cooking temperature from the start.
-
Remove the chicken from its packaging, pat it thoroughly dry with paper towels to help with browning, and cut it into uniform 1 to 1.5-inch bite-sized pieces. Evenly sized pieces are crucial for consistent cooking.
-
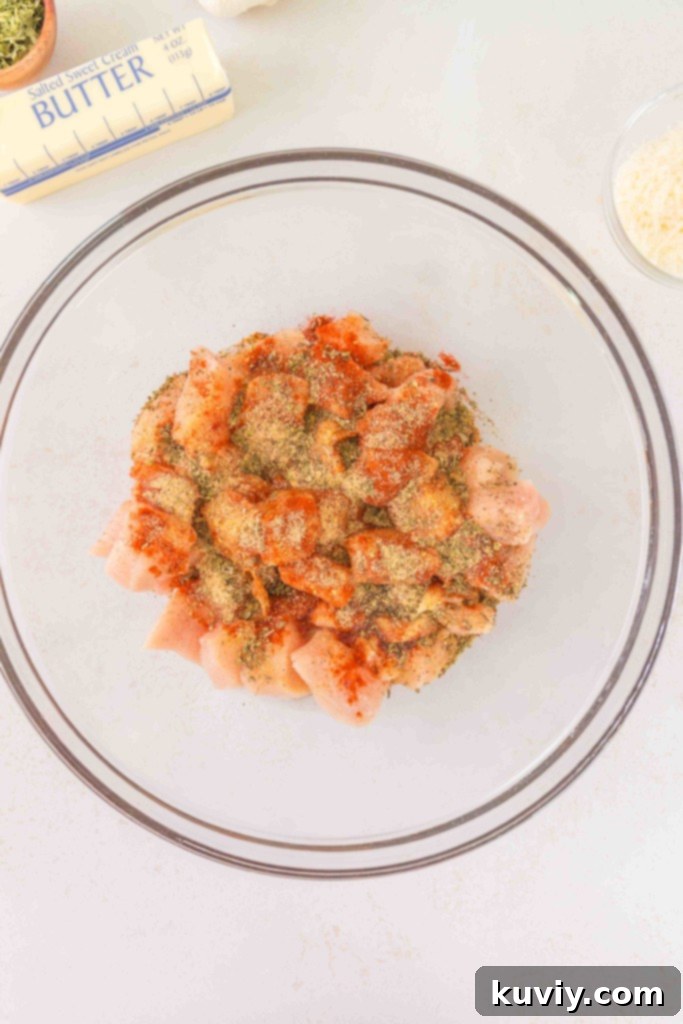
Place the cut chicken into a mixing bowl. Drizzle with olive oil and toss to ensure all chicken pieces are lightly coated. This helps the seasonings adhere.
-
Generously sprinkle the paprika, garlic powder, kosher salt, lemon pepper, and Italian seasoning over the chicken. Mix well again, ensuring every piece of chicken is thoroughly coated with the aromatic seasonings.
-
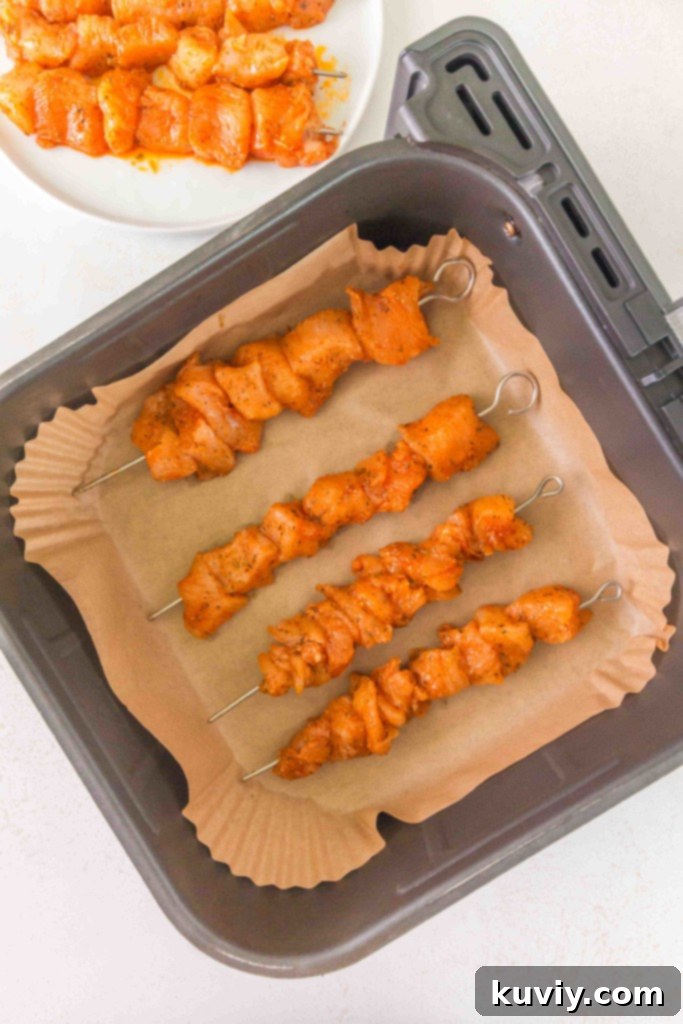
Thread 7-8 pieces of the seasoned chicken onto each skewer, making sure they are not packed too tightly. This allows air to circulate around each piece during cooking.
-
Arrange the prepared skewers neatly on a plate while you prepare the air fryer.
-
For easier cleanup and to prevent sticking, line your air fryer basket with parchment paper designed for air fryers, or alternatively, lightly coat the basket with olive oil spray.
-
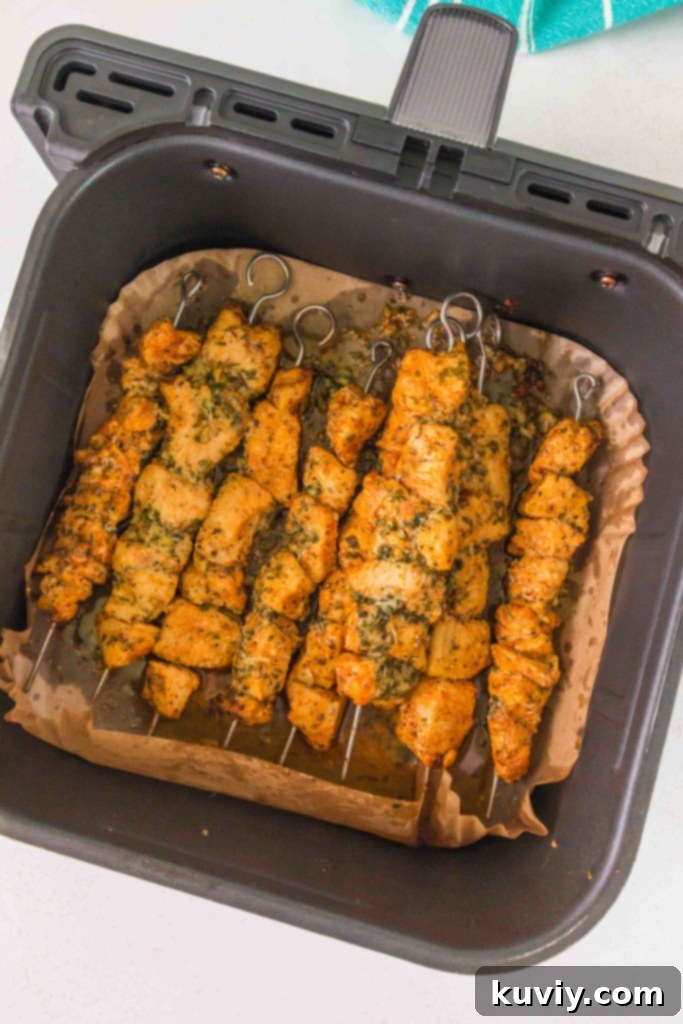
Carefully place 4-5 skewers into the preheated air fryer basket. Ensure there is enough space between each skewer to allow hot air to circulate freely around the chicken for even cooking and crisping.
-
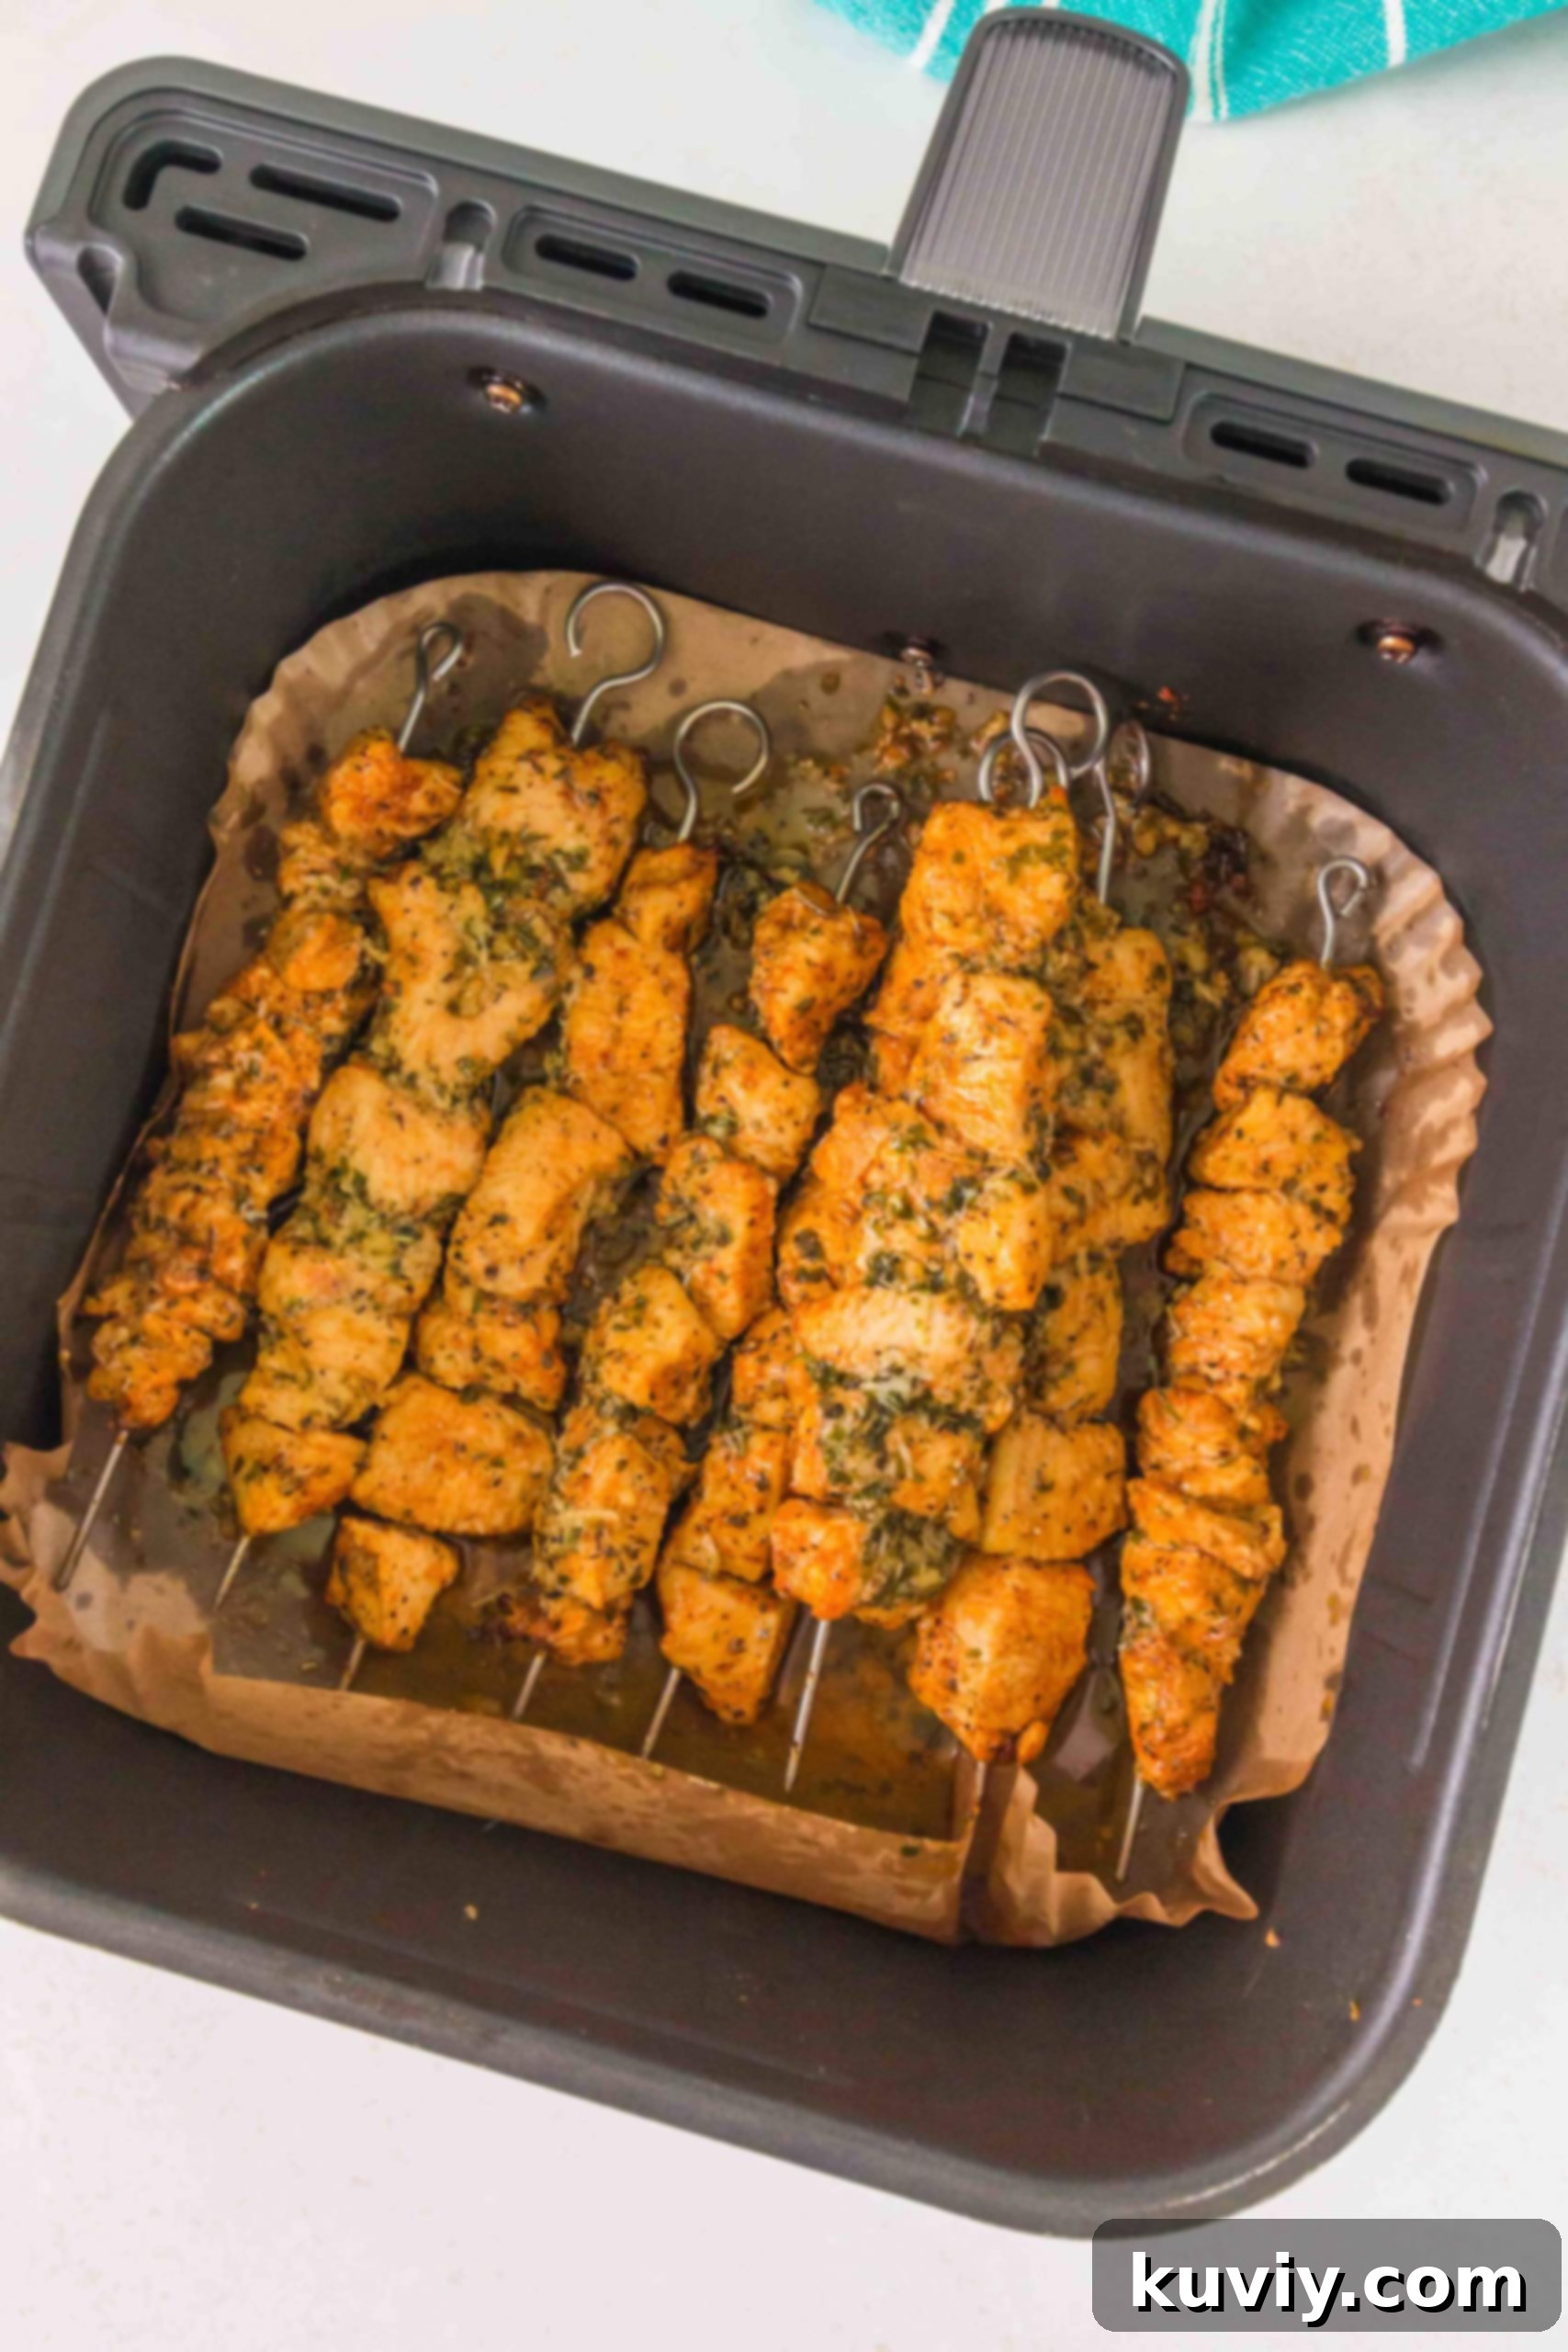
Air Fry the skewers at 400°F (200°C) for an initial 4-5 minutes.
-
Using tongs, carefully flip each skewer. Then, use a pastry brush to generously brush both sides of the chicken with the prepared garlic Parmigiano butter mixture.
-
Return the skewers to the air fryer and continue to air fry for an additional 4 minutes, allowing the butter to melt and coat the chicken beautifully.
-
Verify doneness: The internal temperature of the chicken must reach at least 165°F (74°C) when checked with a meat thermometer. If needed, continue cooking in 1-minute increments until this safe temperature is achieved.
-
Carefully remove the cooked skewers from the air fryer. Repeat steps 7-11 for any remaining batches of chicken.
-
If the first batches have cooled by the time all skewers are cooked, you can rewarm them. Place all skewers back into the air fryer basket and heat at 275°F (135°C) for 2-3 minutes before serving to ensure everything is warm and ready to enjoy.
Notes
If you opt for wooden skewers, remember to soak them in water for at least 30 minutes prior to use. This prevents them from burning in the air fryer. Trim them to fit your air fryer basket if necessary.
Nutrition
