Ultimate Guide to Cleaning Your Air Fryer: Maintain Health, Performance & Longevity
Bringing a new air fryer into your kitchen is always an exciting event! The moment it’s unboxed, the immediate thought is often to whip up your first delicious meal or crispy snack. Whether it’s a batch of golden fries, perfectly roasted vegetables, or succulent chicken wings, the air fryer quickly becomes a go-to appliance for quick, healthy, and convenient cooking. Many of us, myself included, can’t resist diving straight into the cooking adventure!
However, once the cooking is done and the delicious aromas have faded, a common question arises – one that many new (and even seasoned) air fryer owners ponder:
- Is it really necessary to clean my air fryer after every use?
- How often should I clean it to keep it in top condition?
- And most importantly, what’s the correct and most effective way to clean an air fryer without damaging it?
Fear not! This comprehensive guide is designed to answer all these critical questions, providing you with everything you need to know to keep your air fryer spotless, efficient, and safe for years to come. Proper air fryer cleaning isn’t just about appearances; it’s fundamental to your health, the appliance’s performance, and even the taste of your food.
Why Air Fryer Cleaning is Absolutely Crucial
While the act of cleaning might not be the most glamorous part of cooking, maintaining a clean air fryer is paramount. Some might wonder why such emphasis is placed on it, but the reasons are compelling and extend far beyond just keeping your kitchen tidy.
Consider the importance of keeping your entire kitchen clean – it’s a universally accepted practice, right? There’s no debate that a clean cooking environment is vital for health and safety. The same principles, if not more, apply to your air fryer.
It’s not merely about aesthetics, although a pristine appliance certainly looks better on your countertop. Nor is it just about avoiding the “gross” factor, even if accumulated grease and food particles can indeed be quite unpleasant.
Clean Your Air Fryer For Your Health and Hygiene
The primary reason for diligent air fryer cleaning is directly related to health and hygiene. Each time you cook, food particles, grease, and moisture accumulate inside the air fryer. This creates an ideal breeding ground for bacteria, mold, and other undesirable microorganisms. If these substances are left to fester, they can easily transfer to your next meal, potentially leading to foodborne illnesses. Preventing cross-contamination and ensuring the food you prepare is safe to eat should always be your top priority.
Think of it as preventing an invisible threat. While you might not see the microscopic pathogens, their presence can pose a significant risk to anyone consuming food cooked in a dirty appliance. Regular cleaning dramatically reduces this risk, safeguarding the health of you and your loved ones. It might not be the most exciting chore, but it’s a critical step in responsible food preparation.
Clean Your Air Fryer to Ensure Optimal Performance and Longevity
Beyond health concerns, “gunk” build-up—grease, food residue, and burnt bits—can severely impede your air fryer’s functionality. Air fryers work by circulating hot air, and if the basket, pan, or even the heating element itself is coated in grime, this airflow becomes restricted. This leads to uneven cooking, longer cooking times, and less crispy results. Your food won’t cook as efficiently or as deliciously as it should.
Furthermore, a dirty air fryer has to work harder to achieve and maintain its desired temperature, which translates directly into higher energy consumption and increased electricity bills. Over time, persistent residue can also cause wear and tear on the internal components, potentially shortening the lifespan of your appliance. By keeping it clean, you’re not just ensuring great food; you’re preserving your investment and avoiding the premature need for a replacement. Every time you clean your air fryer, you’re essentially saving money on power and extending the life of your valuable kitchen tool.
Clean Your Air Fryer for Better Taste and Odor
Imagine cooking a delicate fish dish in an air fryer that still carries the lingering aroma and taste of last week’s spicy chicken wings. Not very appealing, right? Accumulated food particles and grease can impart stale, burnt, or off-putting flavors and odors to your fresh meals. A clean air fryer ensures that each dish tastes exactly as intended, pure and delicious, without any unwelcome remnants from previous cooks. This is particularly important for those who enjoy a variety of cuisines and flavors.
Clean Your Air Fryer for Enhanced Safety
While less common, excessive grease buildup, especially on or near the heating element, can pose a potential fire hazard. If enough flammable residue accumulates and is exposed to high temperatures, it could ignite. Regular cleaning of all components, including careful attention to the heating element, significantly mitigates this risk, ensuring your kitchen remains a safe environment for cooking.
Essential Air Fryer Cleaning Principles and Basics
Before diving into the detailed cleaning process, it’s helpful to understand a few fundamental tips that apply to virtually all air fryer models, regardless of brand or design. Adhering to these basics will make your cleaning routine more effective and safeguard your appliance.
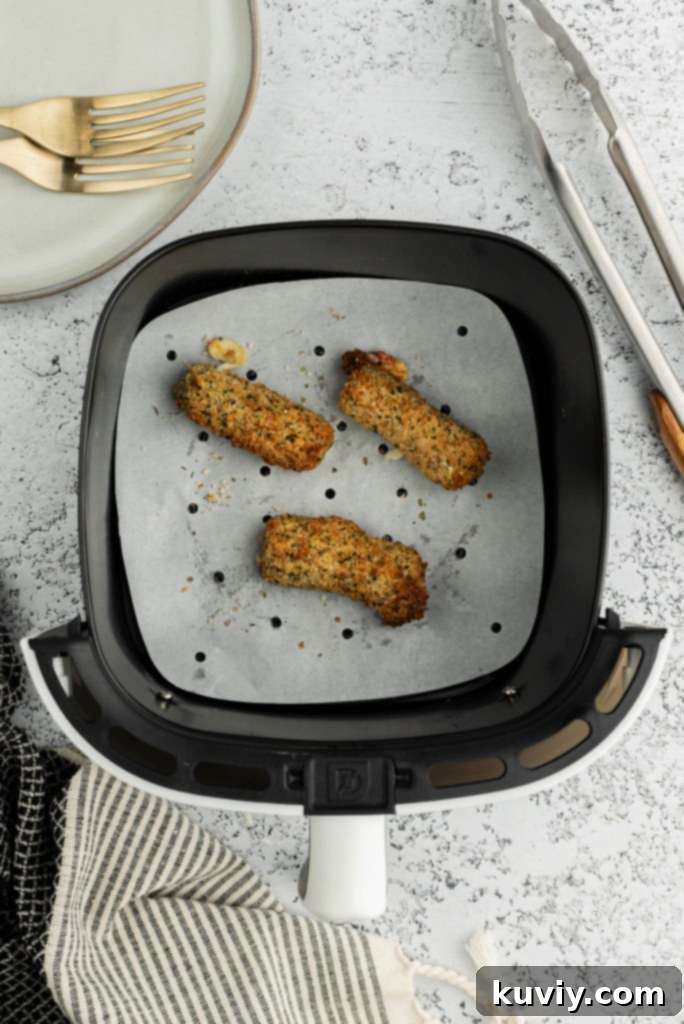
- Clean Removable Parts After Every Single Use: I know, this might not be the most exciting advice, but it’s the golden rule for air fryer maintenance. The basket, pan, and any trays that come into direct contact with food should be cleaned immediately after each use. This proactive approach prevents food particles and grease from hardening and becoming a nightmare to remove later. This can be simplified by using silicone liners, available in both round and square shapes, which catch most of the mess.
- Wipe Down the Exterior Every Few Uses: Fortunately, the outside of your air fryer doesn’t accumulate residue as quickly as the interior. A simple wipe-down with a damp cloth every few uses, or whenever you notice fingerprints or splatters, is usually sufficient to keep it looking pristine.
- Use Non-Abrasive Cleaning Tools Only: This is critically important! Air fryer baskets and pans often feature a non-stick coating, which can be easily scratched or removed by harsh tools. Never use abrasive scrubbers like steel wool, metal utensils, or rough brushes. Instead, opt for soft sponges, microfiber cloths, or silicone brushes. For stubborn spots in crevices, an old toothbrush works wonders without damaging the surface.
- Choose Safe, Food-Grade Cleaning Solutions: Most common household disinfectants (like Lysol) are not safe for surfaces that come into contact with food. Stick to mild dish soap and warm water for everyday cleaning. For tougher, baked-on grease, a simple paste made from baking soda and a little water is an excellent, safe, and effective natural alternative. Avoid harsh chemicals that could leave behind residues or damage the appliance’s finish.
- Always Unplug and Allow to Cool: Before you even think about cleaning, ensure your air fryer is turned off and completely unplugged from the power outlet. Furthermore, allow it to cool down for at least 30 minutes, or until it’s completely cool to the touch. This prevents electrical hazards and protects you from burns.
By integrating these fundamental tips into your routine, you’ll not only keep your air fryer cleaner with less effort but also significantly extend its life and ensure it operates safely and efficiently for every meal.
How to Deep Clean Your Air Fryer: A Step-by-Step Tutorial
If you’re new to air frying or simply unsure about the best way to give your appliance a thorough cleaning, this step-by-step guide will walk you through the process of deep cleaning your air fryer effectively and safely. This detailed approach ensures every part of your air fryer is spotless, from the basket to the heating element.
- Step 1: Turn Off and Unplug the Air Fryer. This might seem like an obvious safety measure, but it’s one that should never be overlooked. Always ensure the air fryer is completely off and unplugged from the wall socket before you begin any cleaning. This eliminates any risk of electric shock.
- Step 2: Allow It to Cool Down Completely. Patience is a virtue here. After cooking, the air fryer’s components, especially the basket and heating element, will be very hot. Give it at least 30 minutes to cool down thoroughly, or until all parts are cool to the touch. Rushing this step can lead to burns.
- Step 3: Disassemble All Removable Parts. Once cool, carefully remove the air fryer basket, cooking pan, rack, tray, and any other removable inserts. Most air fryers have baskets that slide out and trays that lift directly out.
- Step 4: Clean the Removable Parts.
- Check Your Manual: First, consult your air fryer’s manual to determine if these parts are dishwasher-safe. If they are, you can simply load them into the dishwasher for a full cleaning cycle.
- Manual Cleaning (If Not Dishwasher-Safe or for Tougher Grime): If they are not dishwasher-safe or if you prefer to hand wash (which is often gentler on non-stick coatings), let them soak in warm, soapy water (using mild dish soap) for about 20-30 minutes. This helps to loosen baked-on food and grease.
- Scrub and Rinse: After soaking, use a soft sponge, cloth, or an old toothbrush to gently scrub away any remaining residue. Pay special attention to corners and crevices. Rinse all parts thoroughly under running water to remove all soap and food particles.
- Dry Completely: This is a crucial step! Ensure all removable components are completely dry before reassembling. You can air dry them or use a clean cloth. Moisture left behind can lead to mold growth or potential electrical issues.
- Step 5: Clean the Interior Cavity. With the removable parts out, tackle the main interior of the air fryer. Using a damp cloth or a non-abrasive sponge lightly moistened with warm, soapy water, gently wipe down the inside walls and floor of the air fryer. For any stubborn, baked-on food particles, create a paste using baking soda and a little water. Apply it to the stubborn spots, let it sit for 5-10 minutes, then gently scrub with a soft brush or cloth. Wipe away all residue and soap with a clean, damp cloth, then finish with a dry cloth.
- Step 6: Inspect and Clean the Heating Element and Exterior. This step doesn’t need to be done after every single use, but aim for once a month or as needed, especially after cooking greasy foods.
- Heating Element: With the air fryer still unplugged and cool, turn it upside down to get better access to the heating element (usually at the top of the interior cavity). If you notice any greasy residue or food splatters on the heating coil, gently wipe it down with a damp, non-abrasive cloth. Be very careful not to bend the element or apply too much pressure. Do not use excessive water or spray directly onto the element.
- Exterior: Use a clean, damp cloth to wipe down the exterior surfaces of the air fryer, including the control panel and handle. Dry immediately with a clean, dry cloth to prevent water spots.
- Step 7: Reassemble Your Air Fryer. Once every component (removable parts, interior, and exterior) is completely dry, carefully put your air fryer back together. Ensure everything is correctly in place and secure before plugging it back in or using it for your next meal.
Tips for Maintaining a Consistently Cleaner Air Fryer
Beyond the deep cleaning process, incorporating a few simple habits can significantly reduce the effort required to keep your air fryer spotless and ensure it performs optimally every time:
- Utilize Air Fryer Liners: Silicone liners or parchment paper specially designed for air fryers can catch most food drippings and grease, making cleanup of the basket and pan incredibly easy. Just remove the liner and toss it (or wash reusable ones), and your basket often requires just a quick wipe.
- Avoid Overfilling the Basket: Overcrowding prevents proper air circulation and can lead to uneven cooking and more splattering. Cooking in smaller batches not only yields better results but also minimizes mess.
- Drain Excess Fat During Cooking: For particularly greasy foods like bacon or fatty cuts of meat, pause cooking halfway, carefully remove the basket, and drain any accumulated fat from the pan. This prevents it from burning onto the bottom or splattering onto the heating element.
- Address Spills Promptly: If you notice a spill or splatter during cooking (and it’s safe to do so after unplugging and cooling), clean it up as soon as possible. Fresh spills are much easier to remove than dried, baked-on messes.
- Wipe Down After Each Use (Even if it Looks Clean): Even if food hasn’t visibly splattered, tiny food particles and grease can accumulate. A quick wipe-down of the basket and pan with a soapy sponge and rinse after every use prevents buildup and keeps your air fryer ready for its next task.
Now that you’ve cleaned your air fryer, you’re ready to use it again!
By diligently following these cleaning instructions and maintenance tips, your air fryer will remain a reliable, efficient, and hygienic workhorse in your kitchen. Enjoy countless healthy and delicious meals, knowing your appliance is always in top condition. Don’t forget to explore our extensive recipe index for more inspiring air fryer creations!
